Difference between revisions of "Sacred 2:Don't Trust Statistics"
(Initial commit) |
(Add additional endings) |
||
| Line 42: | Line 42: | ||
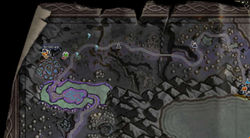
{{S2frame|[[Image:DontTrustStatistics_BoarsTabMap.jpg|375px]]|left]]}}<br clear="both" /> | {{S2frame|[[Image:DontTrustStatistics_BoarsTabMap.jpg|375px]]|left]]}}<br clear="both" /> | ||
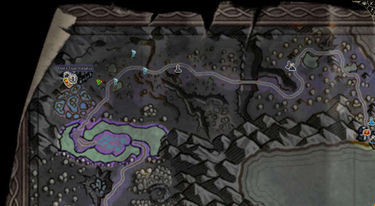
| − | + | When time is up, return to Lucretia. You may not get a quest compass, but her position has not changed from earlier. | |
| + | |||
| + | |||
| + | * The quest has different endings, depending on how many percalacins you kill. | ||
| + | |||
| + | |||
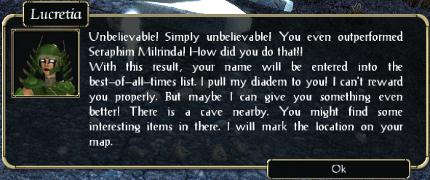
| + | ''' Kill far more than Seraphim Milrindas: ''' | ||
| + | |||
{{S2frame|[[Image:DontTrustStatistics_Lucretia4Dialog.jpg]]|left}}<br clear="both" /> | {{S2frame|[[Image:DontTrustStatistics_Lucretia4Dialog.jpg]]|left}}<br clear="both" /> | ||
| Line 48: | Line 55: | ||
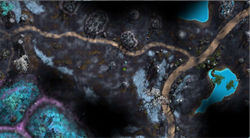
{{S2frame|[[Image:DontTrustStatistics_CaveMap.jpg|375px]][[Image:DontTrustStatistics_CaveTabMap.jpg|375px]]|left]]}}<br clear="both" /> | {{S2frame|[[Image:DontTrustStatistics_CaveMap.jpg|375px]][[Image:DontTrustStatistics_CaveTabMap.jpg|375px]]|left]]}}<br clear="both" /> | ||
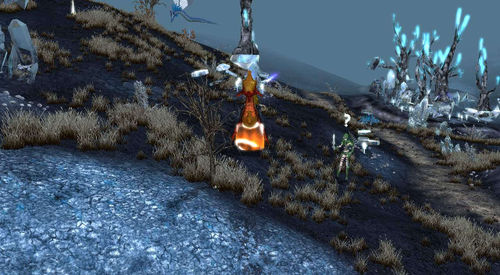
{{S2frame|[[Image:DontTrustStatistics_CaveCamera.jpg|750px]]|left}}<br clear="both" /> | {{S2frame|[[Image:DontTrustStatistics_CaveCamera.jpg|750px]]|left}}<br clear="both" /> | ||
| + | |||
| + | |||
| + | ''' Kill on par with Seraphim Milrindas: ''' | ||
| + | |||
| + | {{S2frame|[[Image:DontTrustStatistics_Lucretia5Dialog.jpg]]|left}}<br clear="both" /> | ||
| + | |||
| + | |||
| + | ''' Kill far fewer than Seraphim Milrindas: ''' | ||
| + | |||
| + | {{S2frame|[[Image:DontTrustStatistics_Lucretia6Dialog.jpg]]|left}}<br clear="both" /> | ||
| + | |||
| + | You will find Seraphim Milrindas south-west of The Old Camp. | ||
| + | {{S2frame|[[Image:DontTrustStatistics_MilrindasMap.jpg|375px]][[Image:DontTrustStatistics_MilrindasTabMap.jpg|375px]]|left]]}}<br clear="both" /> | ||
| + | {{S2frame|[[Image:DontTrustStatistics_MilrindasCamera.jpg|750px]]|left}}<br clear="both" /> | ||
| + | {{S2frame|[[Image:DontTrustStatistics_MilrindasDialog.jpg]]|left}}<br clear="both" /> | ||
| + | |||
| + | Return to Lucretia one last time. | ||
| + | {{S2frame|[[Image:DontTrustStatistics_Lucretia7Dialog.jpg]]|left}}<br clear="both" /> | ||
| Line 59: | Line 84: | ||
|{{S2frame|[[Image:DontTrustStatistics_Logbook1.jpg|375px]]|left}} | |{{S2frame|[[Image:DontTrustStatistics_Logbook1.jpg|375px]]|left}} | ||
|{{S2frame|[[Image:DontTrustStatistics_Logbook2.jpg|375px]]|left}} | |{{S2frame|[[Image:DontTrustStatistics_Logbook2.jpg|375px]]|left}} | ||
| + | |} | ||
| + | {| | ||
| + | |{{S2frame|[[Image:DontTrustStatistics_Logbook3.jpg|375px]]|left}} | ||
| + | |} | ||
| + | {| | ||
| + | |{{S2frame|[[Image:DontTrustStatistics_Logbook4.jpg|375px]]|left}} | ||
|} | |} | ||
== Notes == | == Notes == | ||
| − | * | + | * If you earn the highest reward, without the [[Sacred 2:Community Patch|Community Patch]], the logbook shows the quest complete after talking to Lucretia the final time. |
Latest revision as of 02:09, 15 April 2012
|
| ||||||||||
Quick Walkthrough
|
| |||||||||
Detailed Walkthrough
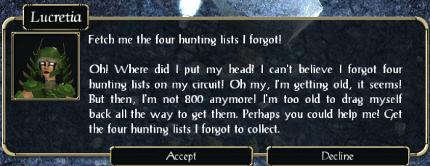
A short distance east of The Old Camp, you meet an old Seraphim named Lucretia. Lucretia is compiling hunting statistics and has left four lists in The Old Camp. She would like you to collect them.
|
| ||
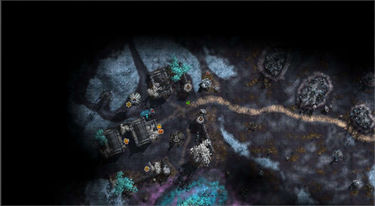
Head west to The Old Camp, and you will find the lists in four of the towers.
|
| ||
Return the lists to Lucretia, and she looks over them immediately.
|
| ||
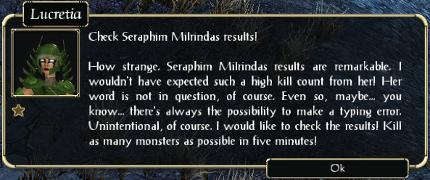
Something just does not add up. A Seraphim would not lie, but Seraphim Milrindas's results look unrealistically high. Lucretia would like you see how many monsters you can kill in five minutes.
|
| ||
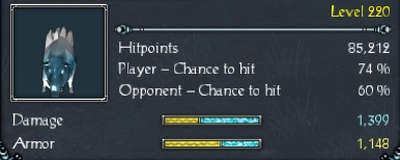
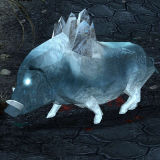
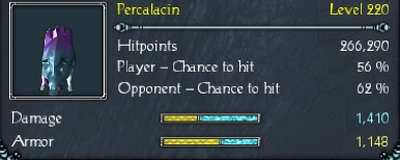
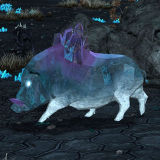
She said monsters, but Lucretia means percalacins specifically. Just follow the quest compass and be quick about it.
|
| ||
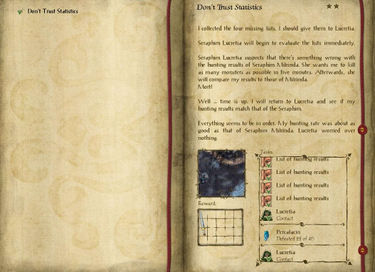
When time is up, return to Lucretia. You may not get a quest compass, but her position has not changed from earlier.
- The quest has different endings, depending on how many percalacins you kill.
Kill far more than Seraphim Milrindas:
|
| ||
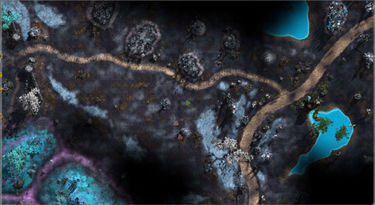
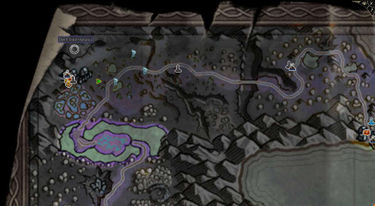
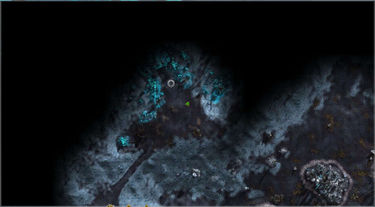
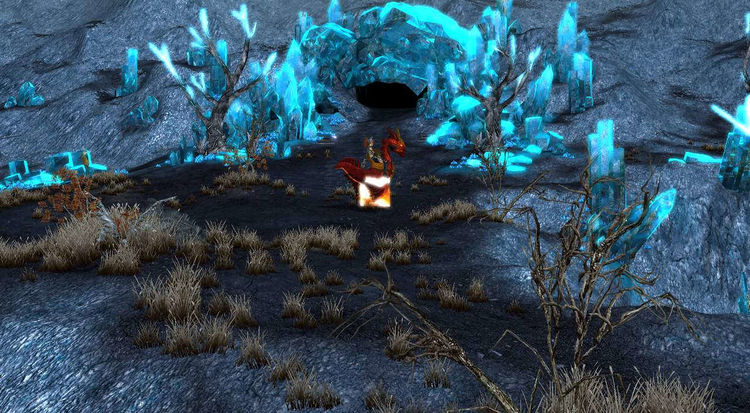
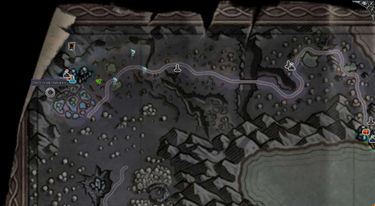
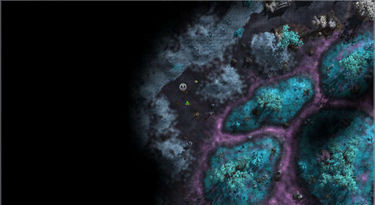
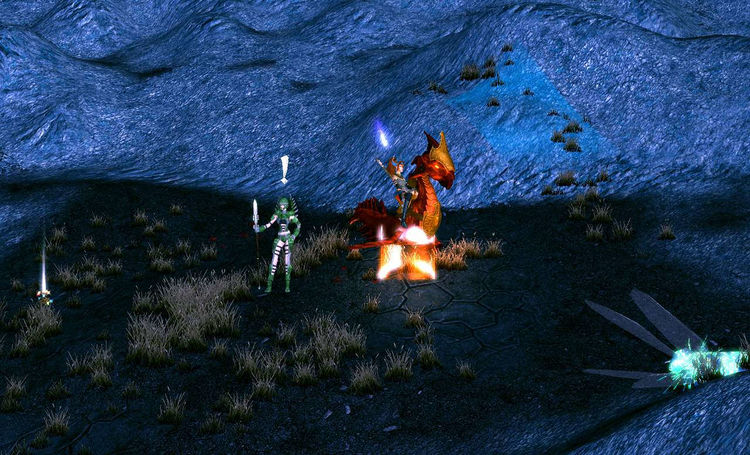
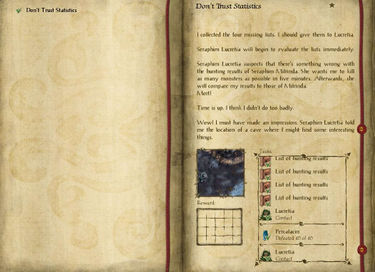
The cave is to the north of The Old Camp. You will find the reward just outside the cave entrance.
|
| ||
|
| ||
Kill on par with Seraphim Milrindas:
|
| ||
Kill far fewer than Seraphim Milrindas:
|
| ||
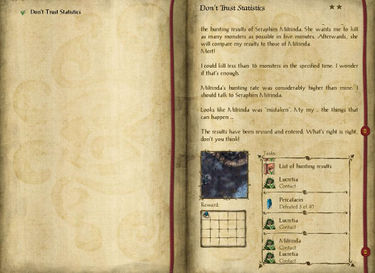
You will find Seraphim Milrindas south-west of The Old Camp.
|
| ||
|
| ||
|
| ||
Return to Lucretia one last time.
|
| ||
Quest Enemies
Percalacin
|
|
Damage Types: Weakest Against: Region: Crystal Plane | ||||||||||||||||||
|
|
Damage Types: Weakest Against: Region: Crystal Plane | ||||||||||||||||||
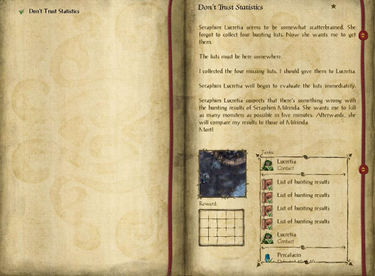
Logbook Entry
|
| ||||||||||||||||||
| |||||||||
| |||||||||
Notes
- If you earn the highest reward, without the Community Patch, the logbook shows the quest complete after talking to Lucretia the final time.
