Difference between revisions of "Sacred 2:Shirka Alana"
m (fix bad link in Hirelings) |
|||
| (9 intermediate revisions by 2 users not shown) | |||
| Line 1: | Line 1: | ||
| − | |||
| − | |||
| − | |||
| − | |||
| − | |||
<div class="plainlinks"> | <div class="plainlinks"> | ||
| − | {| | + | {|WIDTH="100%" |
| − | |WIDTH=" | + | |WIDTH="15%" VALIGN="TOP"|__TOC__ |
| − | |WIDTH=" | + | |WIDTH="35%" VALIGN="TOP"| |
| − | * '''Quest Objective:''' | + | * '''Quest Objective:''' Help Shirka find an honest trade |
| − | * '''Quest Difficulty:''' | + | * '''Quest Difficulty:''' No difficulty given for this quest |
| − | * '''Quest Giver:''' [[Sacred 2:Shirka|Shirka Alana]] | + | * '''Quest Giver:''' [[Sacred 2:Shirka Alana - NPC|Shirka Alana]] |
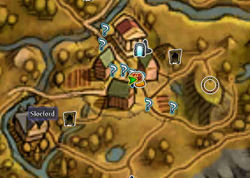
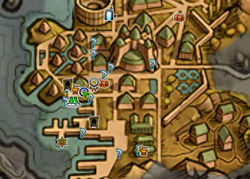
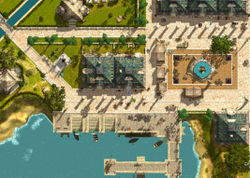
| − | * '''Location(s):''' [[Sacred 2:Sloeford|Sloeford]] | + | * '''Location(s):''' [[Sacred 2:Tyr Lysia|Tyr Lysia]] region, in [[Sacred 2:Sloeford|Sloeford]] |
* '''Prerequisite Quest:''' None | * '''Prerequisite Quest:''' None | ||
* '''Next Quest:''' [[Sacred 2:The Great Wall|The Great Wall]] | * '''Next Quest:''' [[Sacred 2:The Great Wall|The Great Wall]] | ||
| − | * '''Reward:''' | + | * '''Reward:''' [[Sacred 2:Gold|Gold]] [[Sacred 2:Experience|Experience]] |
| − | |WIDTH=" | + | * '''Main Quest Page:''' [[Sacred 2:Inquisitor Class Chain Quest|Inquisitor Class Chain Quest]] |
| − | + | |WIDTH="50%" VALIGN="TOP"| | |
| − | [ | + | {{S2frame|[[Image:shirkamap1.jpg|250px]][[Image:shirkatab1.jpg|250px]]|right|'''[[Sacred 2:Map of Ancaria|View the Ancaria Interactive Map]]'''}} |
|} | |} | ||
| − | + | {|WIDTH="100%" | |
| + | |WIDTH="60%" VALIGN="TOP"| | ||
== Quick Walkthrough == | == Quick Walkthrough == | ||
| − | * Talk to [[Sacred 2: | + | * Talk to Shirka Alana twice |
| − | * | + | * Talk to [[Sacred 2:Soldier|Soldier]] |
| − | * Talk to | + | * Travel to [[Sacred 2:High Elf Outpost 1|High Elf Outpost]] |
| − | * | + | * Talk to [[Sacred 2:Commander's Guard|Commander's Guard]] |
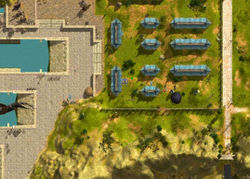
| − | * | + | * Travel to a small camp west of [[Sacred 2:Benny's Corn Circles|Benny's Corn Circles]] |
| − | * Travel to | + | * Defeat 10 [[Sacred 2:Alana's Brigand|Alana's Brigand]] |
| − | * Talk to | + | * Talk to Shirka |
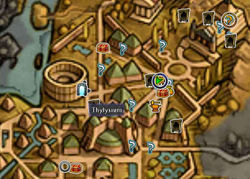
| − | * | + | * Travel to [[Sacred 2:Thylysium|Thylysium]] |
| + | * Talk to and escort Shirka | ||
| + | * Enter Thylysium sewers | ||
* Talk to [[Sacred 2:Varnar|Varnar]] | * Talk to [[Sacred 2:Varnar|Varnar]] | ||
| − | * Talk to | + | * Leave Shirka and head south to army camp |
| − | * | + | * Talk to and defeat [[Sacred 2:Commander - Shirka Alana|Commander]] |
| − | + | * Head back to Varnar and talk to him | |
| − | + | * Escort Shirka to [[Sacred 2:Recruiting Official|Recruiting Official]] and talk to him | |
| − | + | * Go near docks and talk to [[Sacred 2:Monk|Monk]] and then kill him | |
| − | + | * Head to Clearview | |
| − | + | * Talk to another monk, then kill 5 of them. | |
| − | + | |WIDTH="40%" VALIGN="TOP"|{{S2frame|[[Image:shirkaloc1.jpg|500px]]}} | |
| − | + | |} | |
| − | + | ||
| + | == Detailed Walkthrough == | ||
| + | While in Sloeford you notice a young woman coming toward you. She introduces herself as Shirka Alana and shows you a letter. The letter is all she has left of her family and it states that you knew her father. You immediately recognize the the writing in the letter. You wonder now how Shirka is related to you. She doesn't seem to know the whole truth and you do know her father but that seems so long ago. While you're still trying to sort all of your memories, you realize you haven't said a word to her yet and are actually staring at her, almost like you're seeing someone else. She takes your lack of response as indifference and quickly becomes irritated. She just wants to learn about her past and feels that talking to you has been a waste of time and runs off. | ||
| + | |||
| + | [[Image:shirkachat1.png|430px]] | ||
| + | |||
| + | [[Image:shirkachat2.png|430px]] | ||
| + | |||
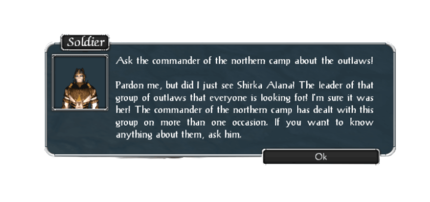
| + | As you watch her run off still dumbstruck a [[Sacred 2:Soldier|Soldier]] approaches and asks if that was Shirka Alana you were just talking to. According to him, Shirka is the leader of a group of outlaws that the military has had run-ins with before. He said if you are looking for her, go talk to the commander at the northern camp. She and her gang are well known to him. | ||
| + | |||
| + | [[Image:soldierchat1.png|430px]] | ||
| + | |||
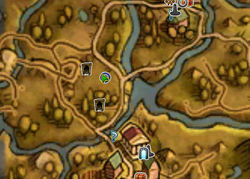
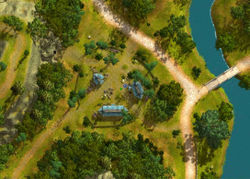
| + | You head over to the [[Sacred 2:High Elf Outpost 1|High Elf Outpost]] and talk to the [[Sacred 2:Commander's Guard|Commander's Guard]]. All he says is the outlaw camp is to the north behind a village. Well there aren't too many villages north of here so you head off to [[Sacred 2:Benny's Corn Circles|Benny's Corn Circles]]. | ||
| + | |||
| + | {{S2frame|[[Image:comguardmap.jpg|250px]][[Image:comguardtab.jpg|250px]]|left]]}} | ||
| + | <br clear="both" /> | ||
| + | |||
| + | {{S2frame|[[Image:comguardloc.jpg|400px]]|left}} | ||
| + | <br clear="both" /> | ||
| + | |||
| + | [[Image:comguardchat.png|430px]] | ||
| + | |||
| + | [[Image:comguardchat2.png|430px]] | ||
| + | |||
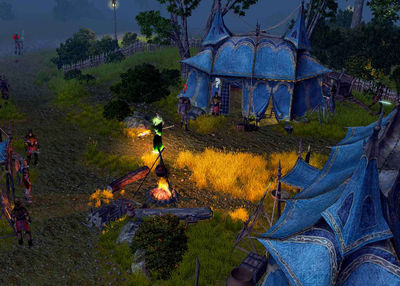
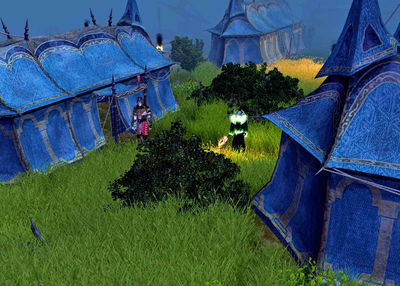
| + | Just west of the village you spy the camp in a small valley. As soon as the [[Sacred 2:Alana's Brigand|Brigands]] see you they attack. Really, some low life bandits dare attack a High Inquisitor?!?! You easily eliminate them and then decide to have a few words with Shirka. | ||
| + | |||
| + | {{S2frame|[[Image:alanabrigandmap.jpg|250px]][[Image:alanabrigandtab.jpg|250px]]|left]]}} | ||
| + | <br clear="both" /> | ||
| + | |||
| + | {{S2frame|[[Image:alanabrigandloc.jpg|400px]]|left}} | ||
| + | <br clear="both" /> | ||
| + | |||
| + | She quickly surrenders and ask you to spare her. She knows being an outlaw isn't a promising career and vows to straighten up and find a real job. You let her go off to [[Sacred 2:Thylysium|Thylysium]], hopefully she will honor her promise. After a little bit, you head off in the same direction, you also want to travel there but prefer to be on your own. | ||
| + | |||
| + | [[Image:shirka2chat.png|430px]] | ||
| + | |||
| + | While in the city you run into Shirka yet again. She's already been fired form the job she got and she's out on the street again. She's positive she's not cut out for the city life. She's broke and also has some old debts to pay off. She looks at you hopefully and quietly asks if you might be able to help her out. You let out a long sigh wondering how you ever got involved in all this but for reasons of your own you decide to see if you can get her out of all this mess. | ||
| + | |||
| + | {{S2frame|[[Image:shirka3map.jpg|250px]][[Image:shirka3tab.jpg|250px]]|left]]}} | ||
| + | <br clear="both" /> | ||
| + | |||
| + | {{S2frame|[[Image:shirka3loc.jpg|400px]]|left}} | ||
| + | <br clear="both" /> | ||
| + | |||
| + | [[Image:shirka3chat1.png|430px]] | ||
| + | |||
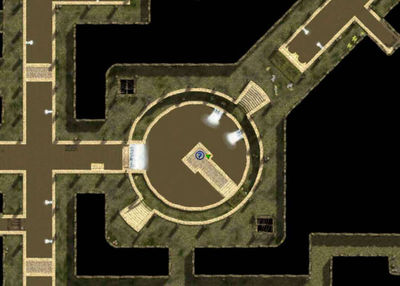
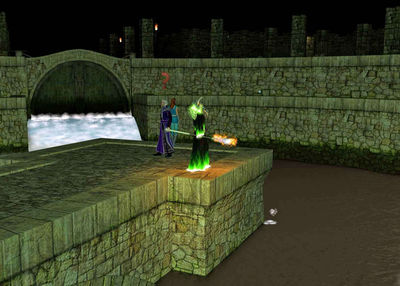
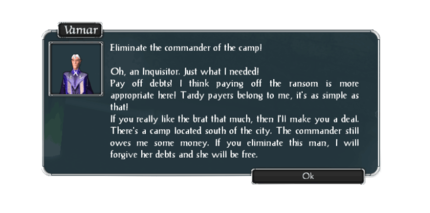
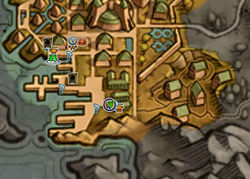
| + | You head down into the sewers to meet a man named [[Sacred 2:Varnar|Varnar]]. You have an instant dislike for the man. He considers Shirka his property until all her debts are paid off. You ask how much she owes him but he has a different idea. Since you're an inquisitor, he would rather have you eliminate the [[Sacred 2:Commander - Shirka Alana|Commander]] of a military camp on the south side of the city. The commander owes him some money and you guess he isn't gong to pay up. Varnar would rather have him dead at this point. He says if you kill him he'll forgive all of Shirka's debt and she'll be free to go. You give her a hard look and head off to see the Commander. | ||
| + | |||
| + | |||
| + | {{S2frame|[[Image:varnartab.jpg|400px]]|left}} | ||
| + | <br clear="both" /> | ||
| + | |||
| + | {{S2frame|[[Image:varnar-loc.jpg|400px]]|left}} | ||
| + | <br clear="both" /> | ||
| + | |||
| + | [[Image:varnarchat.png|430px]] | ||
| + | |||
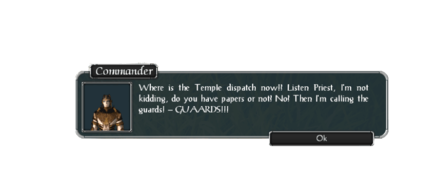
| + | He asks for temple papers or something, obviously confusing you for someone else. When he realizes why you're there, it's too late. he's dead before he can cry out for the guards. | ||
| + | |||
| + | |||
| + | {{S2frame|[[Image:commandermap.jpg|250px]][[Image:commandertab.jpg|250px]]|left]]}} | ||
| + | <br clear="both" /> | ||
| + | |||
| + | {{S2frame|[[Image:commanderloc.jpg|400px]]|left}} | ||
| + | <br clear="both" /> | ||
| + | |||
| + | [[Image:commanderchat.png|430px]] | ||
| + | |||
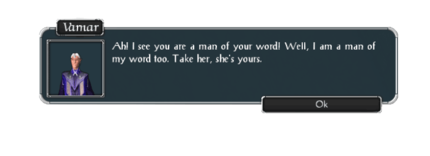
| + | You head back to Varnar and tell him the commander is dead. Surprisingly he is a man of his word, and lets Shirka go. Now what do you do with her? She wants a respectable job huh? What better place than the Inquisition Guards? With your influence she'll have no problem getting in. | ||
| + | |||
| + | [[Image:varnarchat2.png|430px]] | ||
| + | |||
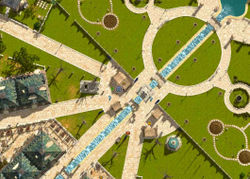
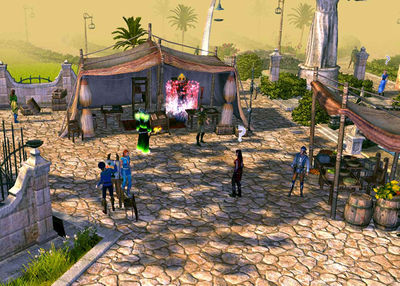
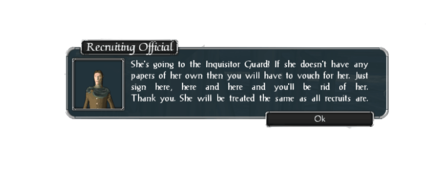
| + | You head over to the [[Sacred 2:Recruiting Official|Recruiting Official]] over by the temple. Since she has no papers you have to vouch for her but with your high ranking it's no issue at all. You wish her well in her new career and decide to head over to the docks and relax by the sea for a bit. | ||
| + | |||
| + | {{S2frame|[[Image:recoffmap.jpg|250px]][[Image:recofftab.jpg|250px]]|left]]}} | ||
| + | <br clear="both" /> | ||
| + | |||
| + | {{S2frame|[[Image:recoffloc.jpg|400px]]|left}} | ||
| + | <br clear="both" /> | ||
| + | |||
| + | [[Image:recoffchat.png|430px]] | ||
| + | |||
| + | But you're interrupted when a [[Sacred 2:Monk|Monk]] interrupts your solitude. He seems to know about your relation with Shirka and mentions how even he has not been able to live a life of complete abstinence. It doesn't take long to realize this man is trying to blackmail you. Well you have had enough. You kill the man right then and there. | ||
| + | |||
| + | {{S2frame|[[Image:monkloc.jpg|400px]]|left}} | ||
| + | <br clear="both" /> | ||
| + | |||
| + | [[Image:monkchat.png|430px]] | ||
| + | |||
| + | You've never liked the monks much and it seems they know a little too much about you. Their entire monastic community seems to be in cahoots with Varnar. You feel it's time to take a little unmitigated violence on them. You head over to [[Sacred 2:Clearview|Clearview]] where you know several reside. Bad news must have preceded you as one of them shouts "There's the murderer, kill him !" and several rush out of the house. | ||
| + | |||
| + | {{S2frame|[[Image:monk2map.jpg|250px]][[Image:monk2tab.jpg|250px]]|left]]}} | ||
| + | <br clear="both" /> | ||
| + | |||
| + | {{S2frame|[[Image:monk2loc.jpg|400px]]|left}} | ||
| + | <br clear="both" /> | ||
| + | |||
| + | [[Image:monk2chat.png|430px]] | ||
| + | |||
| + | You send 5 monks back to their maker in short order. Feeling a little better you travel north towards the Human lands to get away from everything for a little bit. This ends the first part of the chain quest. The second part, [[Sacred 2:The Great Wall|The Great Wall]], starts just south of [[Sacred 2:Dragonmaw Pass|Dragonmaw Pass]] | ||
| + | == Quest Enemies == | ||
| − | == | + | == [[Sacred 2:Alana's Brigand|Alana's Brigand]] == |
| − | + | {{:Sacred 2:Alana's Brigand}} | |
| − | |||
| − | |||
| − | |||
| − | |||
| − | |||
| − | |||
| − | |||
| − | |||
| − | |||
| − | |||
| − | |||
| − | |||
| − | |||
| − | |||
| − | |||
| − | |||
| − | |||
| − | |||
| − | |||
| − | |||
| − | |||
| − | |||
| − | |||
| − | |||
| − | |||
| − | |||
| − | |||
| − | |||
| − | |||
| − | |||
| − | |||
| − | |||
| − | |||
| − | |||
| − | |||
| − | |||
| − | |||
| − | |||
| − | |||
| + | == [[Sacred 2:Commander - Shirka Alana|Commander]] == | ||
| + | {{:Sacred 2:Commander - Shirka Alana}} | ||
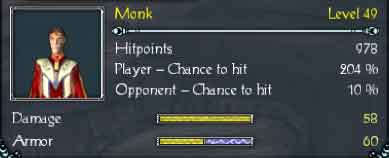
| + | == [[Sacred 2:Monk|Monk]] == | ||
| + | {{:Sacred 2:Monk}} | ||
| + | == Hirelings and Escorts == | ||
| + | * [[Sacred 2:Shirka Alana - NPC|Shirka Alana]] - Escort. Immortal. | ||
== Logbook Entry == | == Logbook Entry == | ||
| − | [ | + | |
| + | {| | ||
| + | |{{S2frame|[[Image:shirkalog1.jpg|300px]]|left}} | ||
| + | |{{S2frame|[[Image:shirkalog2.jpg|300px]]|left}} | ||
| + | |{{S2frame|[[Image:shirkalog3.jpg|300px]]|left}} | ||
| + | |{{S2frame|[[Image:shirkalog4.jpg|300px]]|left}} | ||
| + | |} | ||
| + | == Notes == | ||
| − | |||
| − | |||
| Line 101: | Line 171: | ||
</div> | </div> | ||
| − | [[Category:Sacred 2 Class Quest|{{ | + | |
| − | [[Category:Sacred 2 Quest|{{ | + | [[Category:Sacred 2 Quest|{{PAGENAME}}]] |
| + | [[Category:Sacred 2 Chain Quest Part|{{PAGENAME}}]] | ||
| + | [[Category:Sacred 2 Class Quest|{{PAGENAME}}]] | ||
| + | [[Category:Sacred 2 Shadow Path Quest|{{PAGENAME}}]] | ||
[[Category:Sacred 2 Tyr Lysia Quest|{{PAGENAME}}]] | [[Category:Sacred 2 Tyr Lysia Quest|{{PAGENAME}}]] | ||
Latest revision as of 23:45, 28 August 2013
|
| ||||||||||
Quick Walkthrough
|
| |||||||||
Detailed Walkthrough
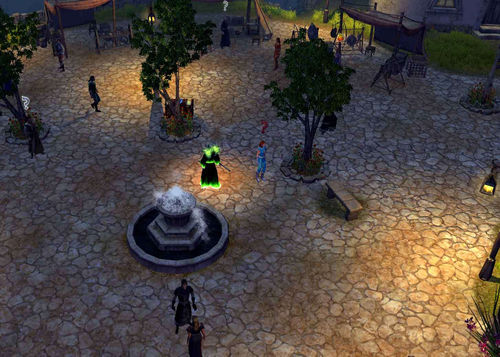
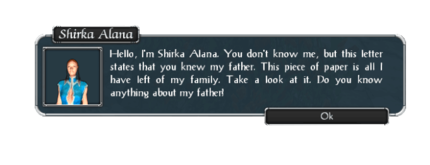
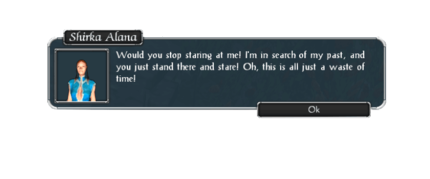
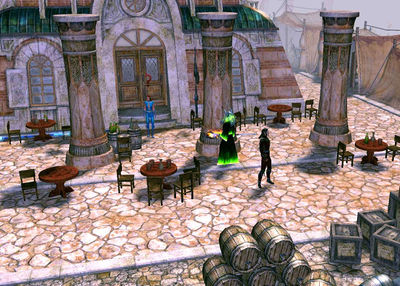
While in Sloeford you notice a young woman coming toward you. She introduces herself as Shirka Alana and shows you a letter. The letter is all she has left of her family and it states that you knew her father. You immediately recognize the the writing in the letter. You wonder now how Shirka is related to you. She doesn't seem to know the whole truth and you do know her father but that seems so long ago. While you're still trying to sort all of your memories, you realize you haven't said a word to her yet and are actually staring at her, almost like you're seeing someone else. She takes your lack of response as indifference and quickly becomes irritated. She just wants to learn about her past and feels that talking to you has been a waste of time and runs off.
As you watch her run off still dumbstruck a Soldier approaches and asks if that was Shirka Alana you were just talking to. According to him, Shirka is the leader of a group of outlaws that the military has had run-ins with before. He said if you are looking for her, go talk to the commander at the northern camp. She and her gang are well known to him.
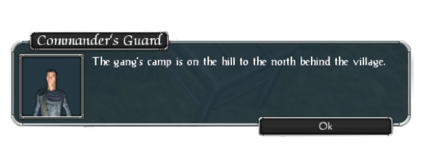
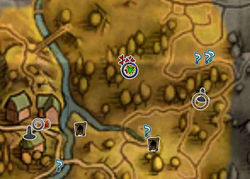
You head over to the High Elf Outpost and talk to the Commander's Guard. All he says is the outlaw camp is to the north behind a village. Well there aren't too many villages north of here so you head off to Benny's Corn Circles.
|
| ||
|
| ||
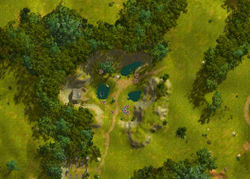
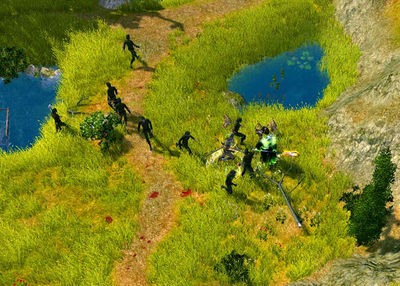
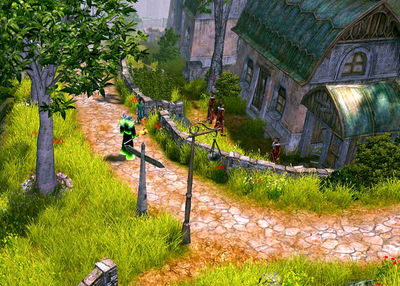
Just west of the village you spy the camp in a small valley. As soon as the Brigands see you they attack. Really, some low life bandits dare attack a High Inquisitor?!?! You easily eliminate them and then decide to have a few words with Shirka.
|
| ||
|
| ||
She quickly surrenders and ask you to spare her. She knows being an outlaw isn't a promising career and vows to straighten up and find a real job. You let her go off to Thylysium, hopefully she will honor her promise. After a little bit, you head off in the same direction, you also want to travel there but prefer to be on your own.
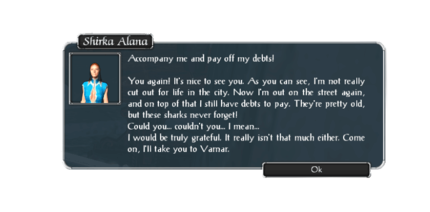
While in the city you run into Shirka yet again. She's already been fired form the job she got and she's out on the street again. She's positive she's not cut out for the city life. She's broke and also has some old debts to pay off. She looks at you hopefully and quietly asks if you might be able to help her out. You let out a long sigh wondering how you ever got involved in all this but for reasons of your own you decide to see if you can get her out of all this mess.
|
| ||
|
| ||
You head down into the sewers to meet a man named Varnar. You have an instant dislike for the man. He considers Shirka his property until all her debts are paid off. You ask how much she owes him but he has a different idea. Since you're an inquisitor, he would rather have you eliminate the Commander of a military camp on the south side of the city. The commander owes him some money and you guess he isn't gong to pay up. Varnar would rather have him dead at this point. He says if you kill him he'll forgive all of Shirka's debt and she'll be free to go. You give her a hard look and head off to see the Commander.
|
| ||
|
| ||
He asks for temple papers or something, obviously confusing you for someone else. When he realizes why you're there, it's too late. he's dead before he can cry out for the guards.
|
| ||
|
| ||
You head back to Varnar and tell him the commander is dead. Surprisingly he is a man of his word, and lets Shirka go. Now what do you do with her? She wants a respectable job huh? What better place than the Inquisition Guards? With your influence she'll have no problem getting in.
You head over to the Recruiting Official over by the temple. Since she has no papers you have to vouch for her but with your high ranking it's no issue at all. You wish her well in her new career and decide to head over to the docks and relax by the sea for a bit.
|
| ||
|
| ||
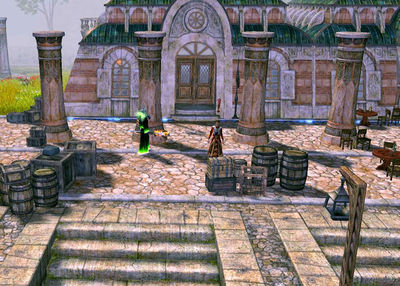
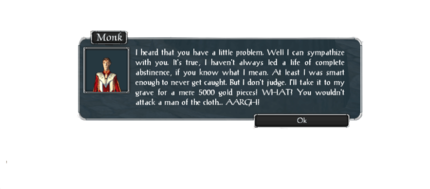
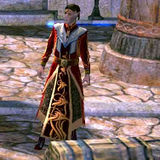
But you're interrupted when a Monk interrupts your solitude. He seems to know about your relation with Shirka and mentions how even he has not been able to live a life of complete abstinence. It doesn't take long to realize this man is trying to blackmail you. Well you have had enough. You kill the man right then and there.
|
| ||
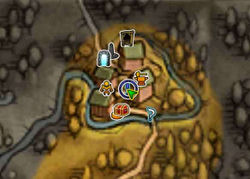
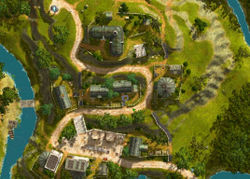
You've never liked the monks much and it seems they know a little too much about you. Their entire monastic community seems to be in cahoots with Varnar. You feel it's time to take a little unmitigated violence on them. You head over to Clearview where you know several reside. Bad news must have preceded you as one of them shouts "There's the murderer, kill him !" and several rush out of the house.
|
| ||
|
| ||
You send 5 monks back to their maker in short order. Feeling a little better you travel north towards the Human lands to get away from everything for a little bit. This ends the first part of the chain quest. The second part, The Great Wall, starts just south of Dragonmaw Pass
Quest Enemies
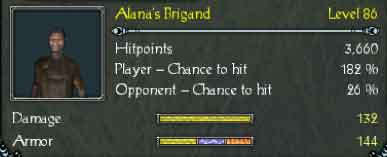
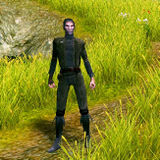
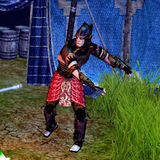
Alana's Brigand
|
|
Damage Types: Weakest Against: Quest:Shirka Alana Quest Location: Benny's Corn Circles in Tyr Lysia | ||||||||||||||||||
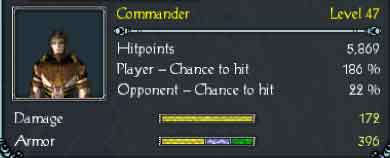
Commander
|
|
Damage Types: Weakest Against: Quest:Shirka Alana | ||||||||||||||||||
Monk
|
|
Damage Types: Weakest Against: Quest:Shirka Alana | ||||||||||||||||||
Hirelings and Escorts
- Shirka Alana - Escort. Immortal.
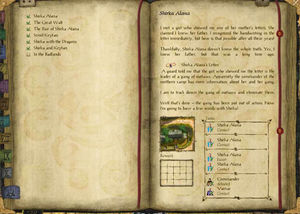
Logbook Entry
|
|
|
| ||||||||||||||||||||||||||||||||||||
