Difference between revisions of "Sacred 2:Renders"
Jump to navigation
Jump to search
(added renders, edited names) |
|||
| Line 1: | Line 1: | ||
| + | {{Languages}} | ||
| + | |||
| + | =='''Fallen Angel Renders'''== | ||
| + | ===Character Backdrop Screens=== | ||
| + | ---- | ||
| + | {|valign="top" width="100%" padding="10px" style="font-size:1em;font-weight:bold;text-align:center" | ||
| + | |-valign="top" | ||
| + | |||
| + | |width="180px"|Dryad Backdrop | ||
| + | <center>{{S2frame|[[File:Dryadlight.jpg|x160px]]|none}}</center> | ||
| + | |||
| + | |width="180px"|Dryad Backdrop 2 | ||
| + | <center>{{S2frame|[[File:Dryadshadow.jpg|x160px]]|none}}</center> | ||
| + | |||
| + | |width="180px"|High Elf Backdrop 1 | ||
| + | <center>{{S2frame|[[File:High Elf backdrop 1.jpg|x160px]]|none}}</center> | ||
| + | |||
| + | |width="180px"|High Elf Backdrop 2 | ||
| + | <center>{{S2frame|[[File:High Elf backdrop 2.jpg|x160px]]|none}}</center> | ||
| + | |} | ||
| + | |||
| + | |||
| + | {|valign="top" width="100%" padding="10px" style="font-size:1em;font-weight:bold;text-align:center" | ||
| + | |-valign="top" | ||
| + | |||
| + | |width="180px"|Inquisitor Backdrop | ||
| + | <center>{{S2frame|[[File:Inquisitor backdrop 4.jpg|x160px]]|none}}</center> | ||
| + | |||
| + | |width="180px"|Seraphim Backdrop | ||
| + | <center>{{S2frame|[[File:Seraphim backdrop 0.jpg|x160px]]|none}}</center> | ||
| + | |||
| + | |width="180px"|Shadow Warrior Backdrop | ||
| + | <center>{{S2frame|[[File:SW Loading Screen.jpg|x160px]]|none}}</center> | ||
| + | |||
| + | |width="180px"|Temple Guardian Backdrop 1 | ||
| + | <center>{{S2frame|[[File:Tg light path.jpg|x160px]]|none}}</center> | ||
| + | |} | ||
| + | |||
| + | |||
| + | {|valign="top" width="100%" padding="10px" style="font-size:1em;font-weight:bold;text-align:center" | ||
| + | |-valign="top" | ||
| + | |||
| + | |width="180px"|Temple Guardian Backdrop 2 | ||
| + | <center>{{S2frame|[[File:Tg shadow path.jpg|x160px]]|none}}</center> | ||
| + | |} | ||
| + | |||
| + | ===Character "Paths" Portraits=== | ||
| + | ---- | ||
| + | {|valign="top" width="100%" padding="10px" style="font-size:1em;font-weight:bold;text-align:center" | ||
| + | |-valign="top" | ||
| + | |||
| + | |width="180px"|Dryad Light | ||
| + | <center>{{S2frame|[[File:SACRED2 renderings Dryad-Light.jpg|x200px]]|none}}</center> | ||
| + | |||
| + | |width="180px"|Dryad Shadow | ||
| + | <center>{{S2frame|[[File:SACRED2 renderings Dryaddark.jpg|x200px]]|none}}</center> | ||
| + | |||
| + | |width="180px"|High Elf Light | ||
| + | <center>{{S2frame|[[File:Highelflight.jpg|x200px]]|none}}</center> | ||
| + | |||
| + | |width="180px"|High Elf Shadow | ||
| + | <center>{{S2frame|[[File:Highelfdark.jpg|x200px]]|none}}</center> | ||
| + | |||
| + | |width="180px"|Inquisitor | ||
| + | <center>{{S2frame|[[File:Sacred 2 inquisitor shadow.jpg|x200px]]|none}}</center> | ||
| + | |} | ||
| + | |||
| + | |||
| + | {|valign="top" width="100%" padding="10px" style="font-size:1em;font-weight:bold;text-align:center" | ||
| + | |-valign="top" | ||
| + | |||
| + | |width="180px"|Seraphim | ||
| + | <center>{{S2frame|[[File:S2FA Seraphim.jpg|x200px]]|none}}</center> | ||
| + | |||
| + | |width="180px"|Shadow Warrior Light | ||
| + | <center>{{S2frame|[[File:Shadowwarriorlight.jpg|x200px]]|none}}</center> | ||
| + | |||
| + | |width="180px"|Shadow Warrior Shadow | ||
| + | <center>{{S2frame|[[File:Shadowwarriordark.jpg|x200px]]|none}}</center> | ||
| + | |||
| + | |||
| + | |width="180px"|Temple Guardian Light | ||
| + | <center>{{S2frame|[[File:SACRED2 renderings TGlight.jpg|x200px]]|none}}</center> | ||
| + | |||
| + | |width="180px"|Temple Guardian Shadow | ||
| + | <center>{{S2frame|[[File:SACRED2 renderings TempleGuardian-Shadow.jpg|x200px]]|none}}</center> | ||
| + | |} | ||
| + | |||
| + | ===Character "Cartoon" Renders=== | ||
| + | ---- | ||
| + | |||
| + | |||
| + | {|valign="top" width="100%" padding="10px" style="font-size:1em;font-weight:bold;text-align:center" | ||
| + | |-valign="top" | ||
| + | |||
| + | |width="180px"| | ||
| + | <center>[[File:Dryad Render cartoon.png|x210px]]</center> | ||
| + | |||
| + | |width="180px"| | ||
| + | <center>[[File:HighElf Render cartoon.png|x210px]]</center> | ||
| + | |||
| + | |width="180px"| | ||
| + | <center>[[File:Inquisitor Render cartoon.png|x210px]]</center> | ||
| + | |||
| + | |width="180px"| | ||
| + | <center>[[File:Seraphim Render cartoon.png|x210px]]</center> | ||
| + | |||
| + | |width="180px"| | ||
| + | <center>[[File:ShadowWarrior Render cartoon.png|x210px]]</center> | ||
| + | |||
| + | |width="180px"| | ||
| + | <center>[[File:TempleGuardian Render cartoon.png|x210px]]</center> | ||
| + | |} | ||
| + | |||
| + | |||
| + | ===High Resolution Character Portraits=== | ||
| + | ---- | ||
| + | {|valign="top" width="100%" padding="10px" style="font-size:1em;font-weight:bold;text-align:center" | ||
| + | |-valign="top" | ||
| + | |||
| + | |width="180px"|Dryad | ||
| + | <center>{{S2frame|[[File:S2FA dryad portrait hi.jpg|x180px]]|none}}</center> | ||
| + | |||
| + | |width="180px"|High Elf | ||
| + | <center>{{S2frame|[[File:S2FA highelf portrait hi.jpg|x180px]]|none}}</center> | ||
| + | |||
| + | |width="180px"|Inquisitor | ||
| + | <center>{{S2frame|[[File:S2FA inquisitor portrait hi.jpg|x180px]]|none}}</center> | ||
| + | |||
| + | |width="180px"|Seraphim | ||
| + | <center>{{S2frame|[[File:S2FA seraphim portrait hi.jpg|x180px]]|none}}</center> | ||
| + | |||
| + | |width="180px"|Shadow Warrior | ||
| + | <center>{{S2frame|[[File:S2FA shadowwarrior portrait hi.jpg|x180px]]|none}}</center> | ||
| + | |||
| + | |width="180px"|Temple Guardian | ||
| + | <center>{{S2frame|[[File:S2FA templeguardian portrait hi.jpg|x180px]]|none}}</center> | ||
| + | |} | ||
| + | |||
| + | |||
===Various Character Renders=== | ===Various Character Renders=== | ||
---- | ---- | ||
| Line 4: | Line 144: | ||
|-valign="top" | |-valign="top" | ||
| − | |width="180px"|Dryad | + | |width="180px"|Dryad 1 |
<center>{{S2frame|[[File:SACRED2 renderings background dryadlight1.jpg|x160px]]|none}}</center> | <center>{{S2frame|[[File:SACRED2 renderings background dryadlight1.jpg|x160px]]|none}}</center> | ||
| − | |width="180px"|Dryad | + | |width="180px"|Dryad 2 |
<center>{{S2frame|[[File:SACRED2 renderings background dryaddark.jpg|x160px]]|none}}</center> | <center>{{S2frame|[[File:SACRED2 renderings background dryaddark.jpg|x160px]]|none}}</center> | ||
| − | |width="180px"|High Elf | + | |width="180px"|High Elf 1 |
<center>{{S2frame|[[File:Renderings HE 1.jpg|x160px]]|none}}</center> | <center>{{S2frame|[[File:Renderings HE 1.jpg|x160px]]|none}}</center> | ||
| − | |width="180px"|High Elf | + | |width="180px"|High Elf 2 |
| − | <center>{{S2frame|[[File:SACRED2 renderings | + | <center>{{S2frame|[[File:SACRED2 renderings background HEdark.jpg|x160px]]|none}}</center> |
|-valign="top" | |-valign="top" | ||
| − | |||
| − | |||
| − | |width="180px"|High Elf | + | |width="180px"|High Elf 3 |
<center>{{S2frame|[[File:SACRED2 renderings background HElight.jpg|x160px]]|none}}</center> | <center>{{S2frame|[[File:SACRED2 renderings background HElight.jpg|x160px]]|none}}</center> | ||
| − | |width="180px"|High Elf | + | |width="180px"|High Elf 4 |
| − | <center>{{S2frame|[[File:SACRED2 renderings background | + | <center>{{S2frame|[[File:SACRED2 renderings background HElight2.jpg|x160px]]|none}}</center> |
| − | |width="180px"| | + | |width="180px"|Inquisitor |
| − | <center>{{S2frame|[[File:SACRED2 renderings | + | <center>{{S2frame|[[File:SACRED2 renderings background inquisitor1.jpg|x160px]]|none}}</center> |
| + | |||
| + | |width="180px"|Seraphim 1 | ||
| + | <center>{{S2frame|[[File:SACRED2 renderings background seraphim2.jpg|x160px]]|none}}</center> | ||
|-valign="top" | |-valign="top" | ||
| − | |||
| − | |||
| − | + | |width="180px"|Seraphim 2 | |
| − | |||
| − | |||
| − | |width="180px"|Seraphim | ||
| − | |||
| − | |||
| − | |||
<center>{{S2frame|[[File:Renderings seraphim black.jpg|x160px]]|none}}</center> | <center>{{S2frame|[[File:Renderings seraphim black.jpg|x160px]]|none}}</center> | ||
| − | + | |width="180px"|Seraphim 3 | |
| − | |||
| − | |width="180px"|Seraphim | ||
<center>{{S2frame|[[File:Renderings seraphim gradient.jpg|x160px]]|none}}</center> | <center>{{S2frame|[[File:Renderings seraphim gradient.jpg|x160px]]|none}}</center> | ||
| − | |width="180px"|Seraphim | + | |width="180px"|Seraphim 4 |
<center>{{S2frame|[[File:Sacred2-Seraphim.jpg|x160px]]|none}}</center> | <center>{{S2frame|[[File:Sacred2-Seraphim.jpg|x160px]]|none}}</center> | ||
| − | |width="180px"|Seraphim | + | |width="180px"|Seraphim 5 |
<center>{{S2frame|[[File:Renderings seraphim 4.jpg|x160px]]|none}}</center> | <center>{{S2frame|[[File:Renderings seraphim 4.jpg|x160px]]|none}}</center> | ||
| − | |||
| − | |||
| + | |-valign="top" | ||
| − | + | |width="180px"|Shadow Warrior 1 | |
| − | |width="180px"|Shadow Warrior | + | <center>{{S2frame|[[File:Renderings SWdark black05.jpg|x160px]]|none}}</center> |
| − | <center>{{S2frame|[[File: | ||
| − | |width="180px"|Shadow Warrior | + | |width="180px"|Shadow Warrior 2 |
| − | <center>{{S2frame|[[File:Renderings SWdark | + | <center>{{S2frame|[[File:Renderings SWdark black04.jpg|x160px]]|none}}</center> |
| − | |width="180px"|Shadow Warrior | + | |width="180px"|Shadow Warrior 3 |
<center>{{S2frame|[[File:Renderings SWdark black03.jpg|x160px]]|none}}</center> | <center>{{S2frame|[[File:Renderings SWdark black03.jpg|x160px]]|none}}</center> | ||
| − | |width="180px"|Shadow Warrior | + | |width="180px"|Shadow Warrior 4 |
| − | <center>{{S2frame|[[File:Renderings SWdark | + | <center>{{S2frame|[[File:Renderings SWdark black02.jpg|x160px]]|none}}</center> |
| − | |||
|-valign="top" | |-valign="top" | ||
| − | |width="180px"|Shadow Warrior | + | |width="180px"|Shadow Warrior 5 |
<center>{{S2frame|[[File:SACRED2 renderings background SWdark.jpg|x160px]]|none}}</center> | <center>{{S2frame|[[File:SACRED2 renderings background SWdark.jpg|x160px]]|none}}</center> | ||
| − | |width="180px"|Shadow Warrior | + | |width="180px"|Shadow Warrior 6 |
<center>{{S2frame|[[File:SACRED2 renderings background SWlight.jpg|x160px]]|none}}</center> | <center>{{S2frame|[[File:SACRED2 renderings background SWlight.jpg|x160px]]|none}}</center> | ||
| − | |width="180px"|Temple Guardian | + | |width="180px"|Temple Guardian 1 |
<center>{{S2frame|[[File:SACRED2 renderings background TGdark.jpg|x160px]]|none}}</center> | <center>{{S2frame|[[File:SACRED2 renderings background TGdark.jpg|x160px]]|none}}</center> | ||
| − | |width="180px"|Temple Guardian | + | |width="180px"|Temple Guardian 2 |
<center>{{S2frame|[[File:SACRED2 renderings background TGlight.jpg|x160px]]|none}}</center> | <center>{{S2frame|[[File:SACRED2 renderings background TGlight.jpg|x160px]]|none}}</center> | ||
| + | |||
| + | |} | ||
| + | |||
| + | |||
| + | ===Creatures=== | ||
| + | ---- | ||
| + | {|valign="top" width="100%" padding="10px" style="font-size:1em;font-weight:bold;text-align:center" | ||
| + | |-valign="top" | ||
| + | |||
| + | |width="180px"|Dragon | ||
| + | <center>{{S2frame|[[File:Renderingsshadowdragon.jpg|x160px]]|none}}</center> | ||
| + | |||
| + | |width="180px"|Dragon 2 | ||
| + | <center>{{S2frame|[http://www.sacredwiki.org/images/Sacred_2/Bestiary/dragon.jpg http://www.sacredwiki.org/images/Sacred_2/Bestiary/th_dragon.jpg]|}}</center> | ||
| + | |||
| + | |width="180px"|Ghost | ||
| + | <center>{{S2frame|[[File:RenderingsblackGhost.jpg|x160px]]|none}}</center> | ||
| + | |||
| + | |width="180px"|Goblin Hunter 1 | ||
| + | <center>{{S2frame|[[File:RenderingsblackGoblinHunter.jpg|x160px]]|none}}</center> | ||
| + | |||
| + | |width="180px"|Goblin Hunter 2 | ||
| + | <center>{{S2frame|[[File:Renderingsshadowgoblinhunter.jpg|x160px]]|none}}</center> | ||
| + | |||
| + | |||
| + | |-valign="top" | ||
| + | |width="180px"|Goblin Officer 1 | ||
| + | <center>{{S2frame|[[File:RenderingsblackGoblinOfficer.jpg|x160px]]|none}}</center> | ||
| + | |||
| + | |width="180px"|Goblin Officer 2 | ||
| + | <center>{{S2frame|[[File:RenderingsblackGoblinOfficer-01.jpg|x160px]]|none}}</center> | ||
| + | |||
| + | |width="180px"|Goblin Rider | ||
| + | <center>{{S2frame|[http://www.sacredwiki.org/images/Sacred_2/Bestiary/gob2.jpg http://www.sacredwiki.org/images/Sacred_2/Bestiary/th_gob2.jpg]|}}</center> | ||
| + | |||
| + | |width="180px"|Goblin Shaman 1 | ||
| + | <center>{{S2frame|[[File:RenderingsblackGoblinhaman.jpg|x160px]]|none}}</center> | ||
| + | |||
| + | |width="180px"|Goblin Shaman 2 | ||
| + | <center>{{S2frame|[[File:Renderingsshadowgoblinshaman.jpg|x160px]]|none}}</center> | ||
| + | |||
| + | |||
| + | |-valign="top" | ||
| + | |width="180px"|Goblin Warrior 1 | ||
| + | <center>{{S2frame|[[File:RenderingsblackGoblinWarrior.jpg|x160px]]|none}}</center> | ||
| + | |||
| + | |width="180px"|Goblin Warrior 2 | ||
| + | <center>{{S2frame|[[File:RenderingsblackGoblinWarriorhi.jpg|x160px]]|none}}</center> | ||
| + | |||
| + | |width="180px"|Goblin Warrior 3 | ||
| + | <center>{{S2frame|[[File:Renderingsshadowgoblinwarrior.jpg|x160px]]|none}}</center> | ||
| + | |||
| + | |width="180px"|Golem 1 | ||
| + | <center>{{S2frame|[[File:RenderingsblackGolem.jpg|x160px]]|none}}</center> | ||
| + | |||
| + | |width="180px"|Golem 2 | ||
| + | <center>{{S2frame|[[File:Renderingsshadowgolem.jpg|x160px]]|none}}</center> | ||
| + | |||
| + | |||
| + | |-valign="top" | ||
| + | |width="180px"|Golem 3 | ||
| + | <center>{{S2frame|[http://www.sacredwiki.org/images/Sacred_2/Bestiary/Golem.jpg http://www.sacredwiki.org/images/Sacred_2/Bestiary/th_Golem.jpg]|}}</center> | ||
| + | |||
| + | |width="180px"|Harpy 1 | ||
| + | <center>{{S2frame|[[File:RenderingsblackHarpy.jpg|x160px]]|none}}</center> | ||
| + | |||
| + | |width="180px"|Harpy 2 | ||
| + | <center>{{S2frame|[[File:Renderingsshadowharpy.jpg|x160px]]|none}}</center> | ||
| + | |||
| + | |width="180px"|Horse | ||
| + | <center>{{S2frame|[http://www.sacredwiki.org/images/Sacred_2/pony.jpg http://www.sacredwiki.org/images/Sacred_2/th_pony.jpg]|}}</center> | ||
| + | |||
| + | |width="180px"|Hellhound | ||
| + | <center>{{S2frame|[[File:Renderingsshadowhellhound.jpg|x160px]]|none}}</center> | ||
| + | |||
| + | |||
| + | |-valign="top" | ||
| + | |width="180px"|Kobold | ||
| + | <center>{{S2frame|[[File:Renderingsshadowkobold.jpg|x160px]]|none}}</center> | ||
| + | |||
| + | |width="180px"|Kobold Chief | ||
| + | <center>{{S2frame|[[File:RenderingsblackKoboldhief.jpg|x160px]]|none}}</center> | ||
| + | |||
| + | |width="180px"|Kobold Chief 2 | ||
| + | <center>{{S2frame|[http://www.sacredwiki.org/images/Sacred_2/Bestiary/koboldleader.jpg http://www.sacredwiki.org/images/Sacred_2/Bestiary/th_koboldleader.jpg]|}}</center> | ||
| + | |||
| + | |width="180px"|Kobold Hunter | ||
| + | <center>{{S2frame|[http://www.sacredwiki.org/images/Sacred_2/Bestiary/koboldhunter.jpg http://www.sacredwiki.org/images/Sacred_2/Bestiary/th_koboldhunter.jpg]|}}</center> | ||
| + | |||
| + | |width="180px"|Kobold Mage | ||
| + | <center>{{S2frame|[[File:RenderingsblackKoboldMage.jpg|x160px]]|none}}</center> | ||
| + | |||
| + | |||
| + | |-valign="top" | ||
| + | |width="180px"|Kobold Warrior | ||
| + | <center>{{S2frame|[[File:RenderingsblackKoboldWarrior.jpg|x160px]]|none}}</center> | ||
| + | |||
| + | |width="180px"|Lich | ||
| + | <center>{{S2frame|[[File:Renderingsshadowlich.jpg|x160px]]|none}}</center> | ||
| + | |||
| + | |width="180px"|Lich 2 | ||
| + | <center>{{S2frame|[http://www.sacredwiki.org/images/Sacred_2/Bestiary/Lichking2.jpg http://www.sacredwiki.org/images/Sacred_2/Bestiary/th_Lichking2.jpg]|}}</center> | ||
| + | |||
| + | |width="180px"|Lizardman Hunter | ||
| + | <center>{{S2frame|[[File:Renderingsshadowlizardmenhunter.jpg|x160px]]|none}}</center> | ||
| + | |||
| + | |width="180px"|Lizardman Hunter 2 | ||
| + | <center>{{S2frame|[http://www.sacredwiki.org/images/Sacred_2/Bestiary/Lizardmenhunter2.jpg http://www.sacredwiki.org/images/Sacred_2/Bestiary/th_Lizardmenhunter2.jpg]|}}</center> | ||
| + | |||
| + | |||
| + | |||
| + | |-valign="top" | ||
| + | |width="180px"|Mummy 1 | ||
| + | <center>{{S2frame|[[File:RenderingsblackMummie.jpg|x160px]]|none}}</center> | ||
| + | |||
| + | |width="180px"|Mummy 2 | ||
| + | <center>{{S2frame|[http://www.sacredwiki.org/images/Sacred_2/Bestiary/Mummie1_.jpg http://www.sacredwiki.org/images/Sacred_2/Bestiary/th_Mummie1_.jpg]|}}</center> | ||
| + | |||
| + | |width="180px"|Mummy 3 | ||
| + | <center>{{S2frame|[[File:Renderingsshadowmummy.jpg|x160px]]|none}}</center> | ||
| + | |||
| + | |width="180px"|Mummy 4 | ||
| + | <center>{{S2frame|[http://www.sacredwiki.org/images/Sacred_2/Bestiary/Mumie2.jpg http://www.sacredwiki.org/images/Sacred_2/Bestiary/th_Mumie2.jpg]|}}</center> | ||
| + | |||
| + | |width="180px"|Ogre Champion | ||
| + | <center>{{S2frame|[[File:Renderingsshadowogrechampion.jpg|x160px]]|none}}</center> | ||
| + | |||
| + | |||
| + | |-valign="top" | ||
| + | |width="180px"|Orc Elite | ||
| + | <center>{{S2frame|[[File:Renderingsshadoworcelite.jpg|x160px]]|none}}</center> | ||
| + | |||
| + | |width="180px"|Orc Officer | ||
| + | <center>{{S2frame|[http://www.sacredwiki.org/images/Sacred_2/Bestiary/Orc_officer.jpg http://www.sacredwiki.org/images/Sacred_2/Bestiary/th_Orc_officer.jpg]|}}</center> | ||
| + | |||
| + | |width="180px"|Orc Shaman | ||
| + | <center>{{S2frame|[[File:Renderingsshadoworcshaman.jpg|x160px]]|none}}</center> | ||
| + | |||
| + | |width="180px"|Orc Warrior | ||
| + | <center>{{S2frame|[http://www.sacredwiki.org/images/Sacred_2/Bestiary/Orc_warrior.jpg http://www.sacredwiki.org/images/Sacred_2/Bestiary/th_Orc_warrior.jpg]|}}</center> | ||
| + | |||
| + | |width="180px"|Orc Warrior Armored | ||
| + | <center>{{S2frame|[http://www.sacredwiki.org/images/Sacred_2/Bestiary/Orc_armored_warrior.jpg http://www.sacredwiki.org/images/Sacred_2/Bestiary/th_Orc_armored_warrior.jpg]|}}</center> | ||
| + | |||
| + | |||
| + | |-valign="top" | ||
| + | |width="180px"|Skeleton Champion | ||
| + | <center>{{S2frame|[[File:Renderingsshadowskeletonchampion.jpg|x160px]]|none}}</center> | ||
| + | |||
| + | |width="180px"|Skeleton Champion 2 | ||
| + | <center>{{S2frame|[http://www.sacredwiki.org/images/Sacred_2/Bestiary/Skeleton_Champion.jpg http://www.sacredwiki.org/images/Sacred_2/Bestiary/th_Skeleton_Champion.jpg]|}}</center> | ||
| + | |||
| + | |width="180px"|Skeleton Mage | ||
| + | <center>{{S2frame|[[File:Renderingsshadowskeletonmage.jpg|x160px]]|none}}</center> | ||
| + | |||
| + | |width="180px"|Skeleton Mage 2 | ||
| + | <center>{{S2frame|[http://www.sacredwiki.org/images/Sacred_2/Bestiary/Skeleton_Mage.jpg http://www.sacredwiki.org/images/Sacred_2/Bestiary/th_Skeleton_Mage.jpg]|}}</center> | ||
| + | |||
| + | |width="180px"|Scorpion | ||
| + | <center>{{S2frame|[[File:Renderingsblackcorpion.jpg|x160px]]|none}}</center> | ||
| + | |||
| + | |||
| + | |-valign="top" | ||
| + | |width="180px"|Troll | ||
| + | <center>{{S2frame|[[File:RenderingsblackTroll.jpg|x160px]]|none}}</center> | ||
| + | |||
| + | |width="180px"|Troll 2 | ||
| + | <center>{{S2frame|[http://www.sacredwiki.org/images/Sacred_2/Bestiary/Troll1.jpg http://www.sacredwiki.org/images/Sacred_2/Bestiary/th_Troll1.jpg]|}}</center> | ||
| + | |||
| + | |width="180px"|Troll 3 | ||
| + | <center>{{S2frame|[[File:Renderingsshadowtrollwarrior.jpg|x160px]]|none}}</center> | ||
| + | |||
| + | |width="180px"|Troll 4 | ||
| + | <center>{{S2frame|[http://www.sacredwiki.org/images/Sacred_2/Bestiary/Troll2.jpg http://www.sacredwiki.org/images/Sacred_2/Bestiary/th_Troll2.jpg]|}}</center> | ||
| + | |||
| + | |width="180px"|Troll 5 | ||
| + | <center>{{S2frame|[http://www.sacredwiki.org/images/Sacred_2/Bestiary/trolls2.jpg http://www.sacredwiki.org/images/Sacred_2/Bestiary/th_trolls2.jpg]|}}</center> | ||
| + | |||
| + | |||
| + | |-valign="top" | ||
| + | |width="180px"|Troll Warrior | ||
| + | <center>{{S2frame|[http://www.sacredwiki.org/images/Sacred_2/Bestiary/trolls3.jpg http://www.sacredwiki.org/images/Sacred_2/Bestiary/th_trolls3.jpg]|}}</center> | ||
| + | |||
| + | |width="180px"|Troll Hunter | ||
| + | <center>{{S2frame|[http://www.sacredwiki.org/images/Sacred_2/Bestiary/trolls4.jpg http://www.sacredwiki.org/images/Sacred_2/Bestiary/th_trolls4.jpg]|}}</center> | ||
| + | |||
| + | |width="180px"|Werewolf | ||
| + | <center>{{S2frame|[[File:Renderingsshadowwerewolf.jpg|x160px]]|none}}</center> | ||
| + | |||
| + | |width="180px"|Werewolf 2 | ||
| + | <center>{{S2frame|[http://www.sacredwiki.org/images/Sacred_2/Bestiary/Werewolf.jpg http://www.sacredwiki.org/images/Sacred_2/Bestiary/th_Werewolf.jpg]|}}</center> | ||
| + | |||
| + | |width="180px"|Wood Creature | ||
| + | <center>{{S2frame|[[File:Renderingsshadowwoodcreature.jpg|x160px]]|none}}</center> | ||
|-valign="top" | |-valign="top" | ||
| + | |width="180px"|Wood Creature 2 | ||
| + | <center>{{S2frame|[http://www.sacredwiki.org/images/Sacred_2/Bestiary/Woodcreature.jpg http://www.sacredwiki.org/images/Sacred_2/Bestiary/th_Woodcreature.jpg]|}}</center> | ||
| + | |||
| + | |} | ||
| + | |||
| + | ===Equipment=== | ||
| + | ---- | ||
| + | {|valign="top" width="100%" padding="10px" style="font-size:1em;font-weight:bold;text-align:center" | ||
| + | |-valign="top" | ||
| + | |||
| + | |width="180px"|Bows | ||
| + | <center>{{S2frame|[[File:Sacred2 Bows.jpg|x160px]]|none}}</center> | ||
| + | |||
| + | |width="180px"|Special Bow | ||
| + | <center>{{S2frame|[[File:Renderings Special Bow.jpg|x160px]]|none}}</center> | ||
| + | |||
| + | |width="180px"|Bone Bow | ||
| + | <center>{{S2frame|[[File:Renderings Bone Bow.jpg|x160px]]|none}}</center> | ||
| + | |||
| + | |width="180px"|Demon Shield | ||
| + | <center>{{S2frame|[[File:Renderings Demon Shield.jpg|x160px]]|none}}</center> | ||
| + | |} | ||
| + | |||
| + | |||
| + | {|valign="top" width="100%" padding="10px" style="font-size:1em;font-weight:bold;text-align:center" | ||
| + | |-valign="top" | ||
| + | |||
| + | |width="180px"|Shrunken Heads | ||
| + | <center>{{S2frame|[[File:Renderings Shrunkenheads.jpg|x160px]]|none}}</center> | ||
| + | |} | ||
| + | |||
| + | ===Environment=== | ||
| + | ---- | ||
| + | {|valign="top" width="100%" padding="10px" style="font-size:1em;font-weight:bold;text-align:center" | ||
| + | |-valign="top" | ||
| + | |||
| + | |width="180px"|Alchemy Workbench | ||
| + | <center>{{S2frame|[[File:Renders alchemy workbench.jpg|x160px]]|none}}</center> | ||
| + | |||
| + | |width="180px"|Ancient Gate Archway | ||
| + | <center>{{S2frame|[[File:Renders Ancient Gate Archway.jpg|x160px]]|none}}</center> | ||
| + | |||
| + | |width="180px"|Ancient Ruins | ||
| + | <center>{{S2frame|[[File:Renders Ancient ruins.jpg|x160px]]|none}}</center> | ||
| + | |||
| + | |width="180px"|Blacksmith Tools | ||
| + | <center>{{S2frame|[[File:Renders blacksmith tools.jpg|x160px]]|none}}</center> | ||
| + | |||
| + | |||
| + | |-valign="top" | ||
| + | |||
| + | |width="180px"|Campsite | ||
| + | <center>{{S2frame|[[File:Renders campsite.jpg|x160px]]|none}}</center> | ||
| + | |||
| + | |width="180px"|Catacombs | ||
| + | <center>{{S2frame|[[File:Renders Catacombs.jpg|x160px]]|none}}</center> | ||
| + | |||
| + | |width="180px"|Chapel Entrance | ||
| + | <center>{{S2frame|[[File:Renders Chapel entrance.jpg|x160px]]|none}}</center> | ||
| + | |||
| + | |width="180px"|Columns | ||
| + | <center>{{S2frame|[[File:Renders Columns.jpg|x160px]]|none}}</center> | ||
| + | |||
| + | |||
| + | |-valign="top" | ||
| + | |||
| + | |width="180px"|Crypt | ||
| + | <center>{{S2frame|[[File:Renders Crypt.jpg|x160px]]|none}}</center> | ||
| + | |||
| + | |width="180px"|Dungeon Entrance | ||
| + | <center>{{S2frame|[[File:Renders Dungeon Entrance.jpg|x160px]]|none}}</center> | ||
| + | |||
| + | |width="180px"|High Elf Villa 1 | ||
| + | <center>{{S2frame|[[File:Renders High Elf Villa1.jpg|x160px]]|none}}</center> | ||
| + | |||
| + | |width="180px"|High Elf Villa 2 | ||
| + | <center>{{S2frame|[[File:Renders High Elf Villa2.jpg |x160px]]|none}}</center> | ||
| + | |||
| + | |||
| + | |-valign="top" | ||
| + | |||
| + | |width="180px"|High Elf Villa 3 | ||
| + | <center>{{S2frame|[[File:Renders High Elf Villa3.jpg |x160px]]|none}}</center> | ||
| + | |||
| + | |width="180px"|House | ||
| + | <center>{{S2frame|[[File:Renders house.jpg|x160px]]|none}}</center> | ||
| + | |||
| + | |width="180px"|House 2 | ||
| + | <center>{{S2frame|[[File:Renders House2.jpg|x160px]]|none}}</center> | ||
| + | |||
| + | |width="180px"|Lava Rock | ||
| + | <center>{{S2frame|[[File:Renders lavarock.jpg|x160px]]|none}}</center> | ||
| + | |||
| + | |||
| + | |-valign="top" | ||
| + | |||
| + | |width="180px"|Machine Gun Trap | ||
| + | <center>{{S2frame|[[File:Renders machinegun trap.jpg|x90px]]|none}}</center> | ||
| + | |||
| + | |width="180px"|Orc House | ||
| + | <center>{{S2frame|[[File:Renders Orc Housei.jpg|x160px]]|none}}</center> | ||
| + | |||
| + | |width="180px"|Plants | ||
| + | <center>{{S2frame|[[File:Renders plants.jpg|x160px]]|none}}</center> | ||
| + | |||
| + | |width="180px"|Poison Gas Trap | ||
| + | <center>{{S2frame|[[File:Renders Poison Gas trap.jpg|x90px]]|none}}</center> | ||
| + | |||
| + | |||
| + | |-valign="top" | ||
| + | |||
| + | |width="180px"|Statue | ||
| + | <center>{{S2frame|[[File:Renders Statue.jpg|x160px]]|none}}</center> | ||
| + | |||
| + | |width="180px"|Statue 2 | ||
| + | <center>{{S2frame|[[File:Renders Statue2.jpg|x160px]]|none}}</center> | ||
| + | |||
| + | |width="180px"|Tent | ||
| + | <center>{{S2frame|[[File:Renders Tent.jpg|x160px]]|none}}</center> | ||
| + | |||
| + | |||
| + | |} | ||
| + | |||
| + | =='''[[Sacred 2:Ice and Blood|Ice and Blood]] Renders'''== | ||
| + | |||
| + | ===Wire-to-Finish Renders=== | ||
| + | ---- | ||
| + | |||
| + | {|valign="top" width="100%" padding="10px" style="font-size:1em;font-weight:bold;text-align:center" | ||
| + | |-valign="top" | ||
| + | |||
| + | |width="180px"|Ice Phoenix | ||
| + | <center>{{S2frame|[[File:Addon ice phoenix.jpg|x160px]]|none}}</center> | ||
| + | |||
| + | |width="180px"|Phoenix Wire-to-Finish | ||
| + | <center>{{S2frame|[[File:Artwork phoenix wiretofinish.jpg|x160px]]|none}}</center> | ||
| + | |||
| + | |width="180px"|Dragon | ||
| + | <center>{{S2frame|[[File:Addon dragon.jpg|x160px]]|none}}</center> | ||
| + | |||
| + | |width="180px"|Dragon Wire-to-Finish | ||
| + | <center>{{S2frame|[[File:Artwork-dragon wiretofinish.jpg|x160px]]|none}}</center> | ||
| + | <br> | ||
| + | |-valign="top" | ||
| + | |||
| + | |width="180px"|Berserk Wire-to-Finish 1 | ||
| + | <center>{{S2frame|[[File:Berserk form wire-to-finish1 22738.jpg|x160px]]|none}}</center> | ||
| + | |||
| + | |width="180px"|Berserk Wire-to-Finish 2 | ||
| + | <center>{{S2frame|[[File:Berserk form wire-to-finish2 22739.jpg|x160px]]|none}}</center> | ||
| + | |||
| + | |width="180px"|Berserk Wire-to-Finish 3 | ||
| + | <center>{{S2frame|[[File:Berserk form wire-to-finish3 22740.jpg|x160px]]|none}}</center> | ||
| + | |||
| + | |width="180px"|Dragon Mage Wire-to-Finish 1 | ||
| + | <center>{{S2frame|[[File:Dragon mage default wire-to-finish1.jpg|x160px]]|none}}</center> | ||
| + | <br> | ||
| + | |-valign="top" | ||
| + | |||
| + | |width="180px"|Dragon Mage Wire-to-Finish 2 | ||
| + | <center>{{S2frame|[[File:Dragon mage default wire-to-finish2.jpg|x160px]]|none}}</center> | ||
| + | |||
| + | |width="180px"|Dragon Mage Wire-to-Finish 3 | ||
| + | <center>{{S2frame|[[File:Dragon mage default.jpg|x160px]]|none}}</center> | ||
| + | |||
| + | |width="180px"|Dragon Magic Armor Wire-to-Finish 1 | ||
| + | <center>{{S2frame|[[File:Dragon mage dragon magic wire-to-finish1.jpg|x160px]]|none}}</center> | ||
| + | |||
| + | |width="180px"|Dragon Magic Armor Wire-to-Finish 2 | ||
| + | <center>{{S2frame|[[File:Dragon mage dragon magic wire-to-finish2.jpg|x160px]]|none}}</center> | ||
| + | <br> | ||
| + | |-valign="top" | ||
| + | |||
| + | |width="180px"|Dragon Magic Armor Wire-to-Finish 3 | ||
| + | <center>{{S2frame|[[File:Dragon mage dragon magic.jpg|x160px]]|none}}</center> | ||
| + | |||
| + | |width="180px"|Dragon Special Armor Wire-to-Finish 1 | ||
| + | <center>{{S2frame|[[File:Dragon mage special armor wire-to-finish1.jpg|x160px]]|none}}</center> | ||
| + | |||
| + | |width="180px"|Dragon Special Armor Wire-to-Finish 2 | ||
| + | <center>{{S2frame|[[File:Dragon mage special armor wire-to-finish2.jpg|x160px]]|none}}</center> | ||
| + | |||
| + | |width="180px"|Dragon Special Armor Wire-to-Finish 3 | ||
| + | <center>{{S2frame|[[File:Dragon mage special.jpg|x160px]]|none}}</center> | ||
| + | <br> | ||
| + | |} | ||
| + | |||
| + | ===Various Ice and Blood Renders=== | ||
| + | ---- | ||
| + | |||
| + | {|valign="top" width="100%" padding="10px" style="font-size:1em;font-weight:bold;text-align:center" | ||
| + | |-valign="top" | ||
| + | |||
| + | |width="180px"|Dragon Mage 1 | ||
| + | <center>{{S2frame|[[File:Renderings dragonmagespecialarmor-001.jpg|x160px]]|none}}</center> | ||
| + | |||
| + | |width="180px"|Dragon Mage 2 | ||
| + | <center>{{S2frame|[[File:Dmfull.jpg|x160px]]|none}}</center> | ||
| + | |||
| + | |width="180px"|Dragon Mage in the Blood Forest | ||
| + | <center>{{S2frame|[[File:Dragonmage bloodforest.jpg|x160px]]|none}}</center> | ||
| + | |||
| + | |width="180px"|Dragon Mage Backdrop | ||
| + | <center>{{S2frame|[[File:DM Loading Screen.jpg|x160px]]|none}}</center> | ||
| + | |||
| + | |||
| + | |||
| + | |-valign="top" | ||
| + | |||
| + | |width="180px"|Dragon Mage on Draconicon | ||
| + | <center>{{S2frame|[[File:Dragon Mage Mounted.jpg|x160px]]|none}}</center> | ||
| + | |||
| + | |width="180px"|Dragon Logo | ||
| + | <center>{{S2frame|[[File:Artwork dragon mage icon.jpg|x160px]]|none}}</center> | ||
| + | |||
| + | |width="180px"|Carrier Imp | ||
| + | <center>{{S2frame|[[File:Addon imp.jpg|x160px]]|none}}</center> | ||
| + | |||
| + | |width="180px"|Dragon Berserk | ||
| + | <center>{{S2frame|[[ File:Dm dberserk.jpg|x160px]]|none}}</center> | ||
| + | |||
| + | |} | ||
| + | |||
| + | |||
| + | =='''Special Mount Renders'''== | ||
| + | {|valign="top" width="100%" padding="10px" style="font-size:1em;font-weight:bold;text-align:center" | ||
| + | |-valign="top" | ||
| + | |||
| + | |width="180px"|Hellhound | ||
| + | <center>{{S2frame|[[File:Hellhound.png|x160px]]|none}}</center> | ||
| + | |||
| + | |width="180px"|Battle Monitor | ||
| + | <center>{{S2frame|[[File:Monitorizard.png|x160px]]|none}}</center> | ||
| + | |||
| + | |width="180px"|Shroud Spider | ||
| + | <center>{{S2frame|[[File:Shroudspider.png|x160px]]|none}}</center> | ||
| + | |||
| + | |width="180px"|Saber-Toothed Tiger | ||
| + | <center>{{S2frame|[[File:Tiger.png|x160px]]|none}}</center> | ||
| + | |} | ||
| + | |||
| + | |||
| + | {|valign="top" width="100%" padding="10px" style="font-size:1em;font-weight:bold;text-align:center" | ||
| + | |-valign="top" | ||
| + | |||
| + | |width="180px"|Wind Serpent | ||
| + | <center>{{S2frame|[[File:Windserpent.png|x200px]]|none}}</center> | ||
| + | |||
| + | |width="180px"|Mobiculum | ||
| + | <center>{{S2frame|[[File:Mobiculum.png|x200px]]|none}}</center> | ||
| + | |||
| + | |width="180px"|Draconicon | ||
| + | <center>{{S2frame|[[File:Dmhorse1.png|x200px]]|none}}</center> | ||
| + | |||
| + | |} | ||
| + | |||
| + | =='''Logos'''== | ||
| + | {|valign="top" width="100%" padding="10px" style="font-size:1em;font-weight:bold;text-align:center" | ||
| + | |-valign="top" | ||
| + | |||
| + | |width="180px"|Fallen Angel Red | ||
| + | <center>{{S2frame|[[File:Sacred 2 - Fallen Angel Logo dark red.jpg|x200px]]|none}}</center> | ||
| + | |||
| + | |width="180px"|Fallen Angel Blue | ||
| + | <center>{{S2frame|[[File:Sacred 2 - Fallen Angel Logo light blue.jpg|x200px]]|none}}</center> | ||
| + | |||
| + | |width="180px"|Fallen Angel Dark | ||
| + | <center>{{S2frame|[[File:Sacred 2 - Fallen Angel Logo neutral umbra.jpg|x200px]]|none}}</center> | ||
| + | |||
| + | |width="180px"|Ice and Blood | ||
| + | <center>{{S2frame|[[File:Sacred2 BloodandIce FinalLogo on black2.jpg|x200px]]|none}}</center> | ||
| + | |} | ||
| + | |||
| + | ===Character Logos=== | ||
| + | ---- | ||
| + | {|valign="top" width="100%" padding="10px" style="font-size:1em;font-weight:bold;text-align:center" | ||
| + | |-valign="top" | ||
| + | |||
| + | |width="180px"|Dragon Mage | ||
| + | <center>[[File:Renders Dragon Mage Logo.png|x195px]]</center> | ||
| + | |||
| + | |width="180px"|Dryad | ||
| + | <center>[[File:Renders Dryad Logo.png|x210px]]</center> | ||
| + | |||
| + | |width="180px"|High Elf | ||
| + | <center>[[File:Renders High Elf Logo.png|x210px]]</center> | ||
| + | |||
| + | |width="180px"|Inquisitor | ||
| + | <center>[[File:Renders Inquisitor Logo.png|x185px]]</center> | ||
| + | |} | ||
| + | |||
| + | {|valign="top" width="100%" padding="10px" style="font-size:1em;font-weight:bold;text-align:center" | ||
| + | |-valign="top" | ||
| + | |||
| + | |width="180px"|Seraphim | ||
| + | <center>[[File:Renders Seraphim Logo.png|x210px]]</center> | ||
| + | |||
| + | |width="180px"|Shadow Warrior | ||
| + | <center>[[File:Renders Shadow Warrior Logo.png|x210px]]</center> | ||
| − | |width="180px"|Temple Guardian | + | |width="180px"|Temple Guardian |
| − | <center> | + | <center>[[File:Renders Temple Guardian Logo.png|x210px]]</center> |
|} | |} | ||
Revision as of 21:33, 8 September 2013
Fallen Angel Renders
Character Backdrop Screens
Dryad Backdrop
|
Dryad Backdrop 2
|
High Elf Backdrop 1
|
High Elf Backdrop 2
| ||||||||||||||||||||||||||||||||||||


Inquisitor Backdrop
|
Seraphim Backdrop
|
Shadow Warrior Backdrop
|
Temple Guardian Backdrop 1
| ||||||||||||||||||||||||||||||||||||


Temple Guardian Backdrop 2
| |||||||||

Character "Paths" Portraits
Dryad Light
|
Dryad Shadow
|
High Elf Light
|
High Elf Shadow
|
Inquisitor
| |||||||||||||||||||||||||||||||||||||||||||||


Seraphim
|
Shadow Warrior Light
|
Shadow Warrior Shadow
|
Temple Guardian Light
|
Temple Guardian Shadow
| |||||||||||||||||||||||||||||||||||||||||||||


Character "Cartoon" Renders
 |
 |
 |
 |
 |
 |
High Resolution Character Portraits
Dryad
|
High Elf
|
Inquisitor
|
Seraphim
|
Shadow Warrior
|
Temple Guardian
| ||||||||||||||||||||||||||||||||||||||||||||||||||||||


Various Character Renders
Dryad 1
|
Dryad 2
|
High Elf 1
|
High Elf 2
| ||||||||||||||||||||||||||||||||||||
High Elf 3
|
High Elf 4
|
Inquisitor
|
Seraphim 1
| ||||||||||||||||||||||||||||||||||||
Seraphim 2
|
Seraphim 3
|
Seraphim 4
|
Seraphim 5
| ||||||||||||||||||||||||||||||||||||
Shadow Warrior 1
|
Shadow Warrior 2
|
Shadow Warrior 3
|
Shadow Warrior 4
| ||||||||||||||||||||||||||||||||||||
Shadow Warrior 5
|
Shadow Warrior 6
|
Temple Guardian 1
|
Temple Guardian 2
| ||||||||||||||||||||||||||||||||||||


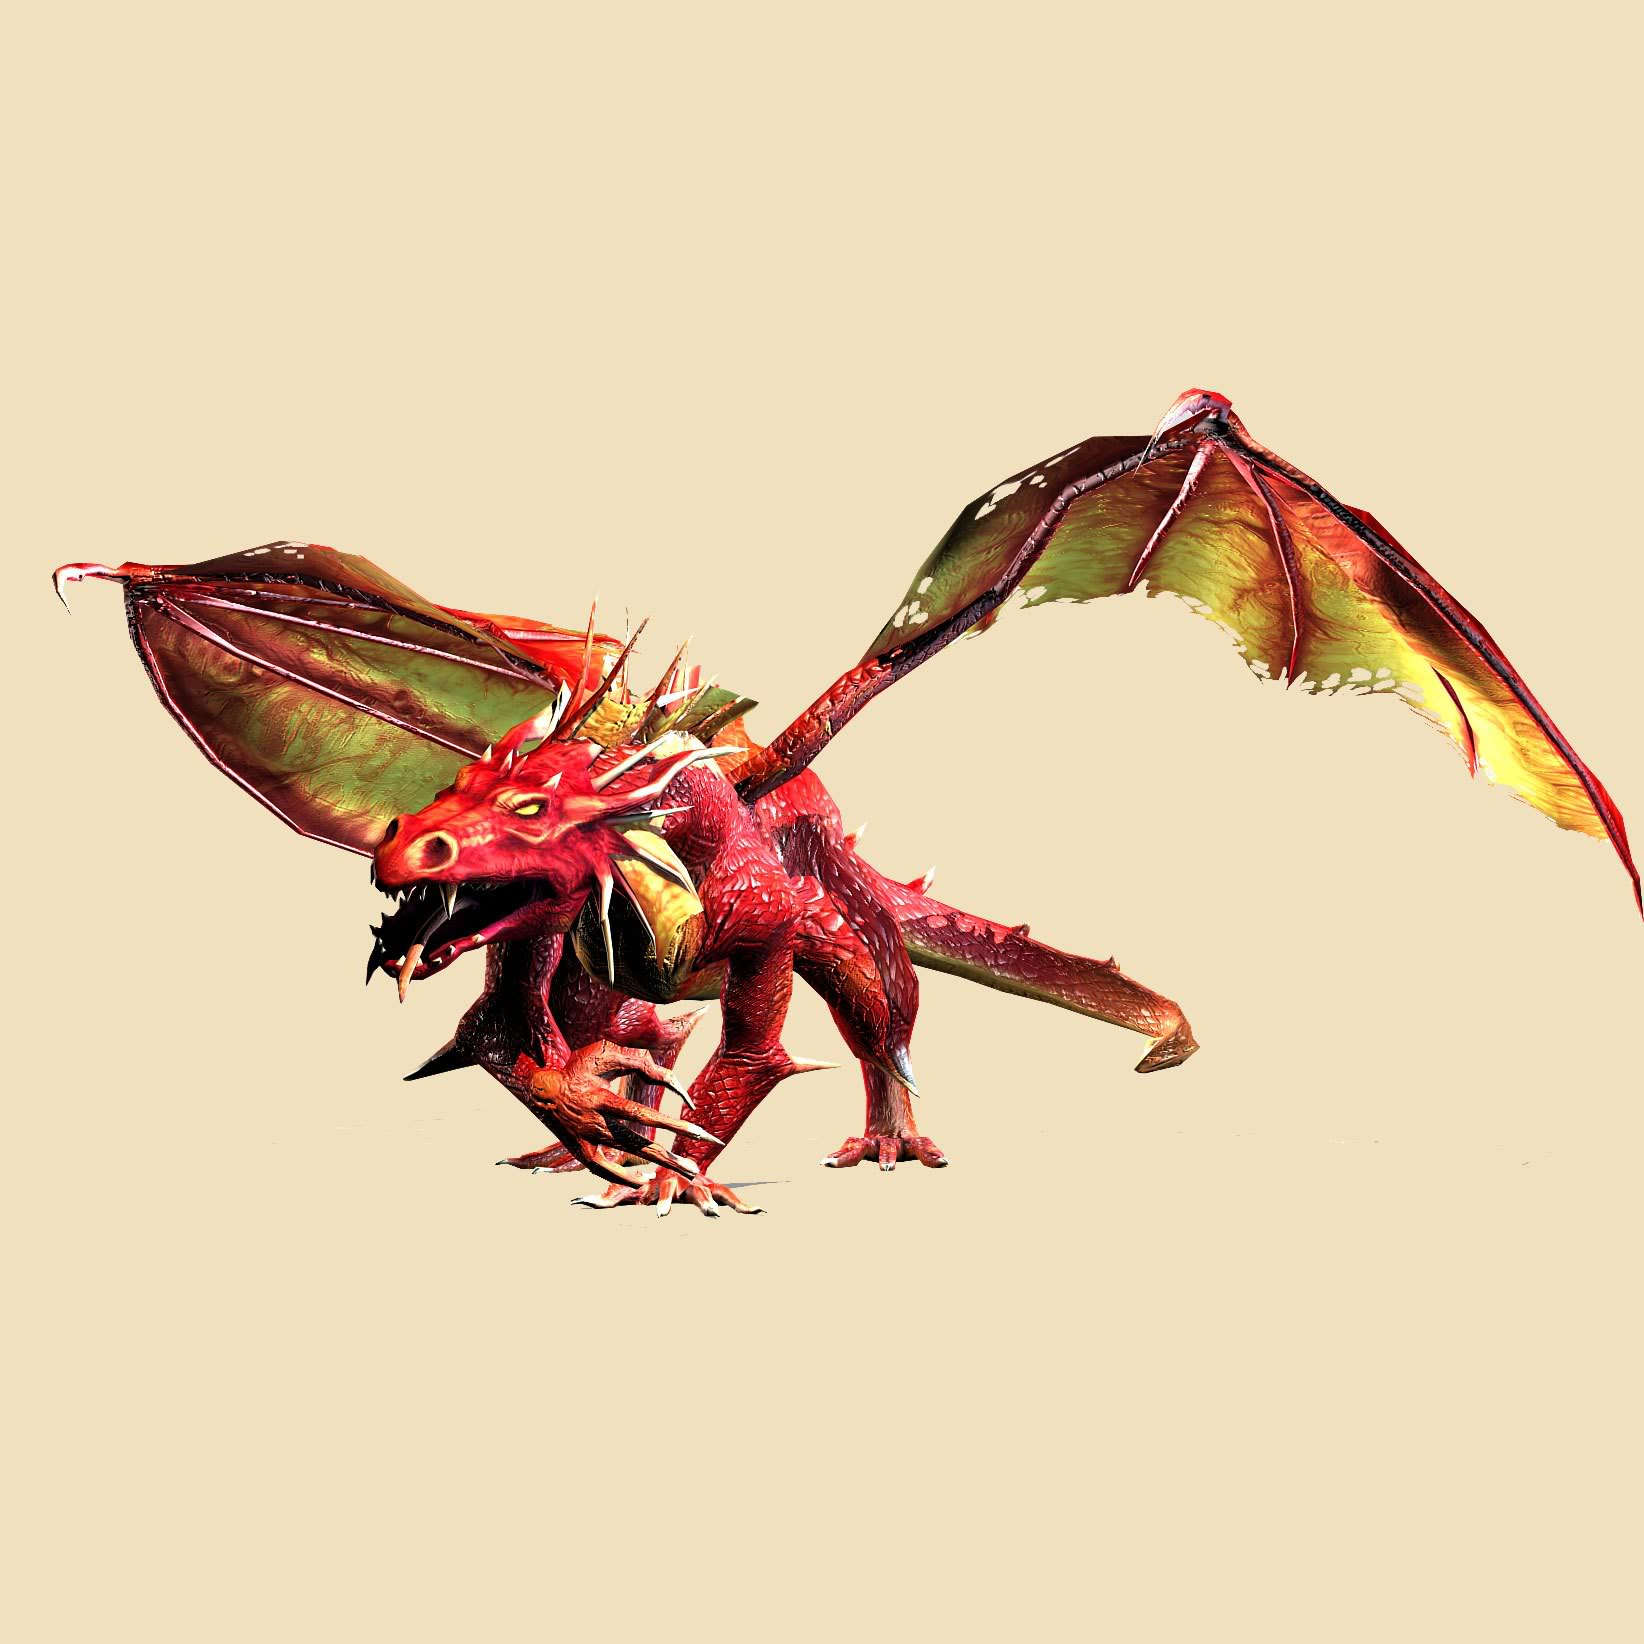
Creatures
Dragon
|
Dragon 2
|
Ghost
|
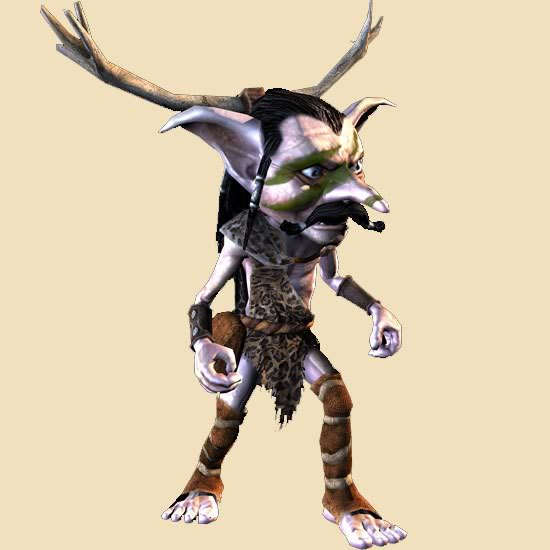
Goblin Hunter 1
|
Goblin Hunter 2
| |||||||||||||||||||||||||||||||||||||||||||||
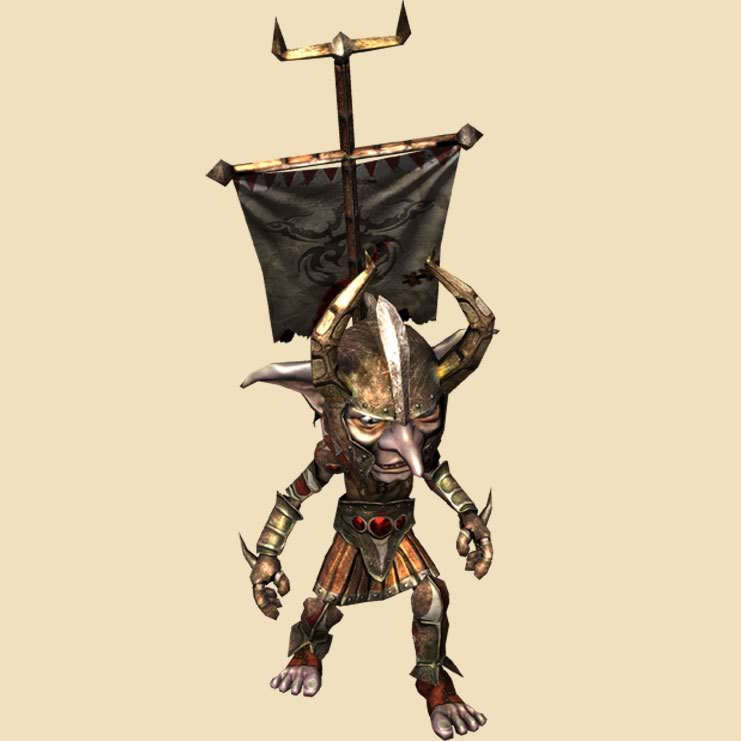
Goblin Officer 1
|
Goblin Officer 2
|
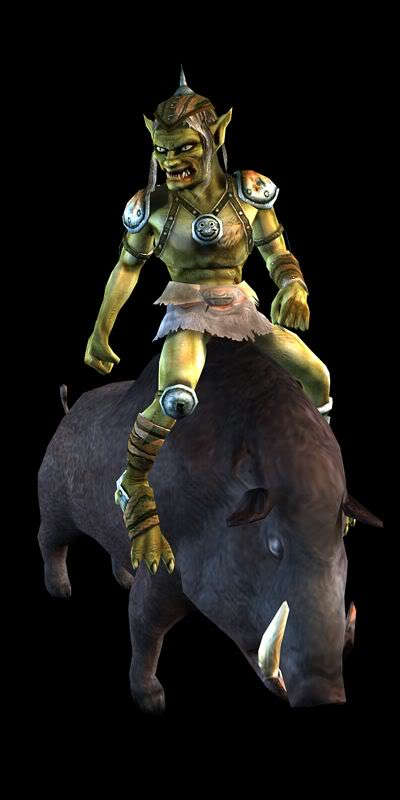
Goblin Rider
|
Goblin Shaman 1
|
Goblin Shaman 2
| |||||||||||||||||||||||||||||||||||||||||||||
Goblin Warrior 1
|
Goblin Warrior 2
|
Goblin Warrior 3
|
Golem 1
|
Golem 2
| |||||||||||||||||||||||||||||||||||||||||||||
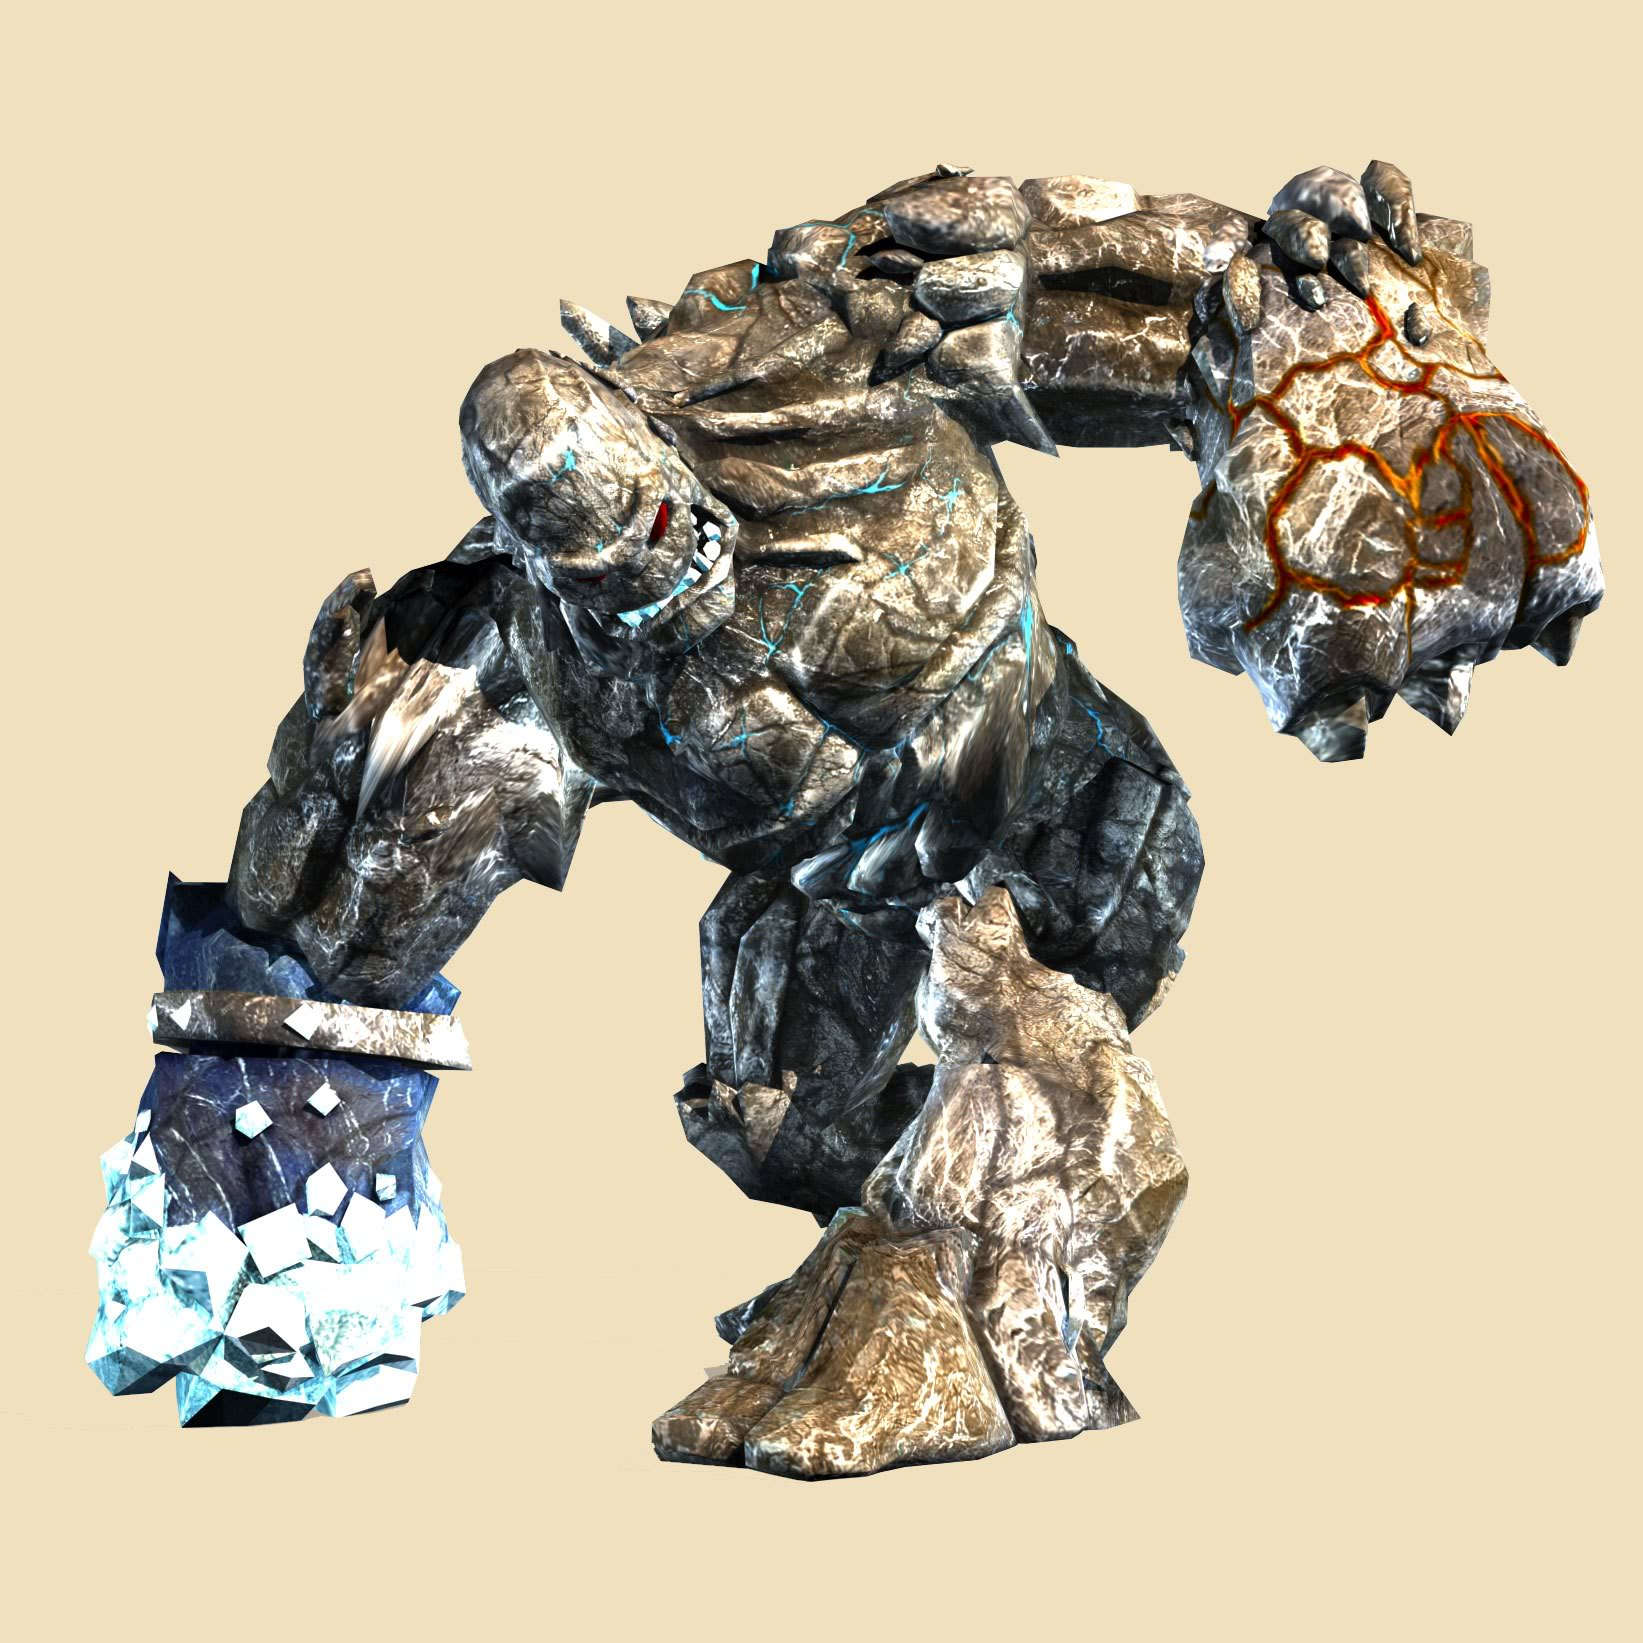
Golem 3
|
Harpy 1
|
Harpy 2
|
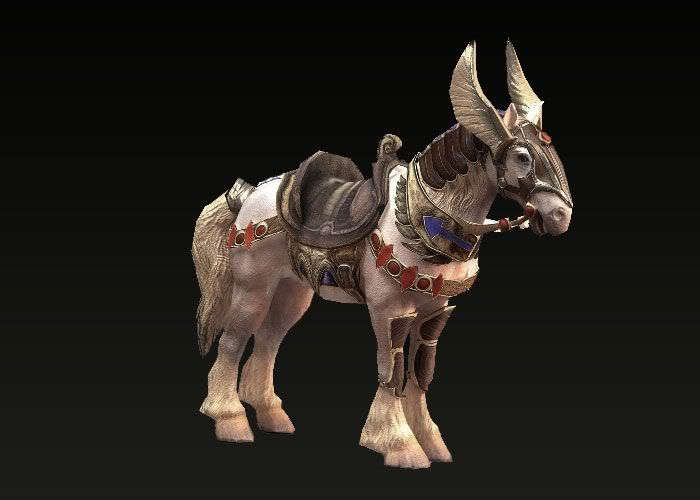
Horse
|
Hellhound
| |||||||||||||||||||||||||||||||||||||||||||||
Kobold
|
Kobold Chief
|
Kobold Chief 2
|
Kobold Hunter
|
Kobold Mage
| |||||||||||||||||||||||||||||||||||||||||||||
Kobold Warrior
|
Lich
|
Lich 2
|
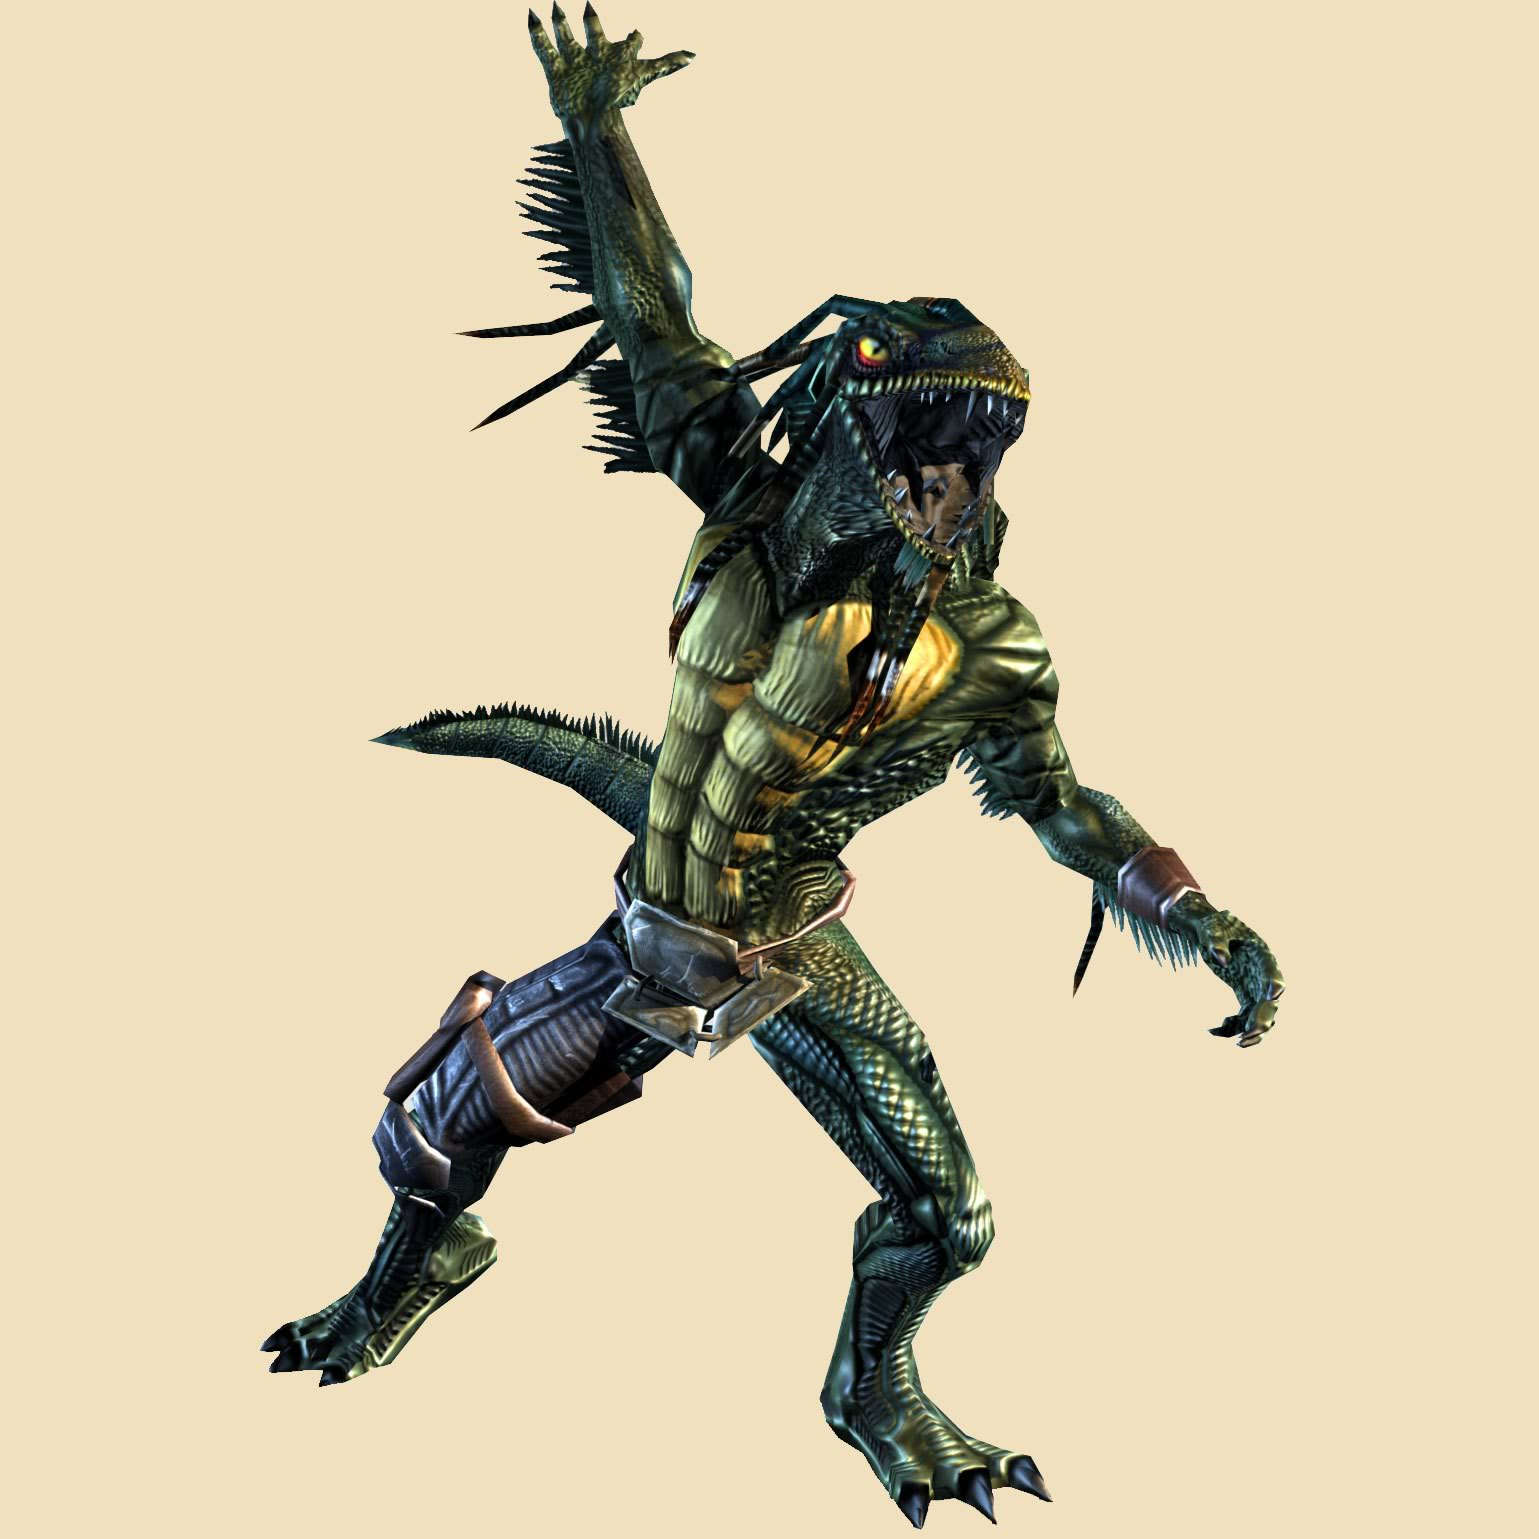
Lizardman Hunter
|
Lizardman Hunter 2
| |||||||||||||||||||||||||||||||||||||||||||||
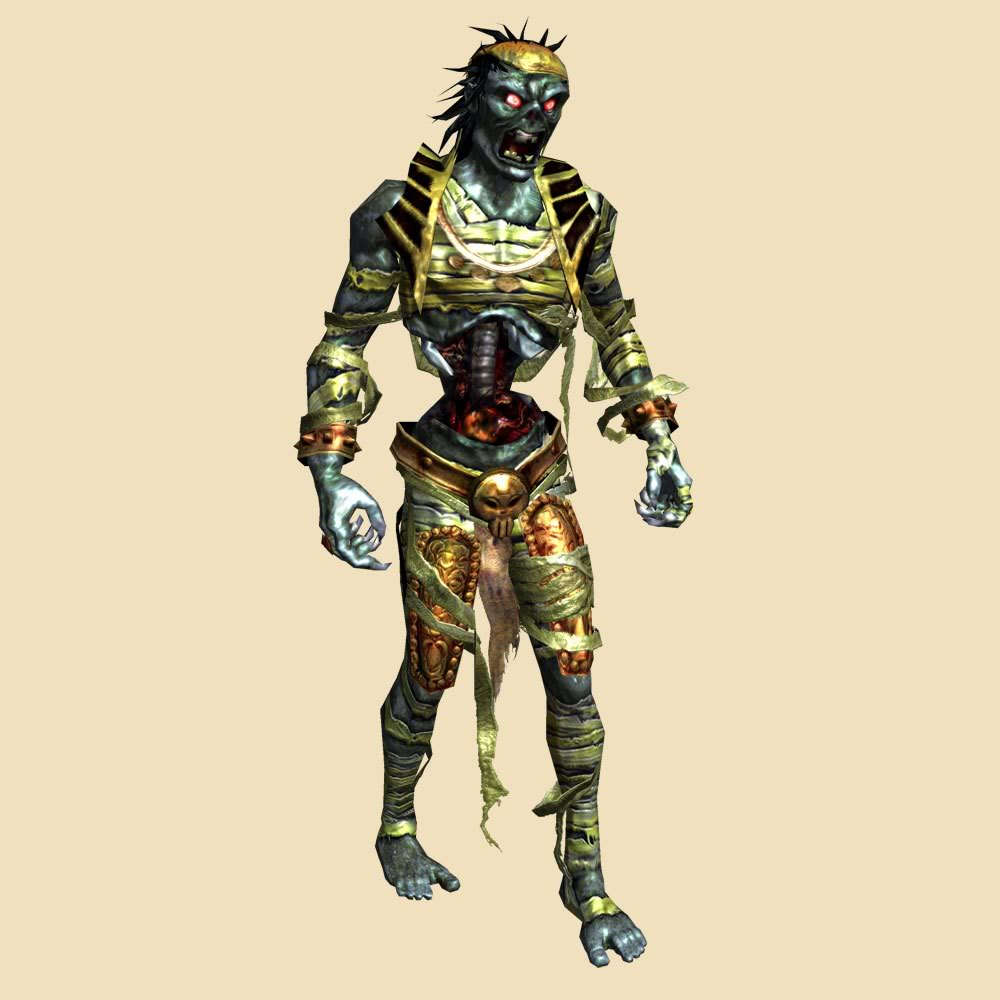
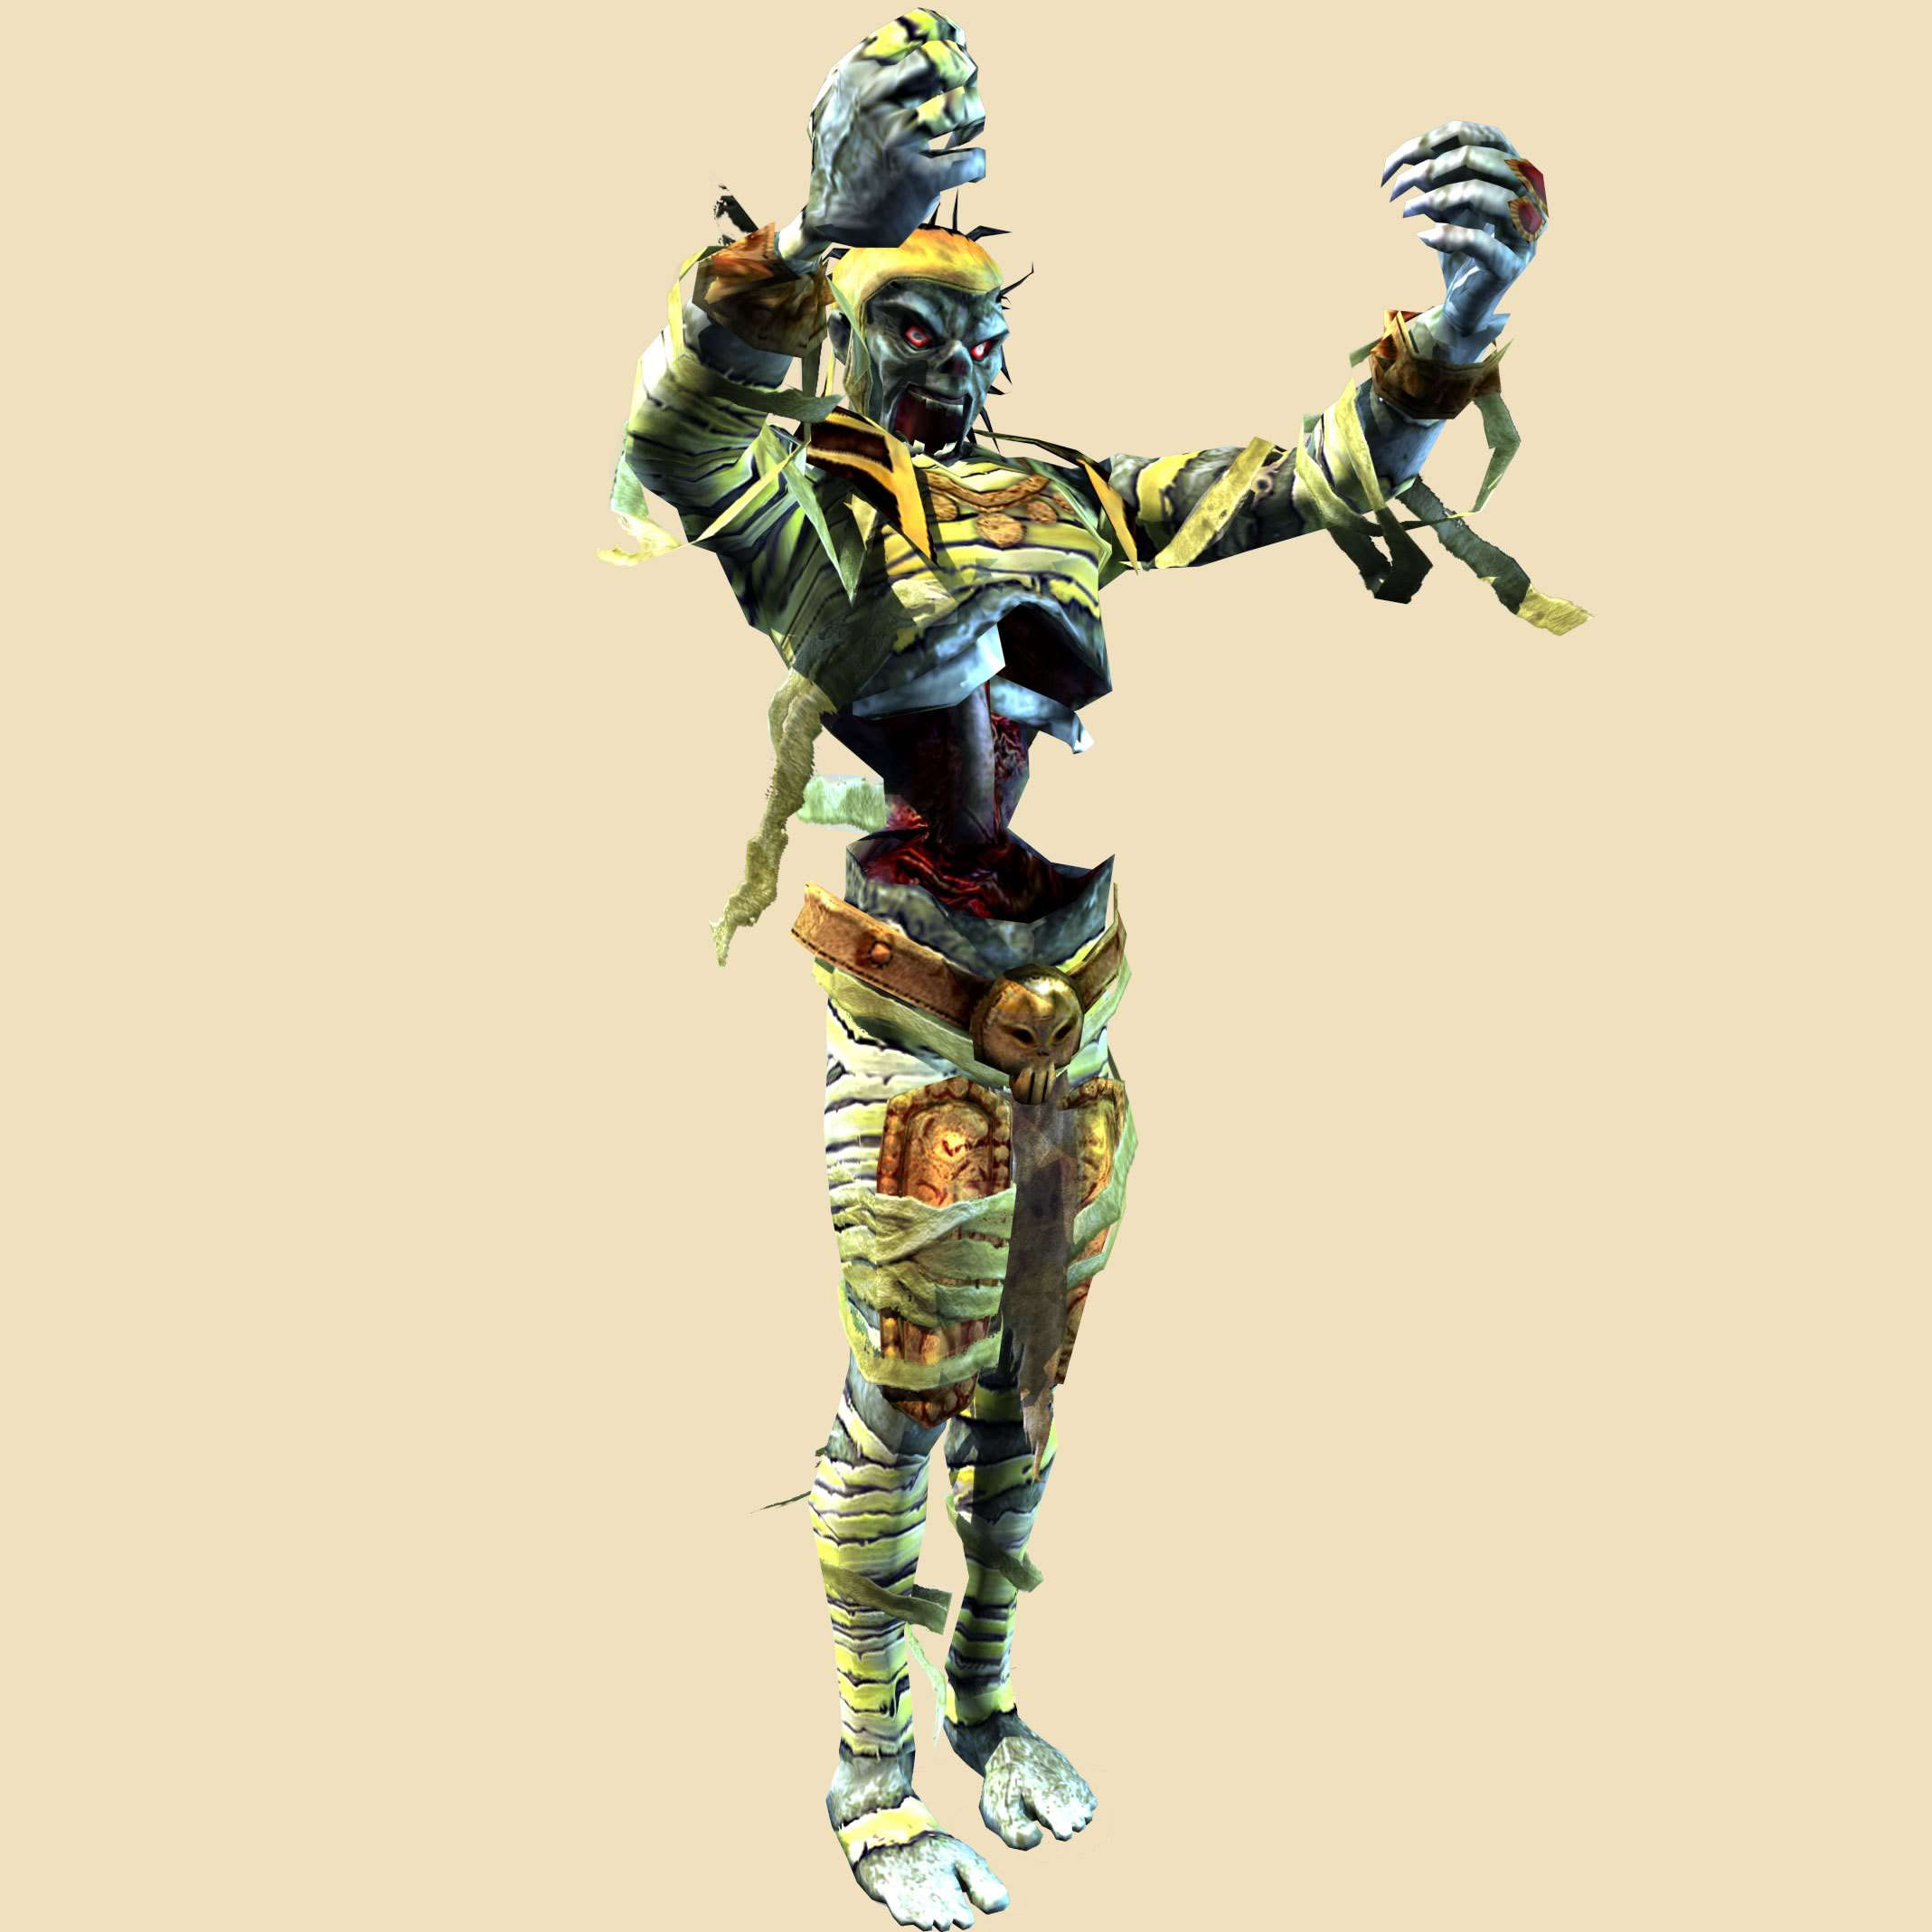
Mummy 1
|
Mummy 2
|
Mummy 3
|
Mummy 4
|
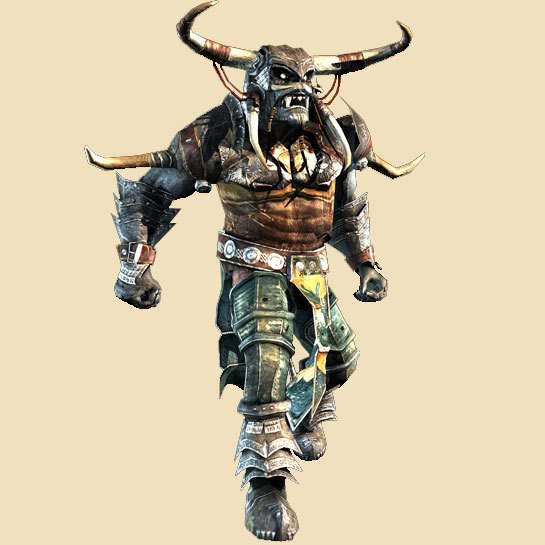
Ogre Champion
| |||||||||||||||||||||||||||||||||||||||||||||
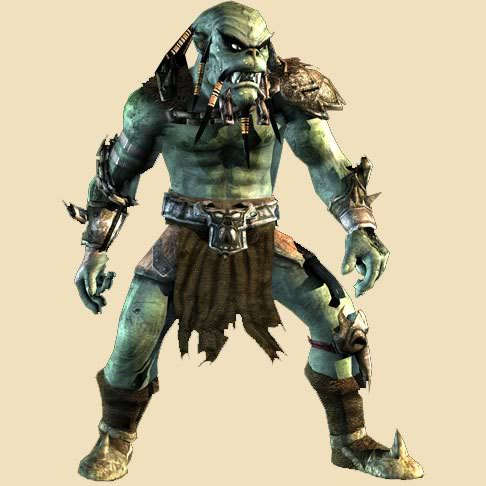
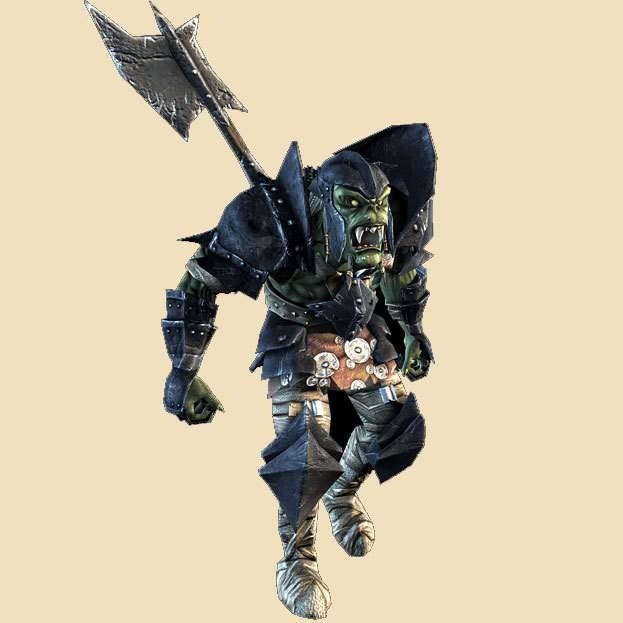
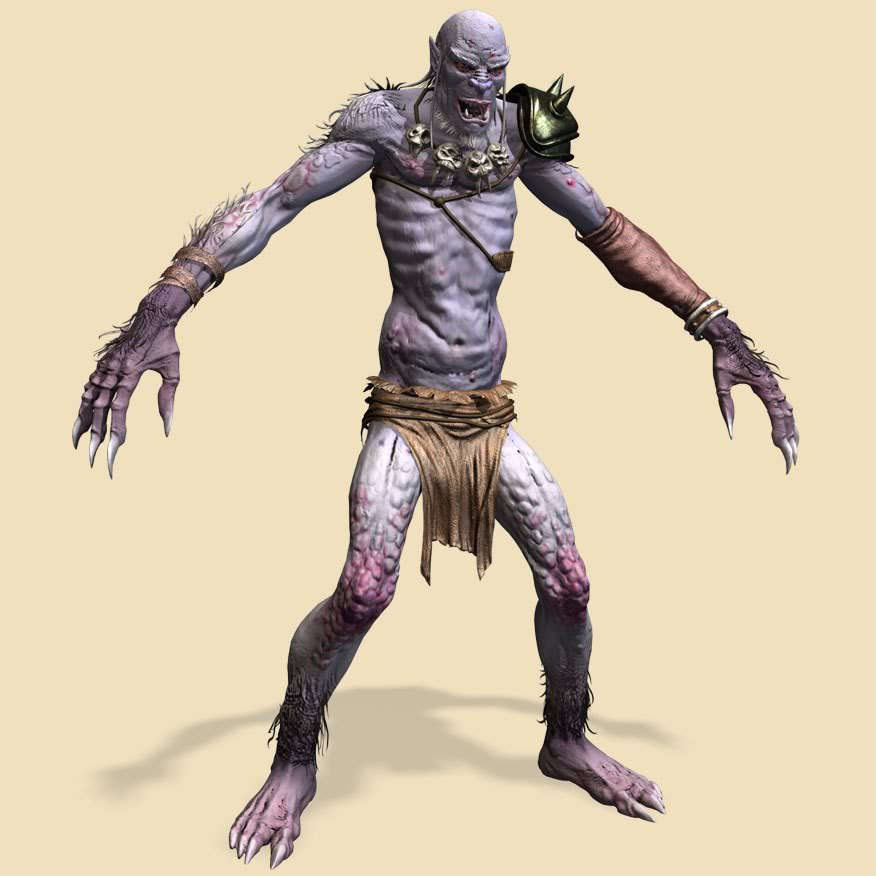
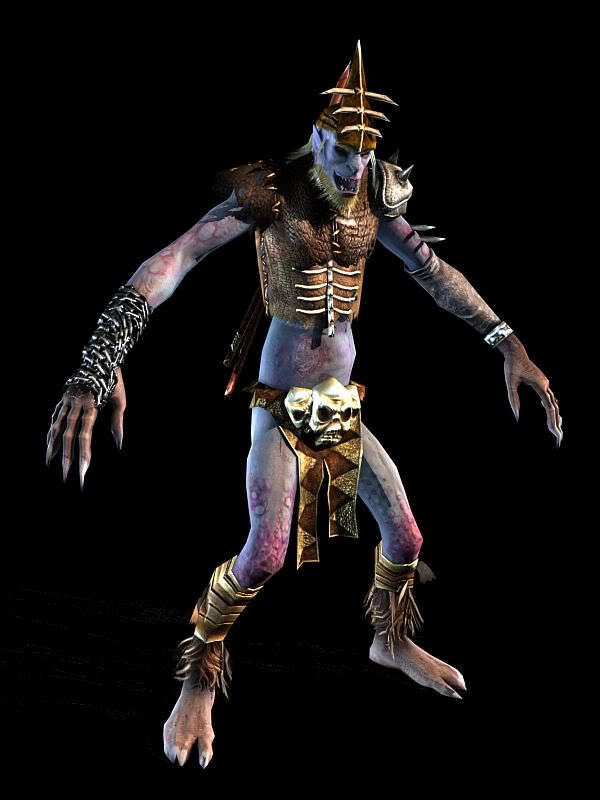
Orc Elite
|
Orc Officer
|
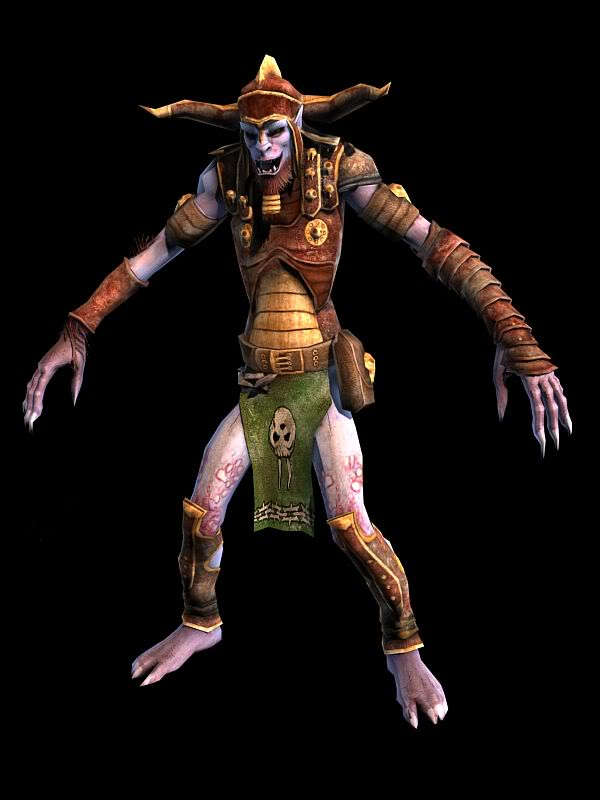
Orc Shaman
|
Orc Warrior
|
Orc Warrior Armored
| |||||||||||||||||||||||||||||||||||||||||||||
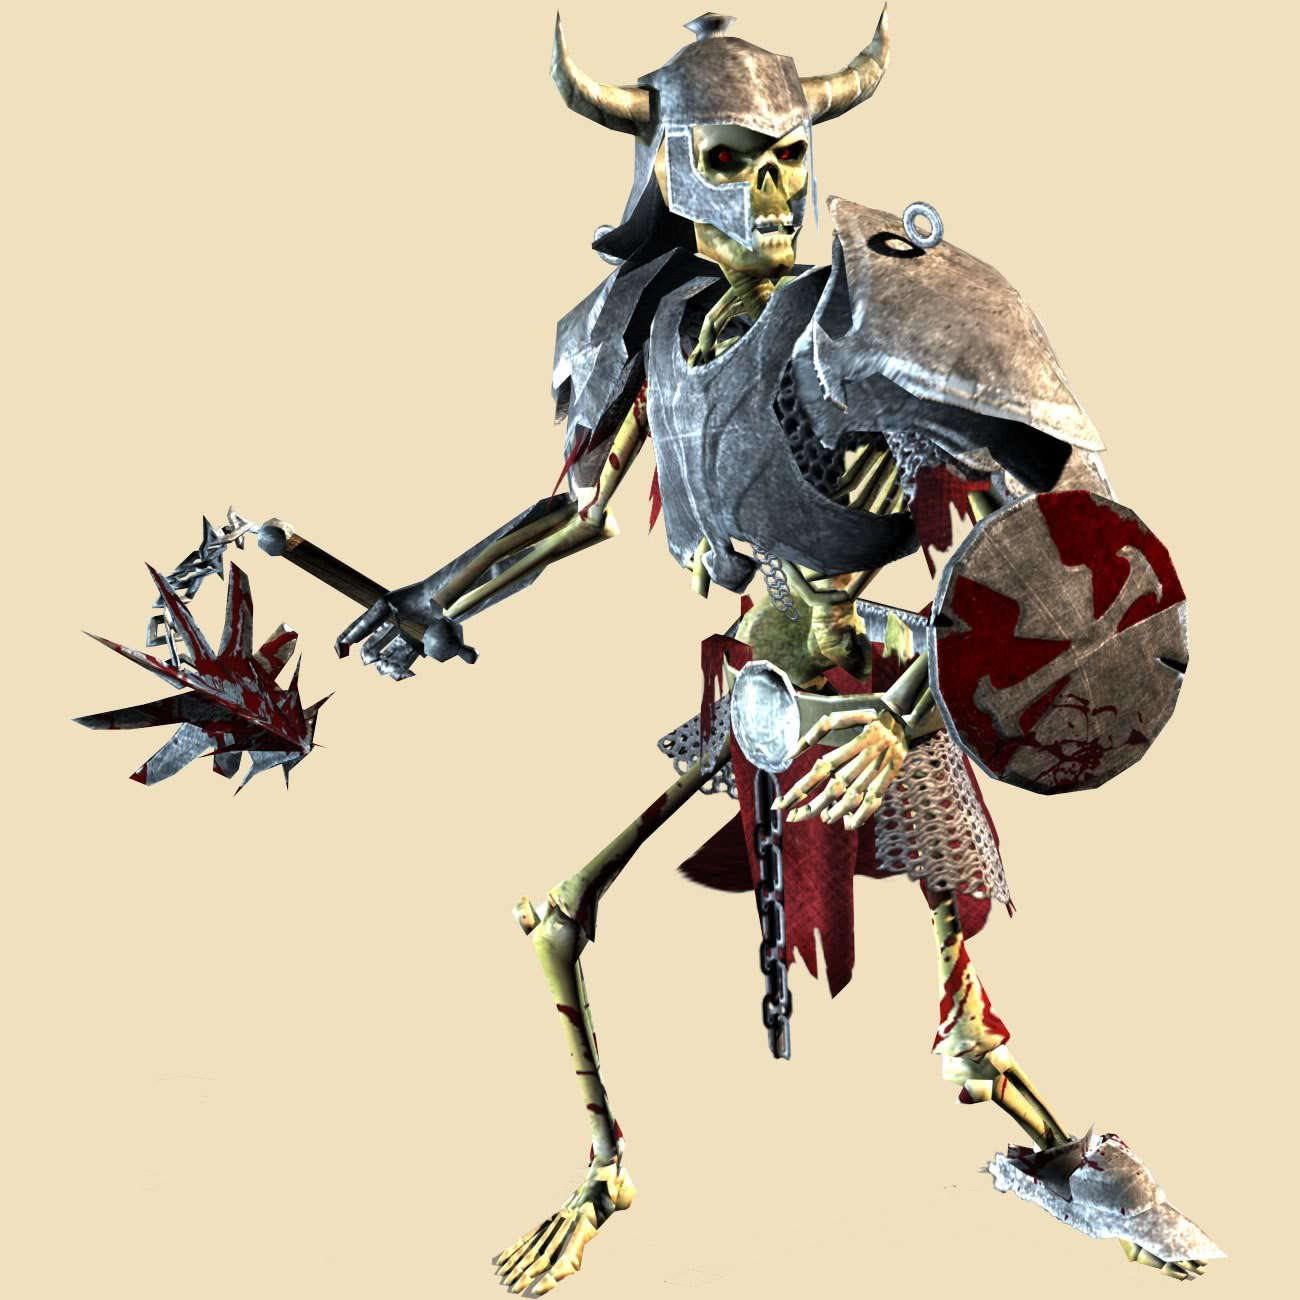
Skeleton Champion
|
Skeleton Champion 2
|
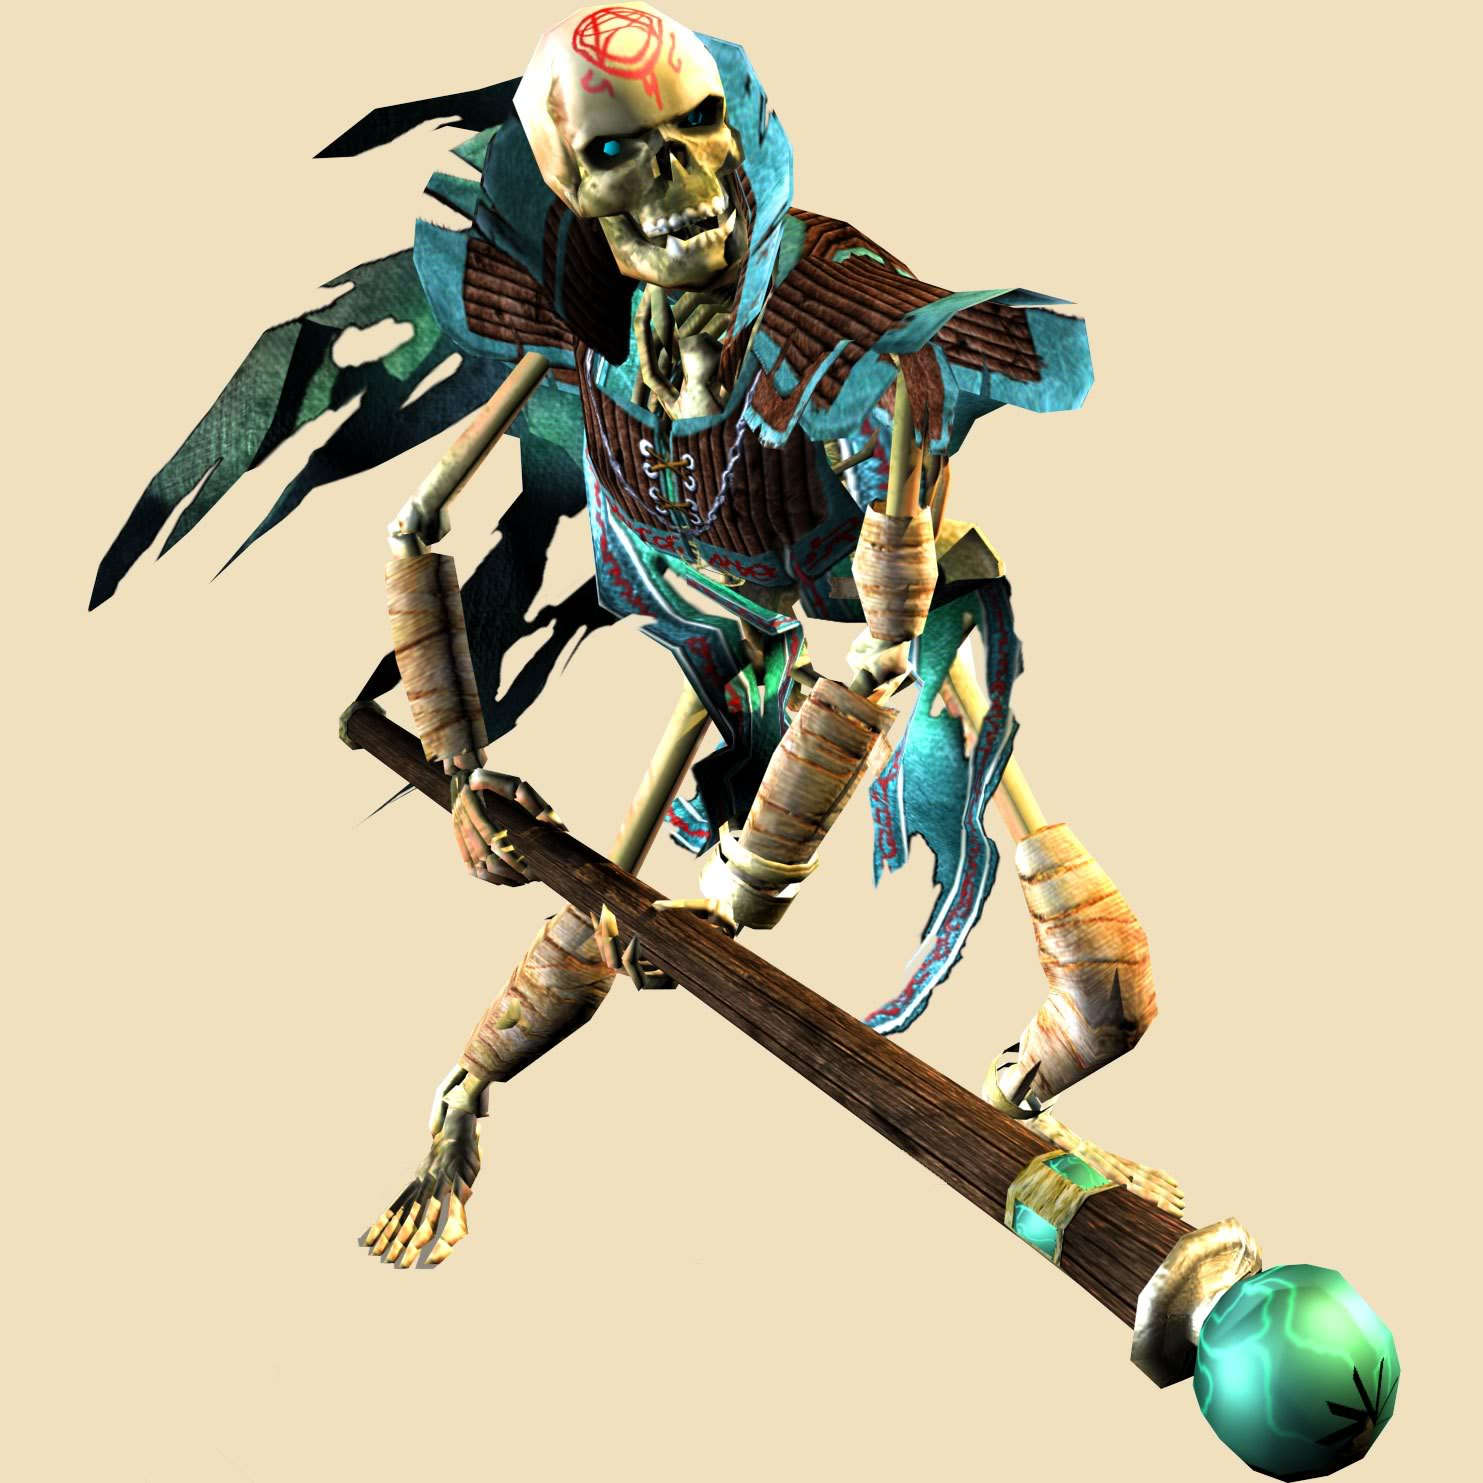
Skeleton Mage
|
Skeleton Mage 2
|
Scorpion
| |||||||||||||||||||||||||||||||||||||||||||||
Troll
|
Troll 2
|
Troll 3
|
Troll 4
|
Troll 5
| |||||||||||||||||||||||||||||||||||||||||||||
Troll Warrior
|
Troll Hunter
|
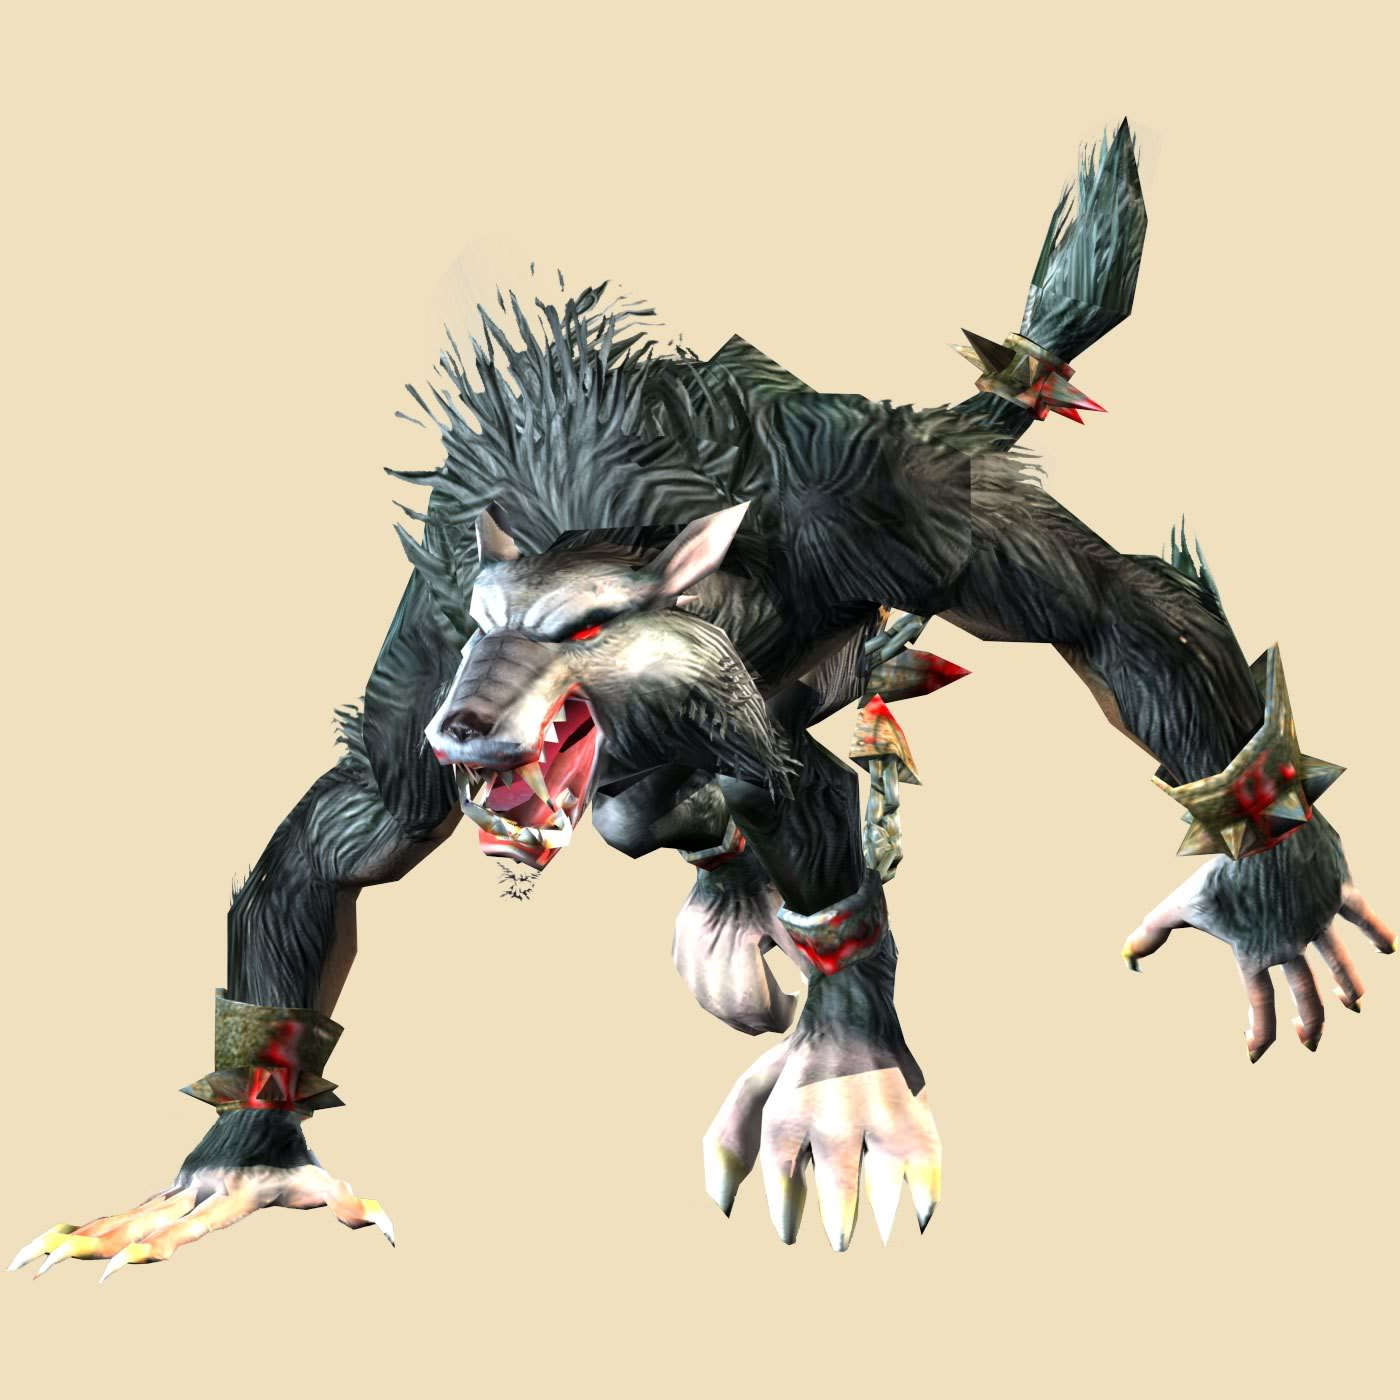
Werewolf
|
Werewolf 2
|
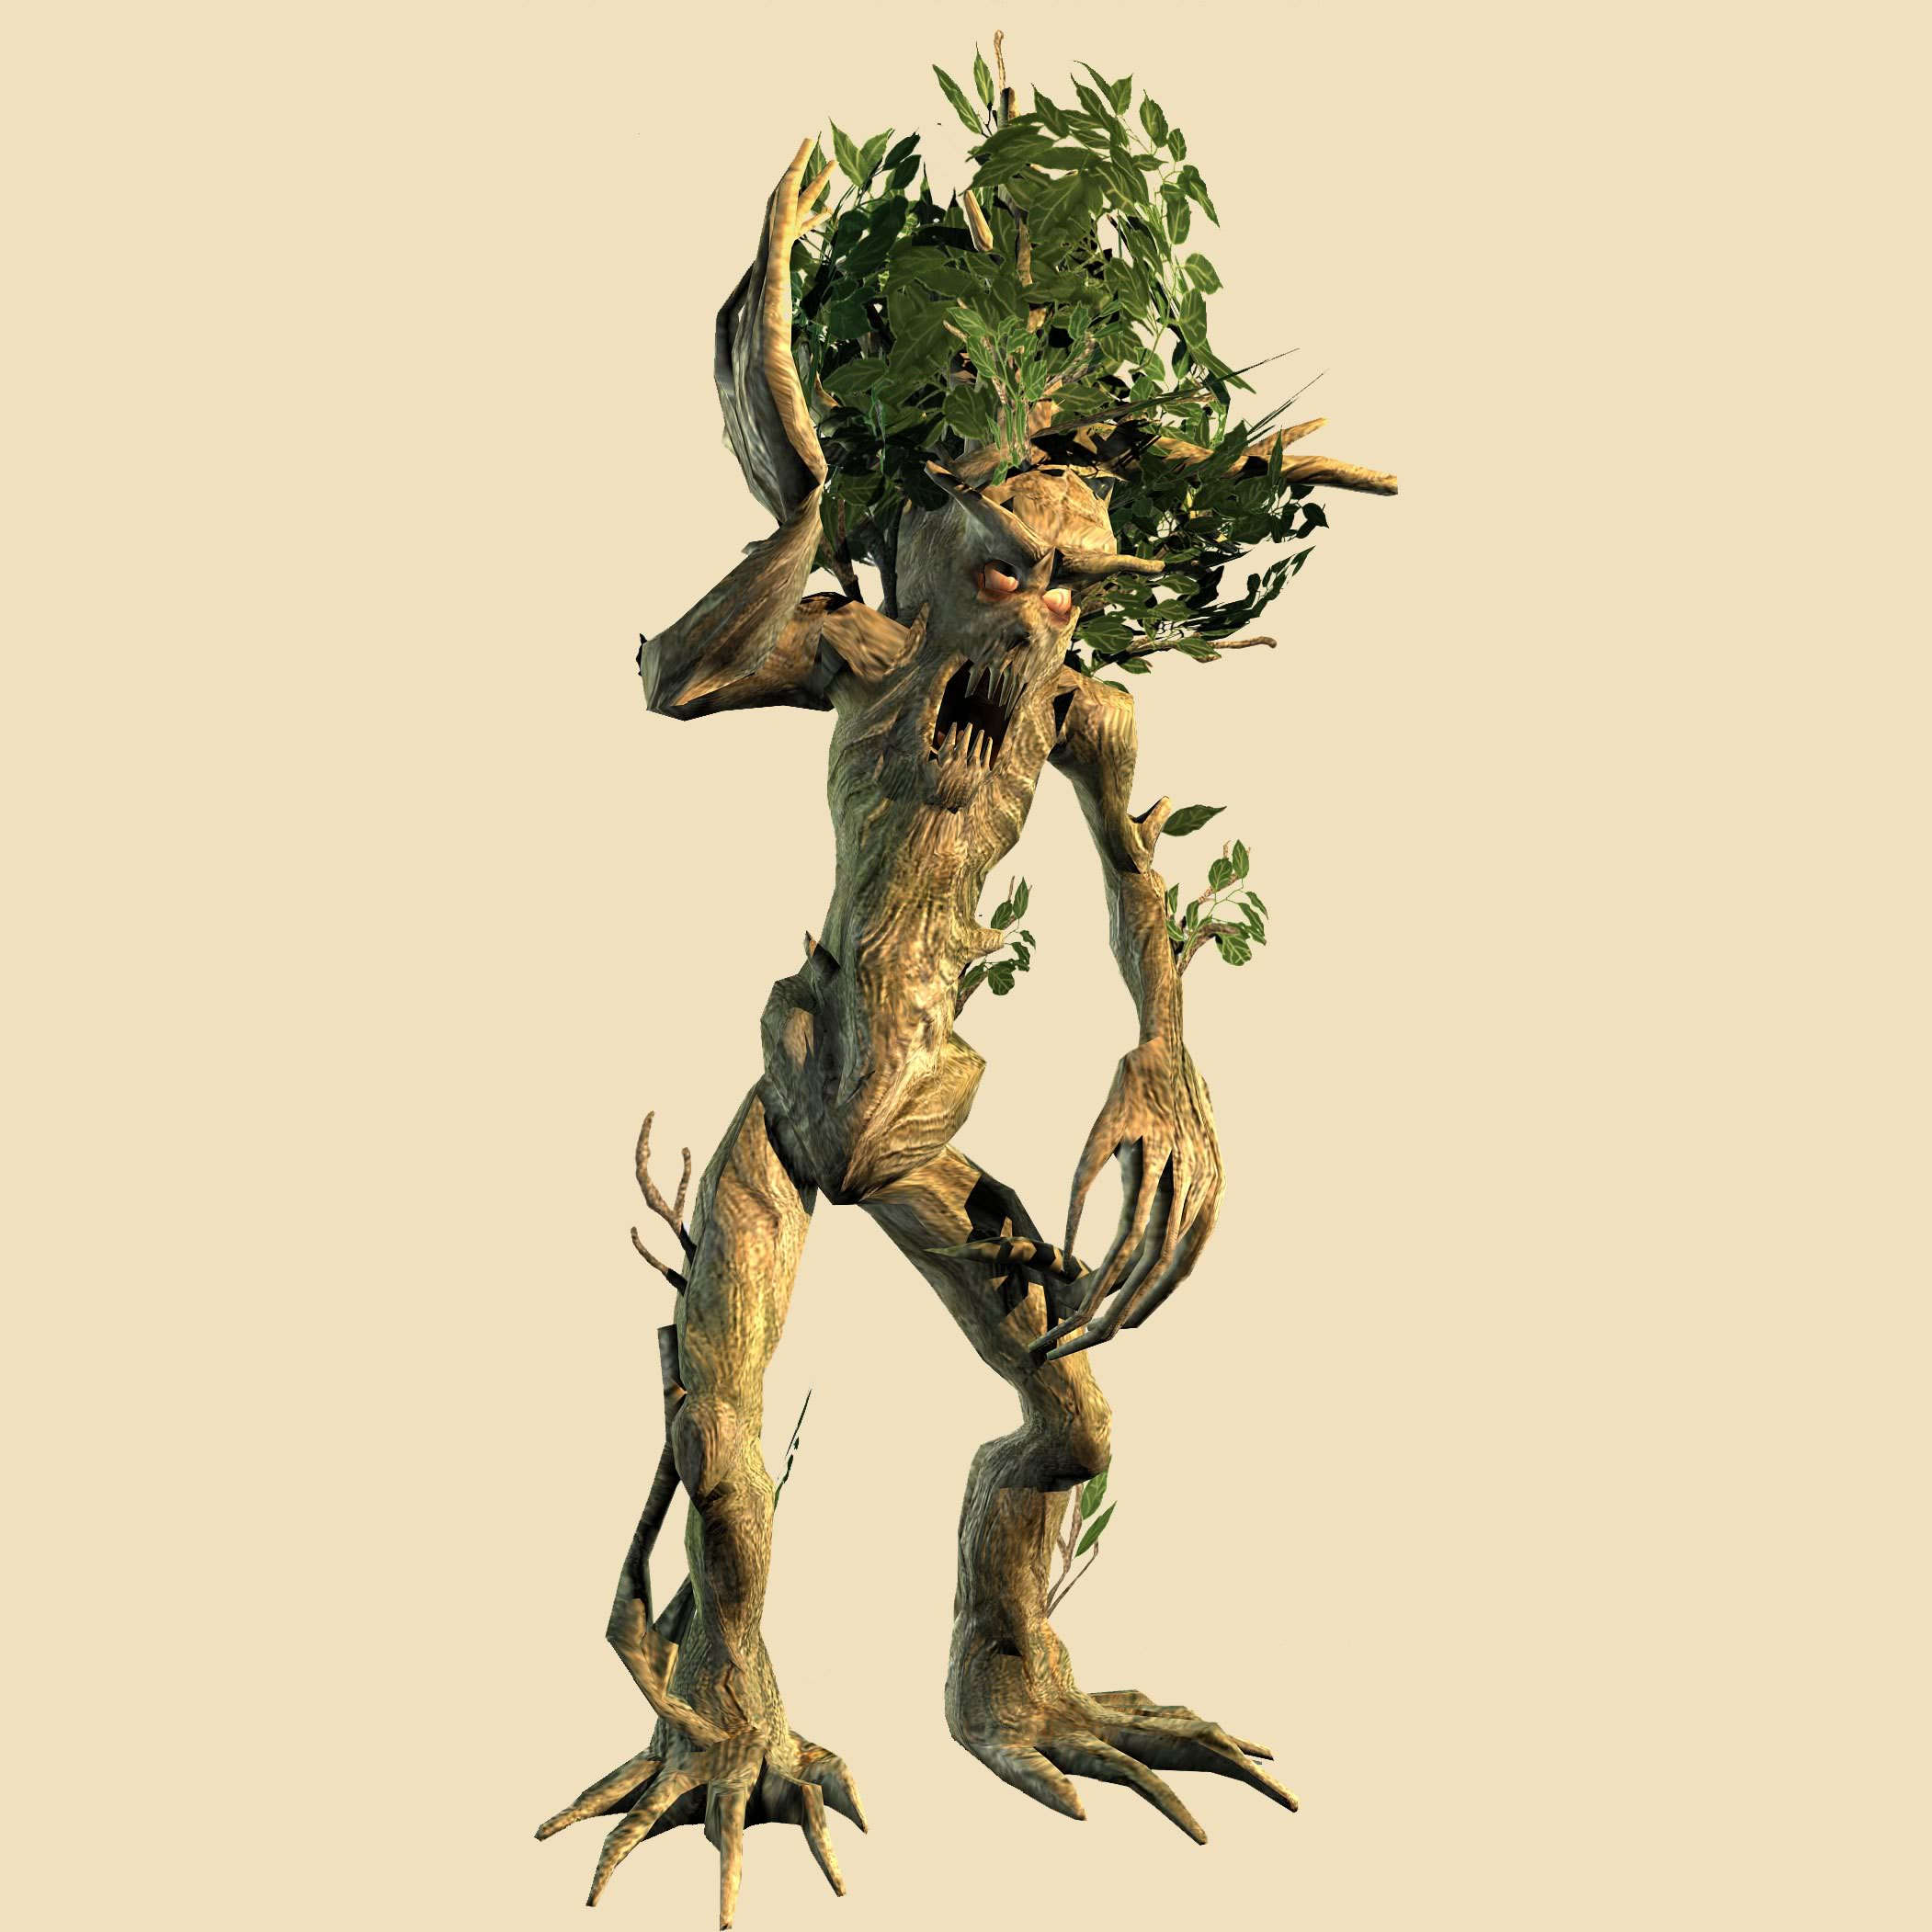
Wood Creature
| |||||||||||||||||||||||||||||||||||||||||||||
Wood Creature 2
| |||||||||||||||||||||||||||||||||||||||||||||||||


Equipment
Bows
|
Special Bow
|
Bone Bow
|
Demon Shield
| ||||||||||||||||||||||||||||||||||||


Shrunken Heads
| |||||||||

Environment
Alchemy Workbench
|
Ancient Gate Archway
|
Ancient Ruins
|
Blacksmith Tools
| ||||||||||||||||||||||||||||||||||||
Campsite
|
Catacombs
|
Chapel Entrance
|
Columns
| ||||||||||||||||||||||||||||||||||||
Crypt
|
Dungeon Entrance
|
High Elf Villa 1
|
High Elf Villa 2
| ||||||||||||||||||||||||||||||||||||
High Elf Villa 3
|
House
|
House 2
|
Lava Rock
| ||||||||||||||||||||||||||||||||||||
Machine Gun Trap
|
Orc House
|
Plants
|
Poison Gas Trap
| ||||||||||||||||||||||||||||||||||||
Statue
|
Statue 2
|
Tent
| |||||||||||||||||||||||||||||||||||||


Ice and Blood Renders
Wire-to-Finish Renders
Ice Phoenix
|
Phoenix Wire-to-Finish
|
Dragon
|
Dragon Wire-to-Finish
| ||||||||||||||||||||||||||||||||||||
Berserk Wire-to-Finish 1
|
Berserk Wire-to-Finish 2
|
Berserk Wire-to-Finish 3
|
Dragon Mage Wire-to-Finish 1
| ||||||||||||||||||||||||||||||||||||
Dragon Mage Wire-to-Finish 2
|
Dragon Mage Wire-to-Finish 3
|
Dragon Magic Armor Wire-to-Finish 1
|
Dragon Magic Armor Wire-to-Finish 2
| ||||||||||||||||||||||||||||||||||||
Dragon Magic Armor Wire-to-Finish 3
|
Dragon Special Armor Wire-to-Finish 1
|
Dragon Special Armor Wire-to-Finish 2
|
Dragon Special Armor Wire-to-Finish 3
| ||||||||||||||||||||||||||||||||||||


Various Ice and Blood Renders
Dragon Mage 1
|
Dragon Mage 2
|
Dragon Mage in the Blood Forest
|
Dragon Mage Backdrop
| ||||||||||||||||||||||||||||||||||||
Dragon Mage on Draconicon
|
Dragon Logo
|
Carrier Imp
|
Dragon Berserk
| ||||||||||||||||||||||||||||||||||||


Special Mount Renders
Hellhound
|
Battle Monitor
|
Shroud Spider
|
Saber-Toothed Tiger
| ||||||||||||||||||||||||||||||||||||


Wind Serpent
|
Mobiculum
|
Draconicon
| |||||||||||||||||||||||||||


Logos
Fallen Angel Red
|
Fallen Angel Blue
|
Fallen Angel Dark
|
Ice and Blood
| ||||||||||||||||||||||||||||||||||||

Character Logos
| Dragon Mage
|
Dryad
|
High Elf
|
Inquisitor
|
| Seraphim
|
Shadow Warrior
|
Temple Guardian
|