Difference between revisions of "Sacred:The Lost Map"
Jump to navigation
Jump to search
Gogoblender (talk | contribs) m (The Lost Map moved to Sacred:The Lost Map) |
|||
| Line 1: | Line 1: | ||
{{stub}} | {{stub}} | ||
__TOC__ | __TOC__ | ||
| − | * '''Quest Giver:''' | + | * '''Quest Giver:''' [[Sacred:Mortimer Hable|Mortimer Hable]] |
| − | * '''Location(s):''' | + | * '''Location(s):''' Along the road going south from the bridge just east of [[Sacred:Porto Vallum|Porto Vallum]] |
| − | * '''Prerequisite Quest:''' | + | * '''Prerequisite Quest:''' None |
| − | * '''Next Quest:''' | + | * '''Next Quest:''' None |
| − | * '''Reward:''' | + | * '''Reward:''' Varies |
| Line 11: | Line 11: | ||
== Quick Walkthrough == | == Quick Walkthrough == | ||
| + | [[Sacred:Mortimer Hable|Mortimer Hable]] has lost his map and wants you to find it for him. | ||
| + | To complete this quest, find the map and bring it back to him. | ||
== Detailed Walkthrough == | == Detailed Walkthrough == | ||
| + | |||
| + | [[Sacred:Mortimer Hable|Mortimer Hable]] has lost his map. He asks you to go find it for him. | ||
| + | You will find him standing just to the east of [[Sacred:Porto Vallum|Porto Vallum]] near the road that runs north and south. | ||
| + | |||
[http://www.sacredwiki.org/images/Quests/Porto%20Vallum/lostmap1.jpg http://www.sacredwiki.org/images/Quests/Porto%20Vallum/th_lostmap1.jpg] | [http://www.sacredwiki.org/images/Quests/Porto%20Vallum/lostmap1.jpg http://www.sacredwiki.org/images/Quests/Porto%20Vallum/th_lostmap1.jpg] | ||
| + | |||
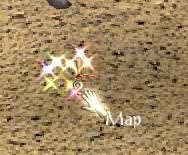
| + | You will find the map just south of where the landscape becomes desert. | ||
| + | |||
[http://www.sacredwiki.org/images/Quests/Porto%20Vallum/lostmap2.jpg http://www.sacredwiki.org/images/Quests/Porto%20Vallum/th_lostmap2.jpg] | [http://www.sacredwiki.org/images/Quests/Porto%20Vallum/lostmap2.jpg http://www.sacredwiki.org/images/Quests/Porto%20Vallum/th_lostmap2.jpg] | ||
| + | |||
| + | Grab the map and go back north toward where [[Sacred:Mortimer Hable|Mortimer Hable]]. | ||
| + | |||
[http://www.sacredwiki.org/images/Quests/Porto%20Vallum/lostmap3.jpg http://www.sacredwiki.org/images/Quests/Porto%20Vallum/th_lostmap3.jpg] | [http://www.sacredwiki.org/images/Quests/Porto%20Vallum/lostmap3.jpg http://www.sacredwiki.org/images/Quests/Porto%20Vallum/th_lostmap3.jpg] | ||
| + | |||
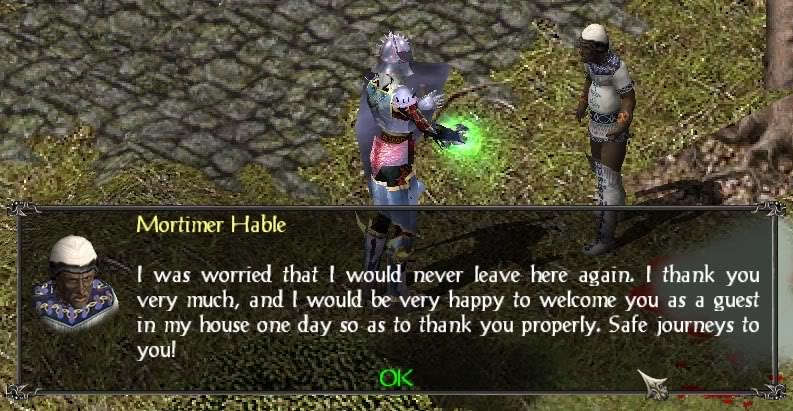
| + | Return the map to him in order to complete the quest. | ||
| + | |||
[http://www.sacredwiki.org/images/Quests/Porto%20Vallum/lostmap4.jpg http://www.sacredwiki.org/images/Quests/Porto%20Vallum/th_lostmap4.jpg] | [http://www.sacredwiki.org/images/Quests/Porto%20Vallum/lostmap4.jpg http://www.sacredwiki.org/images/Quests/Porto%20Vallum/th_lostmap4.jpg] | ||
| Line 25: | Line 40: | ||
== Notes == | == Notes == | ||
| − | + | *The map is betwteen [[Sacred:Porto Vallum|Porto Vallum]] and [[Sacred:Urkenburgh|Urkenburgh]]. It is convenient to do this quest while rescuing [[Sacred:Wilbur|Wilbur]]. You will be walking/running/riding past the spot where the map is when you excort [[Sacred:Wilbur|Wilbur]] to [[Sacred:Urkenburgh|Urkenburgh]] | |
[[Category:Quests]] | [[Category:Quests]] | ||
Revision as of 17:23, 16 October 2009
- Quest Giver: Mortimer Hable
- Location(s): Along the road going south from the bridge just east of Porto Vallum
- Prerequisite Quest: None
- Next Quest: None
- Reward: Varies
Quick Walkthrough
Mortimer Hable has lost his map and wants you to find it for him.
To complete this quest, find the map and bring it back to him.
Detailed Walkthrough
Mortimer Hable has lost his map. He asks you to go find it for him. You will find him standing just to the east of Porto Vallum near the road that runs north and south.

You will find the map just south of where the landscape becomes desert.

Grab the map and go back north toward where Mortimer Hable.
Return the map to him in order to complete the quest.
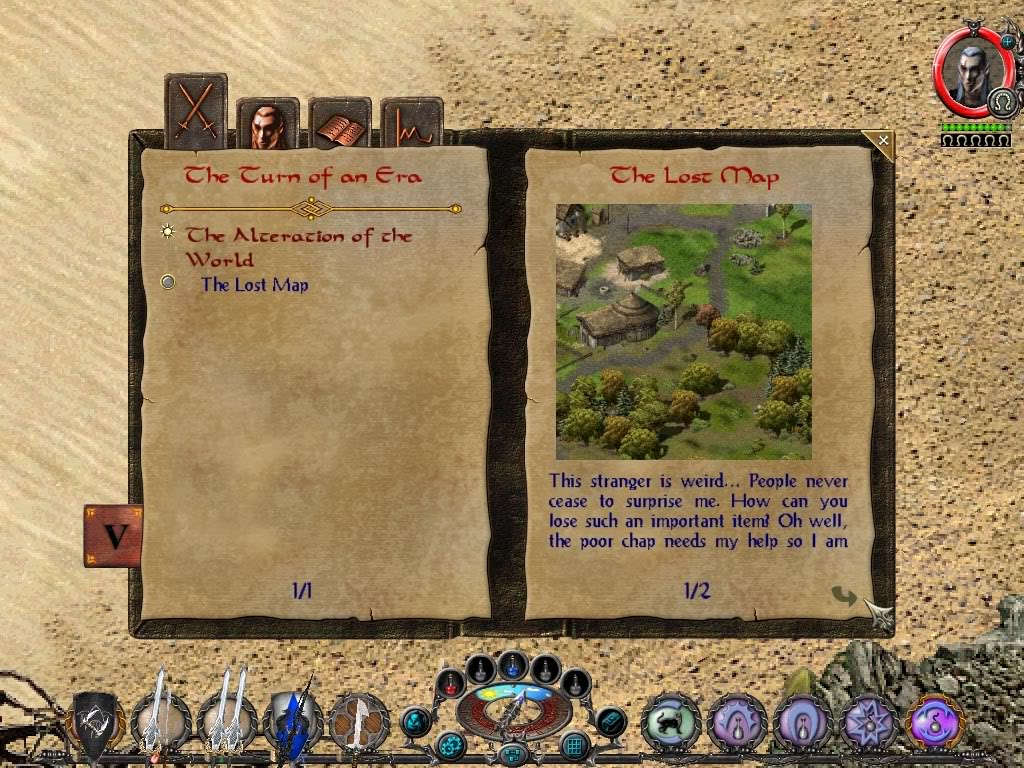
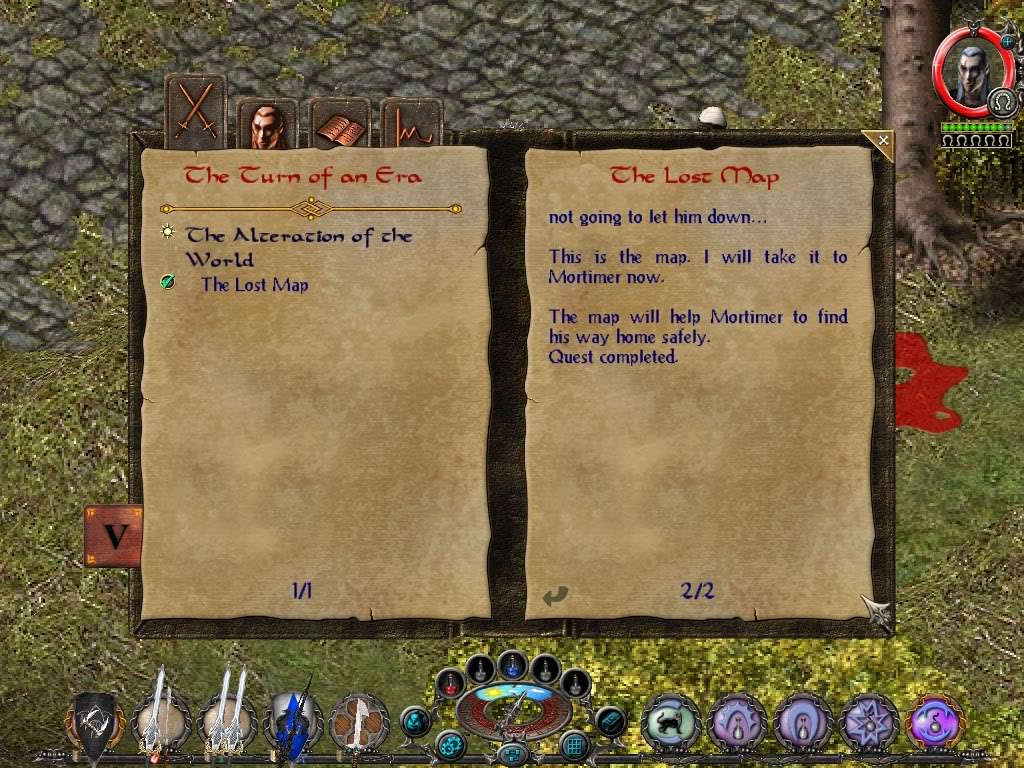
Logbook Entry

Notes
- The map is betwteen Porto Vallum and Urkenburgh. It is convenient to do this quest while rescuing Wilbur. You will be walking/running/riding past the spot where the map is when you excort Wilbur to Urkenburgh