Difference between revisions of "Sacred 2:Diligent Apprentices"
(New page: {{subst:Quest}}) |
|||
| Line 1: | Line 1: | ||
| − | |||
| − | |||
| − | |||
<div class="plainlinks"> | <div class="plainlinks"> | ||
{|WIDTH="100%" | {|WIDTH="100%" | ||
|WIDTH="15%" VALIGN="TOP"|__TOC__ | |WIDTH="15%" VALIGN="TOP"|__TOC__ | ||
|WIDTH="35%" VALIGN="TOP"| | |WIDTH="35%" VALIGN="TOP"| | ||
| − | * '''Quest Objective:''' | + | * '''Quest Objective:''' Help Theodus and defeat TyBosso |
| − | * '''Quest Difficulty:''' | + | * '''Quest Difficulty:''' No difficulty given for this quest |
| − | * '''Quest Giver:''' | + | * '''Quest Giver:''' [[Sacred 2:Outlaw Theodus|Outlaw Theodus]] |
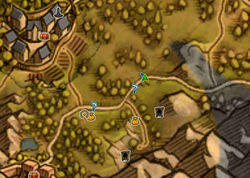
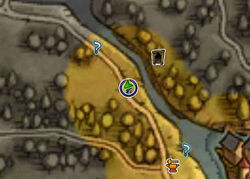
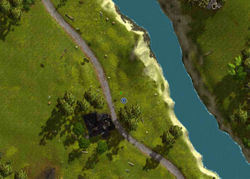
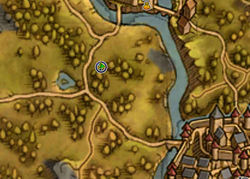
| − | * '''Location(s):''' | + | * '''Location(s):''' [[Sacred 2:Artamark|Artamark]] south of [[Sacred 2:Black Oaks|Black Oaks]] |
| − | * '''Prerequisite Quest:''' | + | * '''Prerequisite Quest:''' [[Sacred 2:Life in the City|Life in the City]] |
| − | * '''Next Quest:''' | + | * '''Next Quest:''' [[Sacred 2:Ogre Romance|Ogre Romance]] |
| − | * '''Reward:''' | + | * '''Reward:''' [[Sacred 2:Gold|Gold]] [[Sacred 2:Experience|Experience]] |
| − | |WIDTH="50%" VALIGN="TOP"| | + | |WIDTH="50%" VALIGN="TOP"| |
| − | {{S2frame|[[Image: | + | {{S2frame|[[Image:outlawtheodusmap.jpg|250px]][[Image:outlawtheodustab.jpg|250px]]|right|'''[[Sacred 2:Map of Ancaria|View the Ancaria Interactive Map]]'''}} |
|} | |} | ||
{|WIDTH="100%" | {|WIDTH="100%" | ||
|WIDTH="60%" VALIGN="TOP"| | |WIDTH="60%" VALIGN="TOP"| | ||
== Quick Walkthrough == | == Quick Walkthrough == | ||
| − | + | * Travel to [[Sacred 2:Artamark|Artamark]] south of [[Sacred 2:Black Oaks|Black Oaks]] | |
| − | * | + | * Talk to [[Sacred 2:Outlaw Theodus|Outlaw Theodus]] |
| − | * | + | * Escort Theodus and teach him how to hunt |
| − | * | + | * Kill 4 wolves and talk to Theodus (leaves party) |
| − | |WIDTH="40%" VALIGN="TOP"|{{S2frame|[[Image: | + | * Head east of [[Sacred 2:Kufferath Castle|Kufferath Castle]] and talk to Thedous |
| + | * Defeat 5 [[Sacred 2:Thraconian|Thraconians]] and collect '''TyBosso's Letter''' | ||
| + | * Travel south of [[Sacred 2:Skook's Corner|Skook's Corner]] | ||
| + | * Talk [[Sacred 2:Elf Mage Samura|Elf Mage Samura]] | ||
| + | * Defeat TyBosso DeElfici and talk to Samura again | ||
| + | |||
| + | |WIDTH="40%" VALIGN="TOP"|{{S2frame|[[Image:outlawtheodustab.jpg|500px]]}} | ||
|} | |} | ||
== Detailed Walkthrough == | == Detailed Walkthrough == | ||
| − | + | As you head into the Human Lands you run into [[Sacred 2:Outlaw Theodus|Theodus]] again. He was able to escape from [[Sacred 2:TyBoss DeElfici]] and make it to the Human Lands. He can't return to the city as he's sure TyBosso's men would find him and force him back into slavery. So he was forced to become an outlaw and live off the land. Unfortunately he's not a good hunter and is having a hard keeping him and the other freed slaves fed. You agree to teach him a thing or two about hunting. | |
| + | |||
| + | [[Image:outlawtheoduschat.gif|430px]] | ||
| + | |||
| + | You show him how to identify and follow tracks and when you should or shouldn't kill a deer. You eventually find an old stag that is starting to weaken. The wolves sense it too and have the stag surrounded. You kill all the wolves and Theodus was able to kill the deer all on his own. He promised to try and live as one with nature and thanked me for my help. | ||
| − | + | [[Image:diligentchat.gif|430px]] | |
| + | [[Image:outlawtheoduschat2.gif|430px]] | ||
| + | [[Image:diligentchat2.gif|430px]] | ||
| + | [[Image:outlawtheoduschat3.gif|430px]] | ||
| − | + | [[Image:diligentchat3.gif|430px]] | |
| + | [[Image:outlawtheoduschat4.gif|430px]] | ||
| − | {{S2frame|[[Image: | + | As you travel through the region you meet up with [[Sacred 2:Outlaw Theodus|Outlaw Theodus]] again near [[Sacred 2:Skook's Corner|Skook's Corner]]. He's been doing fine since you last met but lately there has been a problem. Deer and other game has been getting scarce. One night he saw some Thraconians killing several animals and only taking the skins. He and his men tried to confront them but the Thraconians only laughed in their faces and killed 2 of them. He asks for your help in taking care of this problem. His people aren't warriors and if the poaching continues, his people will starve. What are the Thraconians doing around here? You remember an old saying about if a Thraconian walks more than 200 steps away from his ship he dies on the spot. Seeing them this far inland is bad news. |
| + | |||
| + | {{S2frame|[[Image:outlawtheodus2map.jpg|250px]][[Image:outlawtheodus2tab.jpg|250px]]|left]]}} | ||
<br clear="both" /> | <br clear="both" /> | ||
| + | {{S2frame|[[Image:outlawtheodus2loc.jpg|400px]]|left}} | ||
| + | <br clear="both" /> | ||
| − | {{S2frame|[[Image: | + | [[Image:outlawtheodus2chat.gif|430px]] |
| + | |||
| + | You head a little north and run into several of them. You kill all 5 when you notice there's another in the back of the burnt-out house. You kill the [[Sacred 2:Messenger of the Thraconians|Messenger of the Thraconians]] and search his corspe. You find '''TyBosso's Letter''' and decide to read it. That bastard has hired these Thraconians to wipe out all the local wildlife in attempt to starve his former slaves and make them return to him. Now you wish you had killed him earlier in Thylysium. You promise this time he will not get away. | ||
| + | |||
| + | {{S2frame|[[Image:thracloc.jpg|400px]]|left}} | ||
<br clear="both" /> | <br clear="both" /> | ||
| − | + | You head south to where TyBosso's camp is rumored to be. Just before you get there you meet the [[Sacred 2:Elf Mage Samura|Elf Mage Samura]]. She also wants to see justice served to TyBosso. You decide to join forces and take him out together. | |
| − | {{S2frame|[[Image: | + | |
| + | {{S2frame|[[Image:samuramap.jpg|250px]][[Image:samuratab.jpg|250px]]|left]]}} | ||
<br clear="both" /> | <br clear="both" /> | ||
| + | {{S2frame|[[Image:samuraloc.jpg|400px]]|left}} | ||
| + | <br clear="both" /> | ||
| − | + | [[Image:samurachat.gif|430px]] | |
| − | |||
| − | + | You enter the camp and with Samura's help you send TyBosso to the netherworld. While you don't care for elves in general, Samura makes you think there's still some good ones out there. | |
| + | |||
| + | [[Image:samurachat2.gif|430px]] | ||
| − | |||
| − | |||
== Quest Enemies == | == Quest Enemies == | ||
| − | + | == [[Sacred 2:Messenger of the Thraconians|Messenger of the Thraconians]] == | |
| + | {{:Sacred 2:Messenger of the Thraconians}} | ||
| + | |||
| + | == [[Sacred 2:Tybosso DeElfici - Diligent Apprentices|Tybosso DeElfici]] == | ||
| + | {{:Sacred 2:Tybosso DeElfici - Diligent Apprentices}} | ||
| − | |||
| − | |||
== Hirelings and Escorts == | == Hirelings and Escorts == | ||
| − | |||
| − | * [[Sacred 2: | + | * [[Sacred 2:Outlaw Theodus|Outlaw Theodus]] - Escort. Immortal. |
| − | |||
| + | * [[Sacred 2:Elf Mage Samura|Elf Mage Samura]] - Hireling. Not Immortal. | ||
| + | == Logbook Entry == | ||
| − | |||
| − | |||
{| | {| | ||
| − | |{{S2frame|[[Image: | + | |{{S2frame|[[Image:diligentlog1.jpg|300px]]|left}} |
| − | |{{S2frame|[[Image: | + | |{{S2frame|[[Image:diligentlog2.jpg|300px]]|left}} |
| + | |{{S2frame|[[Image:diligentlog3.jpg|300px]]|left}} | ||
|} | |} | ||
== Notes == | == Notes == | ||
| − | + | ||
</div> | </div> | ||
| − | + | ||
[[Category:Sacred 2 Quest|{{PAGENAME}}]] | [[Category:Sacred 2 Quest|{{PAGENAME}}]] | ||
| − | + | [[Category:Sacred 2 Chain Quest Part|{{PAGENAME}}]] | |
| − | [[Category:Sacred 2 Chain Quest | ||
[[Category:Sacred 2 Class Quest|{{PAGENAME}}]] | [[Category:Sacred 2 Class Quest|{{PAGENAME}}]] | ||
[[Category:Sacred 2 Light Path Quest|{{PAGENAME}}]] | [[Category:Sacred 2 Light Path Quest|{{PAGENAME}}]] | ||
| − | [[Category:Sacred | + | [[Category:Sacred 2Artamark Quest|{{PAGENAME}}]] |
| − | |||
| − | |||
| − | |||
Revision as of 01:38, 8 January 2012
|
| ||||||||||
Quick Walkthrough
|
| |||||||||
Detailed Walkthrough
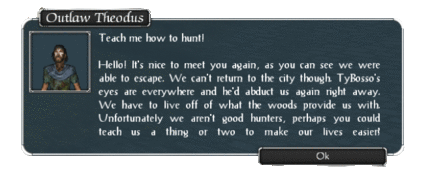
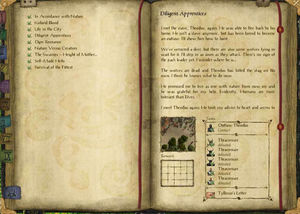
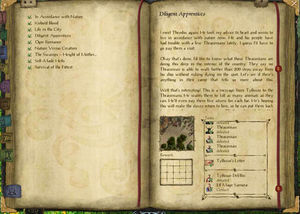
As you head into the Human Lands you run into Theodus again. He was able to escape from Sacred 2:TyBoss DeElfici and make it to the Human Lands. He can't return to the city as he's sure TyBosso's men would find him and force him back into slavery. So he was forced to become an outlaw and live off the land. Unfortunately he's not a good hunter and is having a hard keeping him and the other freed slaves fed. You agree to teach him a thing or two about hunting.
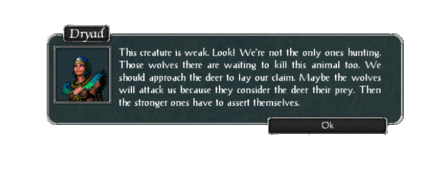
You show him how to identify and follow tracks and when you should or shouldn't kill a deer. You eventually find an old stag that is starting to weaken. The wolves sense it too and have the stag surrounded. You kill all the wolves and Theodus was able to kill the deer all on his own. He promised to try and live as one with nature and thanked me for my help.
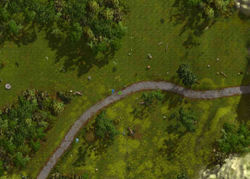
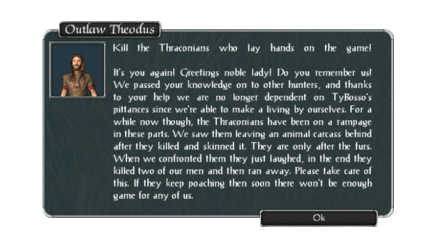
As you travel through the region you meet up with Outlaw Theodus again near Skook's Corner. He's been doing fine since you last met but lately there has been a problem. Deer and other game has been getting scarce. One night he saw some Thraconians killing several animals and only taking the skins. He and his men tried to confront them but the Thraconians only laughed in their faces and killed 2 of them. He asks for your help in taking care of this problem. His people aren't warriors and if the poaching continues, his people will starve. What are the Thraconians doing around here? You remember an old saying about if a Thraconian walks more than 200 steps away from his ship he dies on the spot. Seeing them this far inland is bad news.
|
| ||
|
| ||
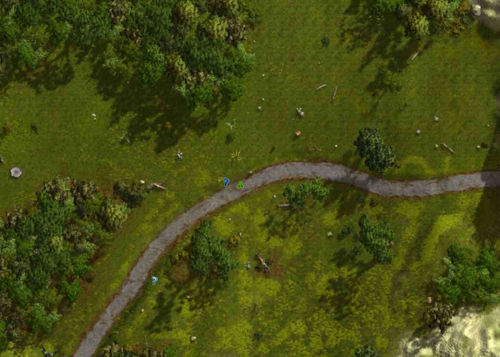
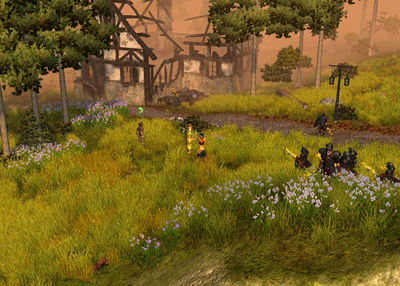
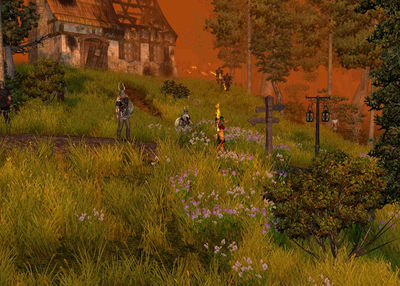
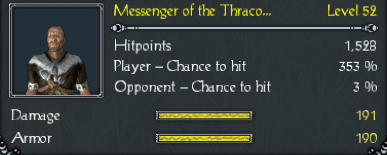
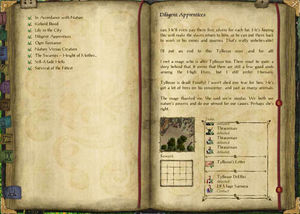
You head a little north and run into several of them. You kill all 5 when you notice there's another in the back of the burnt-out house. You kill the Messenger of the Thraconians and search his corspe. You find TyBosso's Letter and decide to read it. That bastard has hired these Thraconians to wipe out all the local wildlife in attempt to starve his former slaves and make them return to him. Now you wish you had killed him earlier in Thylysium. You promise this time he will not get away.
|
| ||
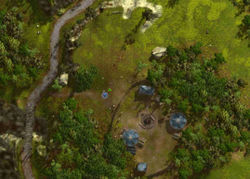
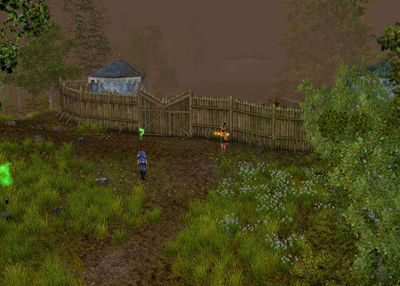
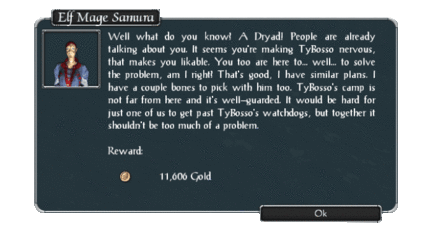
You head south to where TyBosso's camp is rumored to be. Just before you get there you meet the Elf Mage Samura. She also wants to see justice served to TyBosso. You decide to join forces and take him out together.
|
| ||
|
| ||
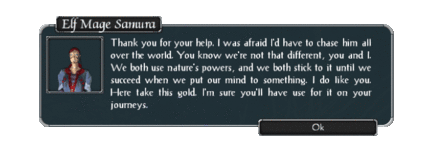
You enter the camp and with Samura's help you send TyBosso to the netherworld. While you don't care for elves in general, Samura makes you think there's still some good ones out there.
Quest Enemies
Messenger of the Thraconians
|
|
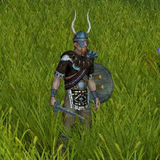
Damage Types: Weakest Against: Quest:Diligent Apprentices Quest Location: Skook's Corner in Artamark | ||||||||||||||||||
Tybosso DeElfici
|
|
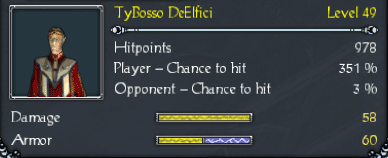
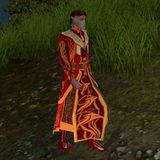
Damage Types: Weakest Against: Quest:Diligent Apprentices Quest Location: Skook's Corner in Artamark | ||||||||||||||||||
Also in the Unpack quest and The Last of the DeElfici's - Shadow quest
Hirelings and Escorts
- Outlaw Theodus - Escort. Immortal.
- Elf Mage Samura - Hireling. Not Immortal.
Logbook Entry
|
|
| |||||||||||||||||||||||||||
