Difference between revisions of "Sacred 2:Duel! - Shadow Campaign"
Gogoblender (talk | contribs) |
|||
| (3 intermediate revisions by 2 users not shown) | |||
| Line 1: | Line 1: | ||
{{Languages}} | {{Languages}} | ||
| − | |||
| − | |||
| − | |||
| − | |||
| − | |||
| − | |||
| − | |||
| − | |||
| − | |||
| − | |||
<div class="plainlinks"> | <div class="plainlinks"> | ||
| − | {| | + | {|WIDTH="100%" |
| − | |WIDTH=" | + | |WIDTH="15%" VALIGN="TOP"|__TOC__ |
| − | |WIDTH=" | + | |WIDTH="35%" VALIGN="TOP"| |
| − | * '''Quest Objective:''' | + | * '''Quest Objective:''' Pass your final exam, then travel to the nearest settlement |
| − | * '''Quest Difficulty:''' | + | * '''Quest Difficulty:''' None |
| − | * '''Quest Giver:''' | + | * '''Quest Giver:''' This quest starts automatically together with the new game |
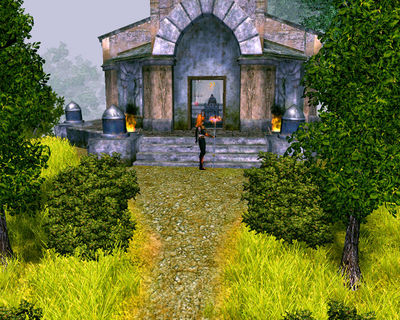
* '''Location(s):''' [[Sacred 2:Celioth's Tower|Celioth's Tower]] | * '''Location(s):''' [[Sacred 2:Celioth's Tower|Celioth's Tower]] | ||
* '''Prerequisite Quest:''' None | * '''Prerequisite Quest:''' None | ||
* '''Next Quest:''' [[Sacred 2:Thwarted Attack Plans|Thwarted Attack Plans]] | * '''Next Quest:''' [[Sacred 2:Thwarted Attack Plans|Thwarted Attack Plans]] | ||
| − | * '''Reward:''' | + | * '''Reward:''' None |
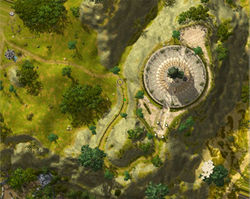
| − | |WIDTH=" | + | |WIDTH="50%" VALIGN="TOP"| {{S2frame|[[Image:Arch mage worldmap.jpg|250px]][[Image:Mage tower map.jpg|250px]]|right|'''[[Sacred 2:Map of Ancaria|View the Ancaria Interactive Map]]'''}} |
|} | |} | ||
| − | + | {|WIDTH="100%" | |
| + | |WIDTH="60%" VALIGN="TOP"| | ||
== Quick Walkthrough == | == Quick Walkthrough == | ||
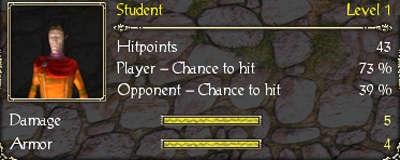
| − | * | + | * Pass your final exam by winning the duel against the [[Sacred 2:Student|Student]]. Just kill him. |
| − | * Talk to the Arch Mage | + | * Talk to the [[Sacred 2:Arch Mage|Arch Mage]] to know the results. |
| − | * Defeat the Arch Mage | + | * Defeat the [[Sacred 2:Arch Mage|Arch Mage]]. |
| − | * Talk to the Arch Mage | + | * Talk to the [[Sacred 2:Arch Mage|Arch Mage]] before he dies. |
| − | * Travel down the hill from Celioth's Tower | + | * Travel down the hill from [[Sacred 2:Celioth's Tower|Celioth's Tower]]. |
| − | * Travel to Sloeford | + | * Travel to the central square of [[Sacred 2:Sloeford|Sloeford]]. |
| − | + | * Go to the Inquisition Temple in Sloeford. | |
| − | + | |WIDTH="40%" VALIGN="TOP"|{{S2frame|[[Image:Duel shadow camera1.jpg|500px]]}} | |
| + | |} | ||
== Detailed Walkthrough == | == Detailed Walkthrough == | ||
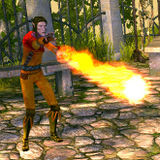
| − | As soon as the intro cut-scene ends you will be | + | As soon as the intro cut-scene ends you will be attacked by the Student. Fortunately he doesn’t do much damage, and doesn’t attack quickly or move. He attacs you with the fireballs, and you have an opportunity to do the same to him - the [[Sacred 2:Ancestral Fireball|Ancestral Fireball]] is the first [[Sacred 2:Combat Arts|Combat Art]] in your [[Sacred 2:High Elf|High Elf's]] arsenal. The Student isn't a tough opponent. However, if you just stand here doing nothing, he would kill you.<br> |
| − | <br> | + | So you do what you were meant to - use your magic to defeat your opponent. That weakling died in process, the scared observers ran away - but anyway, now the duel is won and the Arch Mage, who was your teacher, wants to talk to you.<br> |
| − | + | {{S2frame|[[Image:Duel shadow camera2.jpg|400px]]|left}} | |
| − | [ | + | <br clear="both" /> |
| − | + | He must be willing to tell that you've successfully passed your exam, so you come and talk to him.<br> | |
| − | [ | + | [[Image:Duel shadow dialog 1.jpg]]<br> |
| − | + | What?! He denounces you as a murderer and attacks you. But that senile fool can't be as powerful as you! So you defeat him just like you've defeated the Student (despite his title he really isn't a tougher opponent).<br> | |
| − | <br> | + | {{S2frame|[[Image:Duel shadow camera3.jpg|400px]]|left}} |
| − | + | <br clear="both" /> | |
| − | [ | + | Looks like the old man wants to tell you something before he dies. Let's see what he has in mind.<br> |
| − | + | [[Image:Duel shadow dialog 2.jpg]]<br> | |
| − | + | So he thinks that you that you have the perfect attitude for the Inquisition... The time will tell if this is actually so, but now it's time to move on. But before you leave the Mage Tower, you'd better stop near the gates – your initial chest is here, and you can find some armour and maybe runes inside it. Though the runes can be found here only on the low difficulties (Bronze and Silver).<br> | |
| − | + | {{S2frame|[[Image:Duel shadow camera4.jpg|400px]]|left}} | |
| − | + | <br clear="both" /> | |
| − | + | You open the gates and head out to the big world. Few [[Sacred 2:Bandit|bandits]] who get in your way as you walk down the hill can't stop you.<br> | |
| + | {{S2frame|[[Image:Duel shadow camera5.jpg|400px]]|left}} | ||
| + | <br clear="both" /> | ||
| + | When you're near the bottom, the quest will update - your next target awaits you in the centre of Sloeford.<br> | ||
| + | {{S2frame|[[Image:Duel worldmap.jpg|250px]][[Image:Duel map.jpg|250px]]|left}} | ||
| + | <br clear="both" /> | ||
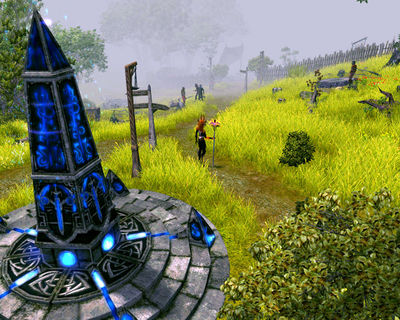
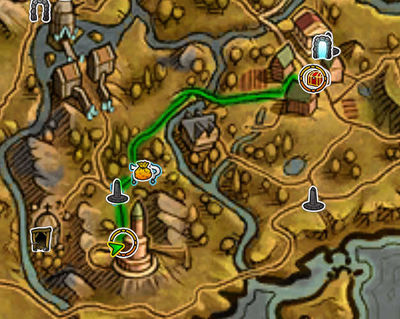
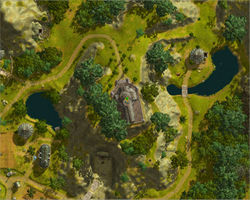
| + | Walking further down the road, you come to the first Resurrection Monolith on your way (don't forget to save near it) and to the small [[Sacred 2:South Brigand Camp (Tyr Lysia)|Brigand Camp]].<br> | ||
| + | {{S2frame|[[Image:Duel shadow camera6.jpg|400px]]|left}} | ||
| + | <br clear="both" /> | ||
| + | It's a good idea to stop here for a while and to do some side quests that can be found here. It would give you a valuable [[Sacred 2:Experience|experience]]. Once you're ready to move, follow the road that heads north and then east to Sloeford.<br> | ||
| + | {{S2frame|[[Image:Duel walkthrough.jpg|400px]]|left}} | ||
| + | <br clear="both" /> | ||
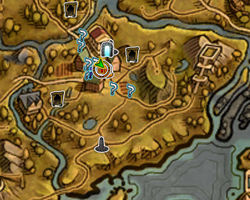
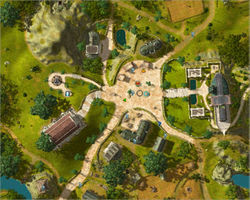
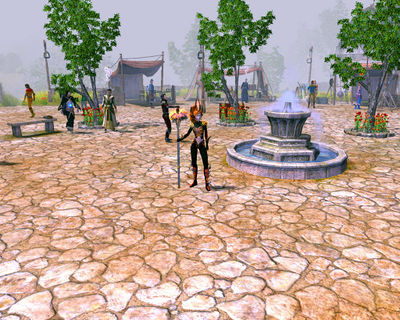
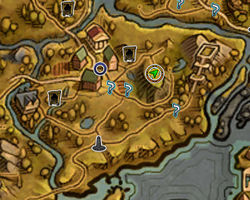
| + | When you reach the village, go to the central square.<br> | ||
| + | {{S2frame|[[Image:Duel worldmap2.jpg|250px]][[Image:Duel map2.jpg|250px]]|left}} | ||
| + | <br clear="both" /> | ||
| + | {{S2frame|[[Image:Duel shadow camera7.jpg|400px]]|left}} | ||
| + | <br clear="both" /> | ||
| + | Once there, your character immediately understands what to do next. Of course, she will tell you about it.<br> | ||
| + | [[Image:Duel shadow dialog 3.jpg]]<br> | ||
| + | Now you, the same as the other shadow characters, need to find the Head of the local Inquisition Branch. He can be found in the Inquisition Temple near the town. To get there you should head east from the central square and then climb up the hill where the Temple is. <br> | ||
| + | {{S2frame|[[Image:Inquisitor Tahlreth worldmap.jpg|250px]][[Image:Inquisitor Tahlreth map.jpg|250px]]|left}} | ||
| + | <br clear="both" /> | ||
| + | So you walk all the way and reach the front door of the Inquisition Temple.<br> | ||
| + | {{S2frame|[[Image:Duel shadow camera8.jpg|400px]]|left}} | ||
| + | <br clear="both" /> | ||
| + | The Head of the local Inquisition Branch, [[Sacred 2:Inquisitor Tahlreth|Inquisitor Tahlreth]], already awaits you. He will give you the next quest of your campaign, the [[Sacred 2:Thwarted Attack Plans|Thwarted Attack Plans]]. | ||
| + | == Quest Enemies == | ||
| + | === [[Sacred 2:Student|Student]] === | ||
| + | {{:Sacred 2:Student}} | ||
| + | === [[Sacred 2:Arch Mage|Arch Mage]] === | ||
| + | {{:Sacred 2:Arch Mage}} | ||
== Logbook Entry == | == Logbook Entry == | ||
| − | [ | + | {| |
| − | + | |{{S2frame|[[Image:Duel shadow log.jpg|300px]]|left}} | |
| − | + | |} | |
== Notes == | == Notes == | ||
| − | + | * You will want to take on a quest or two at the [[Sacred 2:Brigand Camp 1 (Tyr Lysia)|Brigand Camp]] in order to start building up armor, weapons, gold and potions. | |
| − | + | * You might want to pick up [[Sacred 2:The Runemaster's Son|The Runemaster's Son]] quest on your way to visit the [[Sacred 2:Inquisitor Tahlreth|Inquisition Commander]] since you walk by the area where [[Sacred 2:Zaman|Zaman]] is hiding. | |
| − | + | * Do not forget about the six chests and two fonts inside the temple where you find [[Sacred 2:Inquisitor Tahlreth|Inquisitor Tahlreth]]. | |
</div> | </div> | ||
| − | [[Category:Sacred 2 Shadow Campaign Quest]] | + | [[Category:Sacred 2 Shadow Campaign Quest|{{SUBPAGENAME}}]] |
| − | |||
[[Category:Sacred 2 Quest|{{SUBPAGENAME}}]] | [[Category:Sacred 2 Quest|{{SUBPAGENAME}}]] | ||
| + | [[Category:Sacred 2 Tyr Lysia Quest|{{PAGENAME}}]] | ||
Latest revision as of 00:48, 20 December 2011
|
| ||||||||||
Quick Walkthrough
|
| |||||||||
Detailed Walkthrough
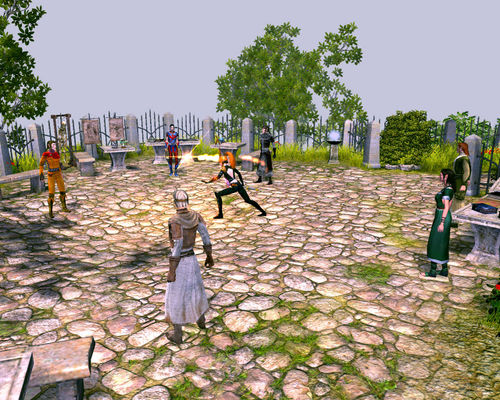
As soon as the intro cut-scene ends you will be attacked by the Student. Fortunately he doesn’t do much damage, and doesn’t attack quickly or move. He attacs you with the fireballs, and you have an opportunity to do the same to him - the Ancestral Fireball is the first Combat Art in your High Elf's arsenal. The Student isn't a tough opponent. However, if you just stand here doing nothing, he would kill you.
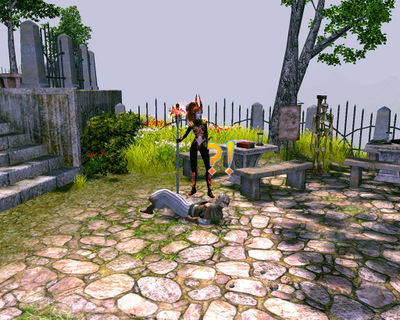
So you do what you were meant to - use your magic to defeat your opponent. That weakling died in process, the scared observers ran away - but anyway, now the duel is won and the Arch Mage, who was your teacher, wants to talk to you.
|
| ||
He must be willing to tell that you've successfully passed your exam, so you come and talk to him.

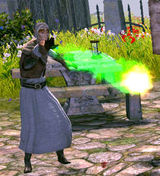
What?! He denounces you as a murderer and attacks you. But that senile fool can't be as powerful as you! So you defeat him just like you've defeated the Student (despite his title he really isn't a tougher opponent).
|
| ||
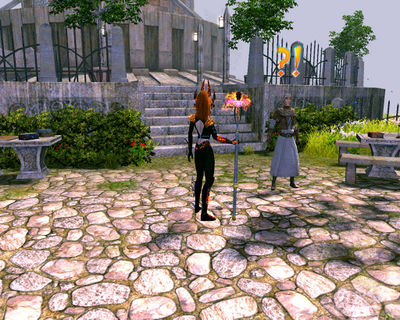
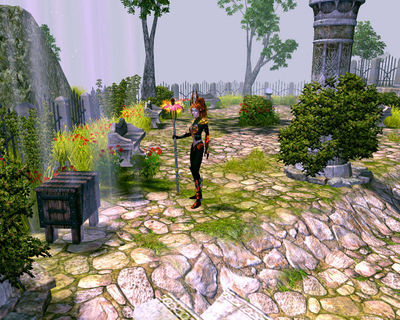
Looks like the old man wants to tell you something before he dies. Let's see what he has in mind.

So he thinks that you that you have the perfect attitude for the Inquisition... The time will tell if this is actually so, but now it's time to move on. But before you leave the Mage Tower, you'd better stop near the gates – your initial chest is here, and you can find some armour and maybe runes inside it. Though the runes can be found here only on the low difficulties (Bronze and Silver).
|
| ||
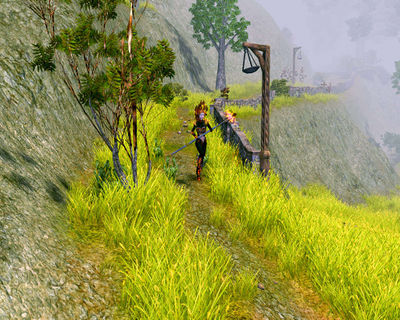
You open the gates and head out to the big world. Few bandits who get in your way as you walk down the hill can't stop you.
|
| ||
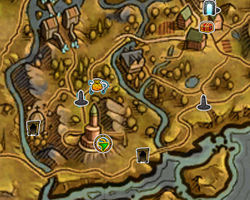
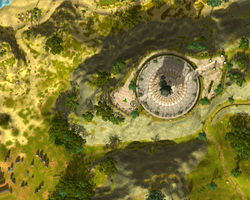
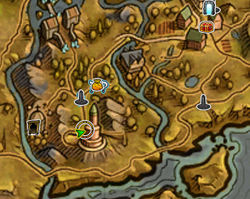
When you're near the bottom, the quest will update - your next target awaits you in the centre of Sloeford.
|
| ||
Walking further down the road, you come to the first Resurrection Monolith on your way (don't forget to save near it) and to the small Brigand Camp.
|
| ||
It's a good idea to stop here for a while and to do some side quests that can be found here. It would give you a valuable experience. Once you're ready to move, follow the road that heads north and then east to Sloeford.
|
| ||
When you reach the village, go to the central square.
|
| ||
|
| ||
Once there, your character immediately understands what to do next. Of course, she will tell you about it.

Now you, the same as the other shadow characters, need to find the Head of the local Inquisition Branch. He can be found in the Inquisition Temple near the town. To get there you should head east from the central square and then climb up the hill where the Temple is.
|
| ||
So you walk all the way and reach the front door of the Inquisition Temple.
|
| ||
The Head of the local Inquisition Branch, Inquisitor Tahlreth, already awaits you. He will give you the next quest of your campaign, the Thwarted Attack Plans.
Quest Enemies
Student
|
|
Damage Types: Weakest Against: Quest:Duel! - Shadow Campaign Quest Location: Celioth's Tower in Tyr Lysia | ||||||||||||||||||
Arch Mage
|
|
Damage Types: Weakest Against: Quest:Duel! - Shadow Campaign Quest Location: Celioth's Tower in Tyr Lysia | ||||||||||||||||||
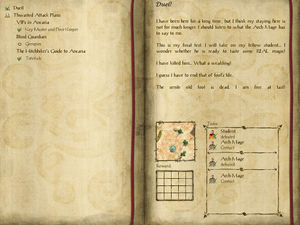
Logbook Entry
| |||||||||
Notes
- You will want to take on a quest or two at the Brigand Camp in order to start building up armor, weapons, gold and potions.
- You might want to pick up The Runemaster's Son quest on your way to visit the Inquisition Commander since you walk by the area where Zaman is hiding.
- Do not forget about the six chests and two fonts inside the temple where you find Inquisitor Tahlreth.
