Difference between revisions of "Sacred 2:Gardens Of The Seraphim"
Jump to navigation
Jump to search
| Line 31: | Line 31: | ||
== Quick Walkthrough == | == Quick Walkthrough == | ||
* Contact the [[Sacred 2:Seraphim Priestess|Seraphim Priestess]]. | * Contact the [[Sacred 2:Seraphim Priestess|Seraphim Priestess]]. | ||
| − | * Find and kill the spy | + | * Find and kill the [[Sacred 2:spy|spy]] |
* Return the stolen information to the [[Sacred 2:Seraphim Priestess|Seraphim Priestess]]. | * Return the stolen information to the [[Sacred 2:Seraphim Priestess|Seraphim Priestess]]. | ||
| Line 52: | Line 52: | ||
[http://www.sacredwiki.org/images/Sacred_2/quests/Chapter01/Gardens%20Of%20The%20Seraphim/hint2.jpg http://www.sacredwiki.org/images/Sacred_2/quests/Chapter01/Gardens%20Of%20The%20Seraphim/th_hint2.jpg] | [http://www.sacredwiki.org/images/Sacred_2/quests/Chapter01/Gardens%20Of%20The%20Seraphim/hint2.jpg http://www.sacredwiki.org/images/Sacred_2/quests/Chapter01/Gardens%20Of%20The%20Seraphim/th_hint2.jpg] | ||
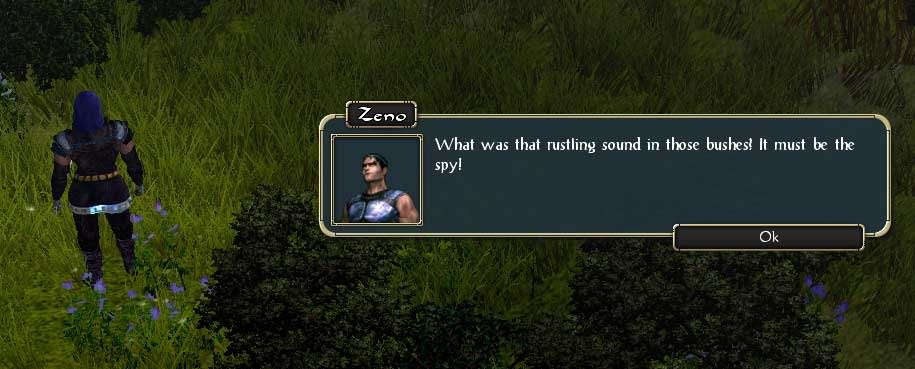
| − | You hear a sound behind some brushes. The spy must be there! You discover and kill the spy, and pick up the documents he had stolen. | + | You hear a sound behind some brushes. The [[Sacred 2:spy|spy]] must be there! You discover and kill the [[Sacred 2:spy|spy]], and pick up the documents he had stolen. |
[http://www.sacredwiki.org/images/Sacred_2/quests/Chapter01/Gardens%20Of%20The%20Seraphim/hint3_view.jpg http://www.sacredwiki.org/images/Sacred_2/quests/Chapter01/Gardens%20Of%20The%20Seraphim/th_hint3_view.jpg] | [http://www.sacredwiki.org/images/Sacred_2/quests/Chapter01/Gardens%20Of%20The%20Seraphim/hint3_view.jpg http://www.sacredwiki.org/images/Sacred_2/quests/Chapter01/Gardens%20Of%20The%20Seraphim/th_hint3_view.jpg] | ||
Revision as of 16:19, 3 January 2011
|
|
Quick Walkthrough
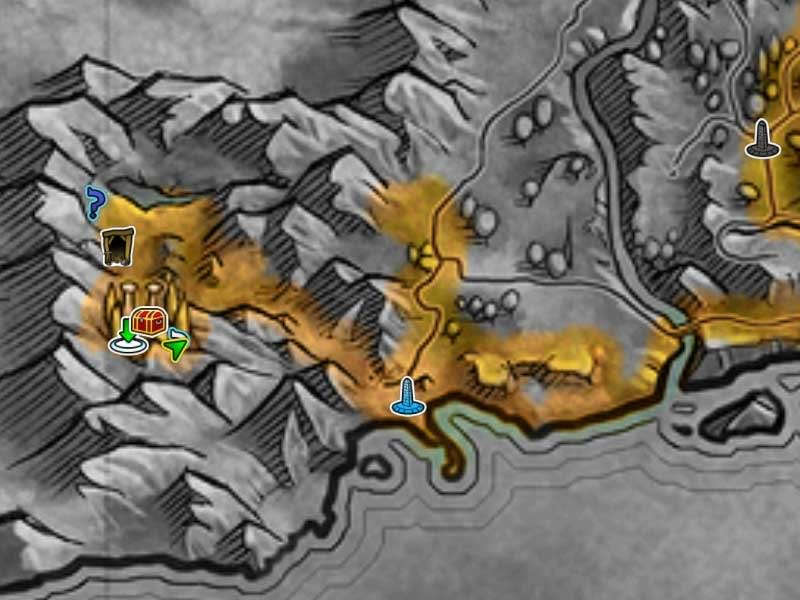
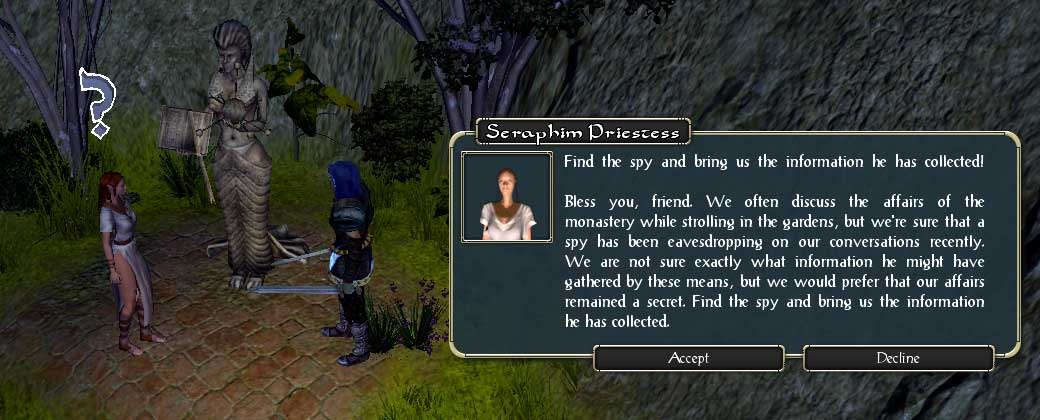
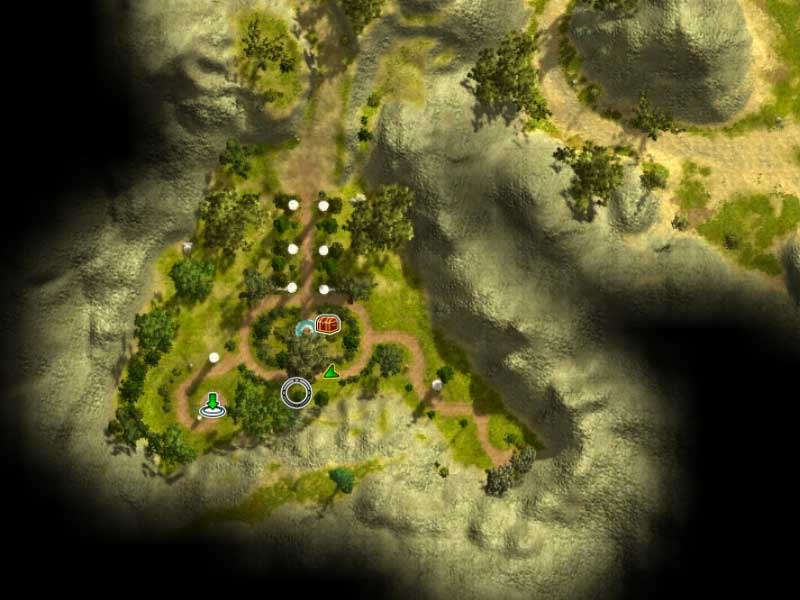
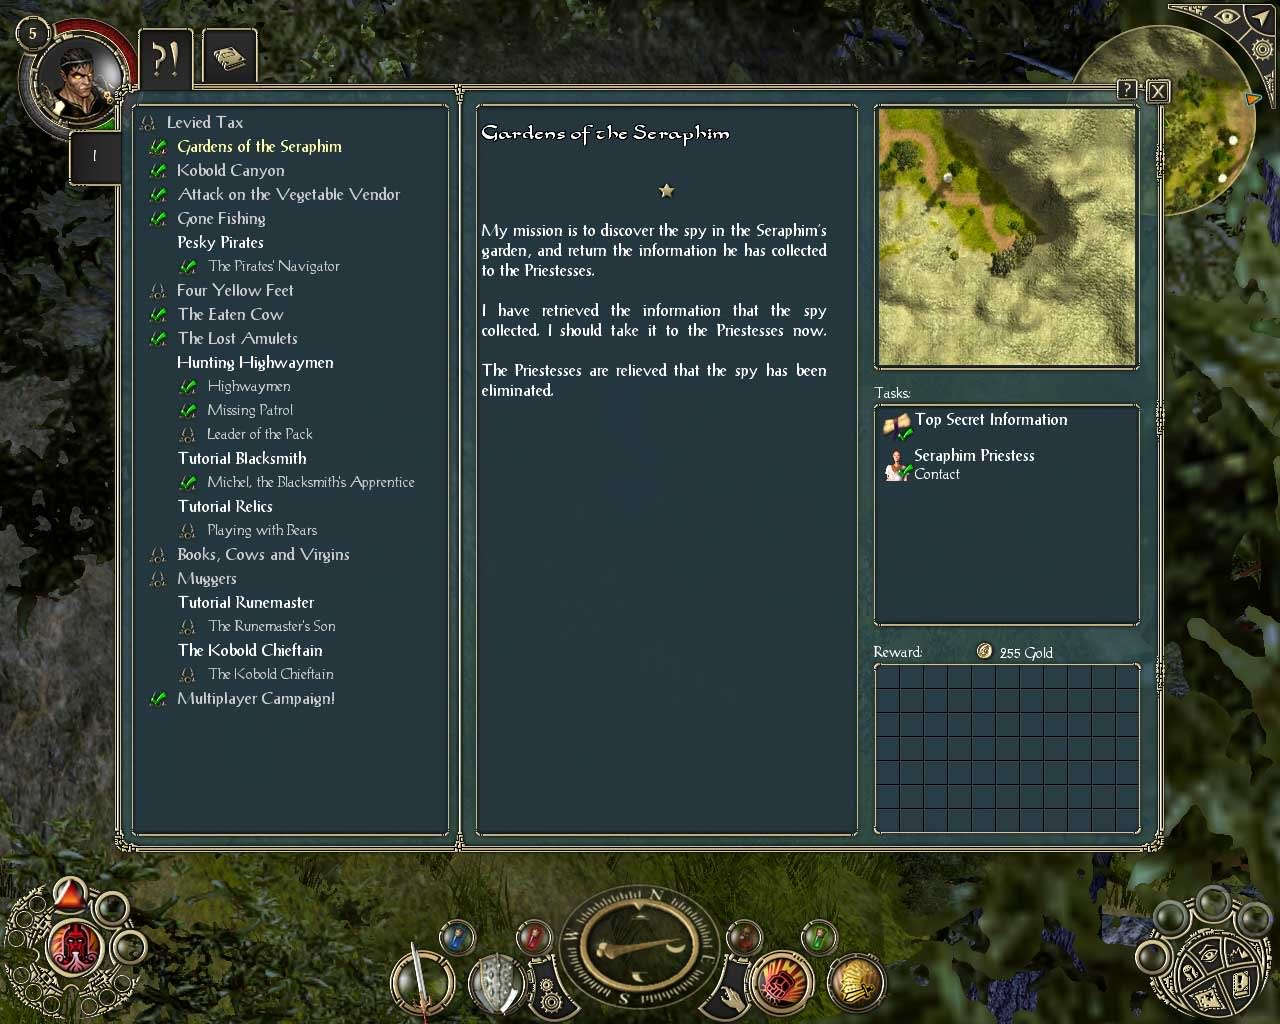
Detailed WalkthroughThe Seraphim Priestess is in the southwest part of the Forgotten Gardens. When you talk to her, she asks you to track down a spy, retrieve stolen documents and return them to her.
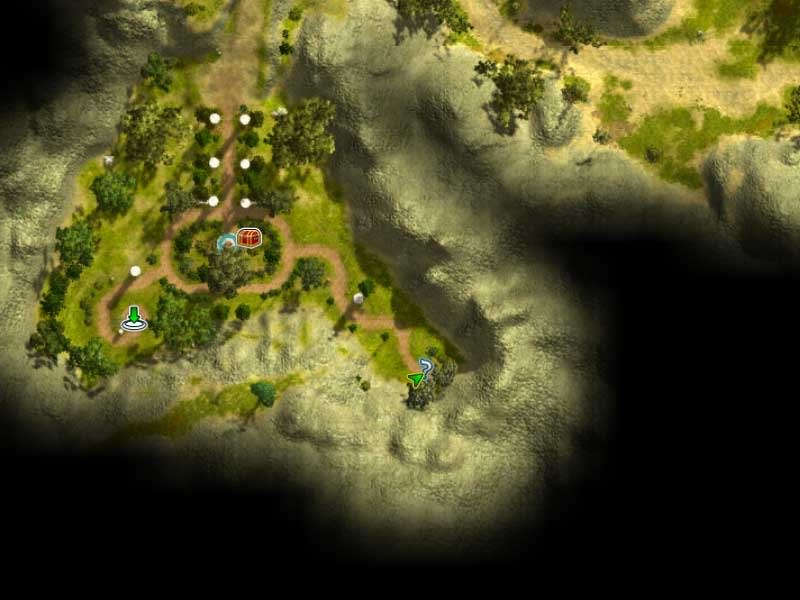
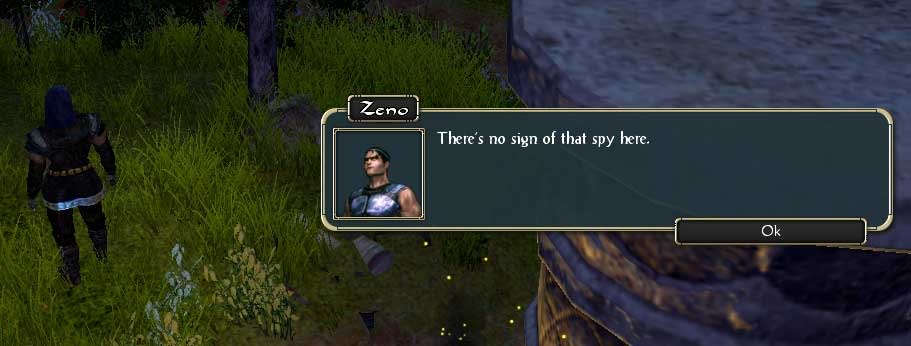
So you decide to take a look around. You walk towards the entrance, as if you were enjoying a walk in nature. There's some suspicious vegetation... no one behind there.
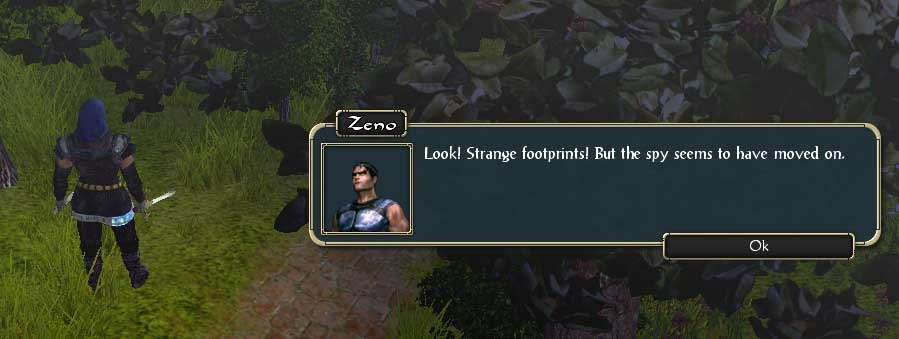
Uhm... recent footprints! You must follow them!
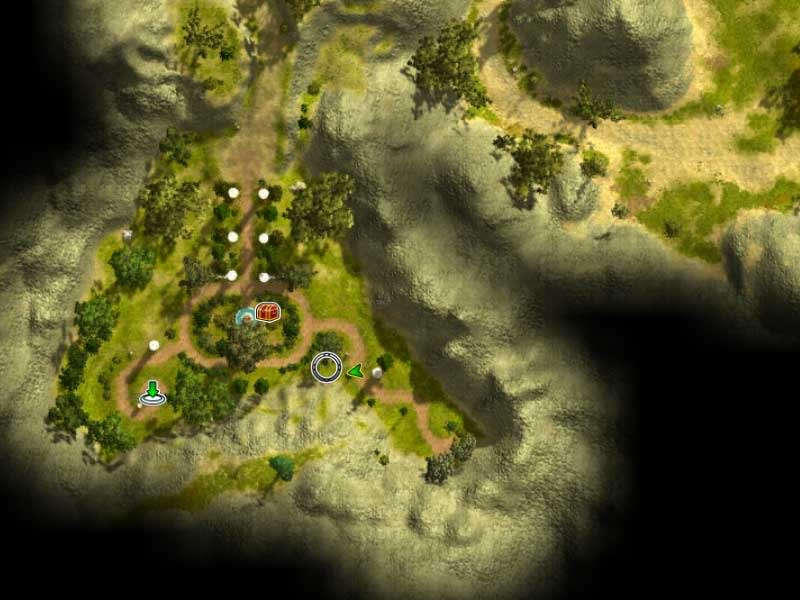
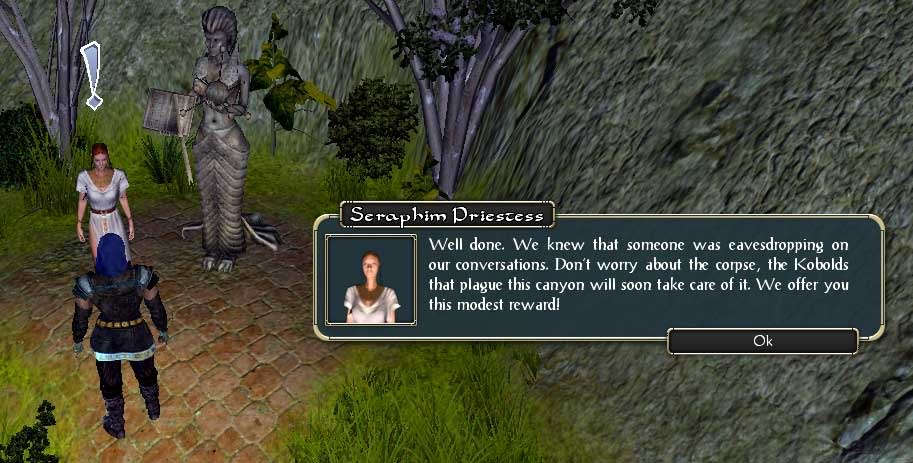
You hear a sound behind some brushes. The spy must be there! You discover and kill the spy, and pick up the documents he had stolen.
You take the stolen information back to the Seraphim Priestess, and you are rewarded with some gold coins for you clean job. Excellent!
Logbook Entry
Notes
|