Difference between revisions of "Sacred 2:Ghost Whisperings"
Jump to navigation
Jump to search
(New page: {{subst:Quest}}) |
|||
| Line 1: | Line 1: | ||
| − | |||
| − | |||
| − | |||
<div class="plainlinks"> | <div class="plainlinks"> | ||
{|WIDTH="100%" | {|WIDTH="100%" | ||
|WIDTH="15%" VALIGN="TOP"|__TOC__ | |WIDTH="15%" VALIGN="TOP"|__TOC__ | ||
|WIDTH="35%" VALIGN="TOP"| | |WIDTH="35%" VALIGN="TOP"| | ||
| − | * '''Quest Objective:''' | + | * '''Quest Objective:''' Retrieve an amulet |
| − | * '''Quest Difficulty:''' | + | * '''Quest Difficulty:''' 2 Stars |
| − | * '''Quest Giver:''' | + | * '''Quest Giver:''' [[Sacred 2:Restless Ghost-Ghost Whisperings |Restless Ghost]] |
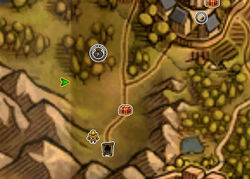
| − | * '''Location(s):''' | + | * '''Location(s):''' [[Sacred 2:Artamark|Artamark]], northwest from [[Sacred 2:Fortress Reikenstein|Fortress Reikenstein]] |
| − | * '''Prerequisite Quest:''' | + | * '''Prerequisite Quest:''' None |
| − | * '''Next Quest:''' | + | * '''Next Quest:''' None |
| − | * '''Reward:''' | + | * '''Reward:''' [[Sacred 2:Gold|Gold]], [[Sacred 2:Experience|Experience]] |
| − | |WIDTH="50%" VALIGN="TOP"| | + | |WIDTH="50%" VALIGN="TOP"| |
| − | {{S2frame|[[Image: | + | {{S2frame|[[Image:ghost-map.jpg|250px]][[Image:Ghost-tab.jpg|250px]]|right|'''[[Sacred 2:Map of Ancaria|View the Ancaria Interactive Map]]'''}} |
|} | |} | ||
{|WIDTH="100%" | {|WIDTH="100%" | ||
|WIDTH="60%" VALIGN="TOP"| | |WIDTH="60%" VALIGN="TOP"| | ||
== Quick Walkthrough == | == Quick Walkthrough == | ||
| − | + | ||
| − | * | + | * Talk to Restless Ghost |
| − | * | + | * Find the amulet |
| − | * | + | * Speak with [[Sacred 2:Anne-Mary|Anne-Mary]] |
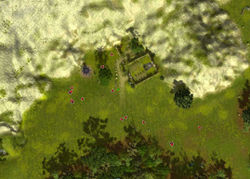
| − | |WIDTH="40%" VALIGN="TOP"|{{S2frame|[[Image: | + | |WIDTH="40%" VALIGN="TOP"|{{S2frame|[[Image:Ghost-loc.jpg|500px]]}} |
|} | |} | ||
== Detailed Walkthrough == | == Detailed Walkthrough == | ||
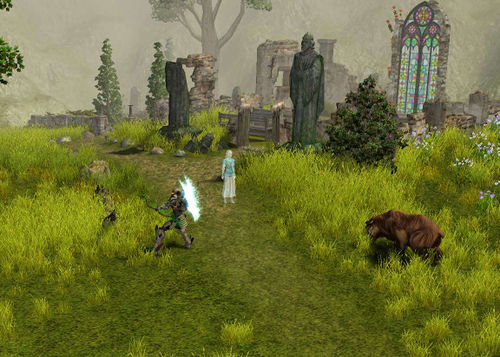
| − | + | You will probably encounter the Restless Ghost as you are wandering around [[Sacred 2:Fortress Reikenstein|Fortress Reikenstein]]. She resides at the entrance to a long forgotten chapel and graveyard. Her story is a sad one even though she will not tell you the whole story. She wants you to find an amulet she lost while living and give it to her daughter. | |
| − | + | {{S2frame|[[Image:Ghost-chat.jpg|400px]]|left}} | |
| − | |||
| − | |||
| − | |||
| − | |||
| − | {{S2frame|[[Image: | ||
<br clear="both" /> | <br clear="both" /> | ||
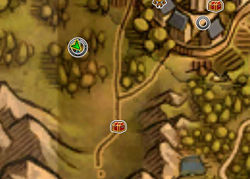
| − | + | You'll find the amulet not far to the north of her in a grove of trees. After picking up the amulet you will find [[Sacred 2:Anne-Mary|Anne-Mary]], her daughter just a little north of where you found the amulet. In fact she's in the same stand of trees. | |
| − | |||
| − | + | {{S2frame|[[Image:anne-mary-map.jpg|250px]][[Image:anne-mary-tab.jpg|250px]]|left]]}} | |
| − | {{S2frame|[[Image: | ||
<br clear="both" /> | <br clear="both" /> | ||
| − | + | {{S2frame|[[Image:anne-mary-loc.jpg|400px]]|left}} | |
| − | |||
| − | |||
| − | |||
| − | |||
| − | |||
| − | |||
| − | {{S2frame|[[Image: | ||
<br clear="both" /> | <br clear="both" /> | ||
| − | + | Most likely she has been searching for the amulet also. Give Anne-Mary the amulet to ease her heart and allow her mother to finally rest in peace. | |
| − | |||
| − | |||
| − | |||
| − | == | + | == Logbook Entry == |
| − | |||
| − | + | {| | |
| − | + | |{{S2frame|[[Image:ghost-log.jpg|300px]]|left}} | |
| − | |||
| − | |||
| − | |||
| − | |||
| − | |||
| − | |||
|} | |} | ||
== Notes == | == Notes == | ||
| − | |||
</div> | </div> | ||
| − | + | ||
[[Category:Sacred 2 Quest|{{PAGENAME}}]] | [[Category:Sacred 2 Quest|{{PAGENAME}}]] | ||
[[Category:Sacred 2 Side Quest|{{PAGENAME}}]] | [[Category:Sacred 2 Side Quest|{{PAGENAME}}]] | ||
| − | |||
| − | |||
| − | |||
| − | |||
| − | |||
| − | |||
| − | |||
Revision as of 02:07, 12 December 2011
|
| ||||||||||
Quick Walkthrough
|
| |||||||||
Detailed Walkthrough
You will probably encounter the Restless Ghost as you are wandering around Fortress Reikenstein. She resides at the entrance to a long forgotten chapel and graveyard. Her story is a sad one even though she will not tell you the whole story. She wants you to find an amulet she lost while living and give it to her daughter.
|
| ||
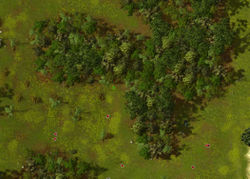
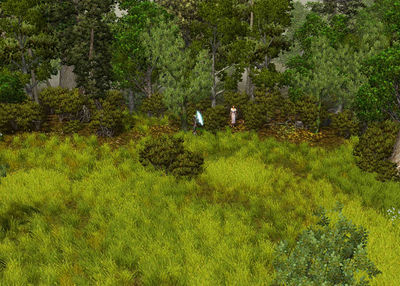
You'll find the amulet not far to the north of her in a grove of trees. After picking up the amulet you will find Anne-Mary, her daughter just a little north of where you found the amulet. In fact she's in the same stand of trees.
|
| ||
|
| ||
Most likely she has been searching for the amulet also. Give Anne-Mary the amulet to ease her heart and allow her mother to finally rest in peace.
Logbook Entry
| |||||||||
