Difference between revisions of "Sacred 2:Is that really you?"
m (Development checkin) |
(→Detailed Walkthrough: added sketches from journal) |
||
| (3 intermediate revisions by 2 users not shown) | |||
| Line 11: | Line 11: | ||
* '''Reward:''' [[Sacred 2:Gold|Gold]] [[Sacred 2:Experience|Experience]] | * '''Reward:''' [[Sacred 2:Gold|Gold]] [[Sacred 2:Experience|Experience]] | ||
|WIDTH="50%" VALIGN="TOP"| | |WIDTH="50%" VALIGN="TOP"| | ||
| − | {{S2frame|[[Image: | + | {{S2frame|[[Image:ThatReallyYou_GlenMap.jpg|250px]][[Image:ThatReallyYou_GlenTabMap.jpg|250px]]|right|'''[[Sacred 2:Map of Ancaria|View the Ancaria Interactive |
Map]]'''}} | Map]]'''}} | ||
|} | |} | ||
| Line 17: | Line 17: | ||
|WIDTH="60%" VALIGN="TOP"| | |WIDTH="60%" VALIGN="TOP"| | ||
== Quick Walkthrough == | == Quick Walkthrough == | ||
| − | * | + | * Talk to Glenn |
| − | * | + | * Search Village Ruins for his wife |
| − | * | + | * Soak the death tree branch in blood |
| − | |WIDTH="40%" VALIGN="TOP"|{{S2frame|[[Image: | + | * Kill the Woman |
| + | * Return to Glenn for your reward | ||
| + | |WIDTH="40%" VALIGN="TOP"|{{S2frame|[[Image:ThatReallyYou_GlenCamera.jpg|500px]]}} | ||
|} | |} | ||
== Detailed Walkthrough == | == Detailed Walkthrough == | ||
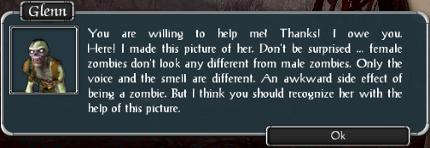
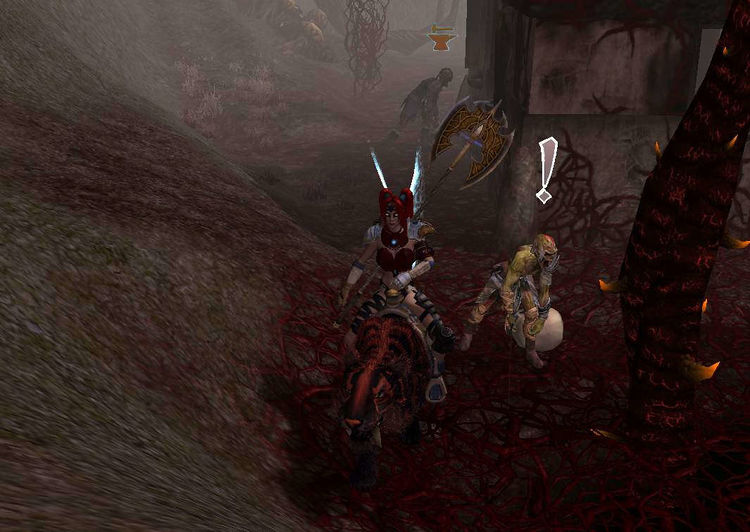
Near the bridge on the west side of Village Ruins, you meet a zombie named Glenn who has a problem. He discovered his wife's body this morning, but later saw her shopping in town. | Near the bridge on the west side of Village Ruins, you meet a zombie named Glenn who has a problem. He discovered his wife's body this morning, but later saw her shopping in town. | ||
| − | {{S2frame|[[Image: | + | {{S2frame|[[Image:ThatReallyYou_Glen1Dialog.jpg]]|left}}<br clear="both" /> |
| − | {{S2frame|[[Image: | + | {{S2frame|[[Image:ThatReallyYou_Glen2Dialog.jpg]]|left}}<br clear="both" /> |
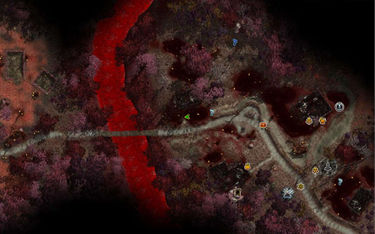
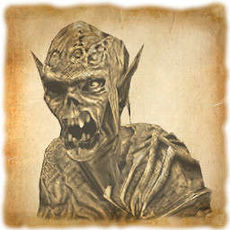
Armed with the picture of the deceased, you head towards the blacksmith looking for her. | Armed with the picture of the deceased, you head towards the blacksmith looking for her. | ||
| − | {{S2frame|[[Image:ThatReallyYou_WrongZombieTabMap.jpg|375px]]|left]]}} | + | {| |
| + | |{{S2frame|[[Image:ThatReallyYou_WrongZombieTabMap.jpg|375px]]|left}} | ||
| + | |{{S2frame|[[File:Zombie Quest 1.jpg|x230px]]|none}} | ||
| + | |} | ||
{{S2frame|[[Image:ThatReallyYou_WrongZombieCamera.jpg|750px]]|left}}<br clear="both" /> | {{S2frame|[[Image:ThatReallyYou_WrongZombieCamera.jpg|750px]]|left}}<br clear="both" /> | ||
{{S2frame|[[Image:ThatReallyYou_WrongZombieDialog.jpg]]|left}}<br clear="both" /> | {{S2frame|[[Image:ThatReallyYou_WrongZombieDialog.jpg]]|left}}<br clear="both" /> | ||
| Line 47: | Line 52: | ||
Better go back and see Glenn again. | Better go back and see Glenn again. | ||
| − | {{S2frame|[[Image: | + | {{S2frame|[[Image:ThatReallyYou_Glen3Dialog.jpg]]|left}}<br clear="both" /> |
You head back into to town to continue you search. Between the merchant and the hot air balloon you find another corpse. | You head back into to town to continue you search. Between the merchant and the hot air balloon you find another corpse. | ||
| Line 54: | Line 59: | ||
Keep going and you will find the shapeshifter on the edge of town by the lamppost. | Keep going and you will find the shapeshifter on the edge of town by the lamppost. | ||
| − | {{S2frame|[[Image:ThatReallyYou_FightTabMap.jpg|375px]]|left]]}} | + | {| |
| + | |{{S2frame|[[Image:ThatReallyYou_FightTabMap.jpg|375px]]|left}} | ||
| + | |{{S2frame|[[File:Zombie Quest 2.jpg|x230px]]|none}} | ||
| + | |} | ||
{{S2frame|[[Image:ThatReallyYou_FightCamera.jpg|750px]]|left}}<br clear="both" /> | {{S2frame|[[Image:ThatReallyYou_FightCamera.jpg|750px]]|left}}<br clear="both" /> | ||
{{S2frame|[[Image:ThatReallyYou_FightDialog.jpg]]|left}}<br clear="both" /> | {{S2frame|[[Image:ThatReallyYou_FightDialog.jpg]]|left}}<br clear="both" /> | ||
You fight! Unfortunately you cannot kill this thing. Back to Glenn again. | You fight! Unfortunately you cannot kill this thing. Back to Glenn again. | ||
| − | {{S2frame|[[Image: | + | {{S2frame|[[Image:ThatReallyYou_Glen4Dialog.jpg]]|left}}<br clear="both" /> |
| − | Take the wood given to you by Glenn and head south out of town | + | Take the wood given to you by Glenn and head south out of town into the [[Sacred 2:Field of Eternal Pain|Field of Eternal Pain]]. |
| − | == | + | {{S2frame|[[Image:ThatReallyYou_BloodMap.jpg|375px]][[Image:ThatReallyYou_BloodTabMap.jpg|375px]]|left]]}}<br clear="both" /> |
| − | + | {{S2frame|[[Image:ThatReallyYou_BloodDialog.jpg]]|left}}<br clear="both" /> | |
| − | {{: | + | |
| + | Now time to take on this monster again. You will find "her" near where you last fought. This time the outcome is much different than than last | ||
| + | {{S2frame|[[Image:ThatReallyYou_WomanMap.jpg|375px]]|left}}<br clear="both" /> | ||
| + | {{S2frame|[[Image:ThatReallyYou_WomanDialog.jpg]]|left}}<br clear="both" /> | ||
| + | Go back to see Glenn one last time and give him the news. | ||
| + | {{S2frame|[[Image:ThatReallyYou_Glen5Dialog.jpg]]|left}}<br clear="both" /> | ||
| − | == | + | == Quest Enemies == |
| − | + | === [[Sacred 2:Woman|Woman]] === | |
| − | + | {{:Sacred 2:Woman}} | |
| − | |||
== Logbook Entry == | == Logbook Entry == | ||
{| | {| | ||
| − | |{{S2frame|[[Image: | + | |{{S2frame|[[Image:ThatReallyYou_Logbook1.jpg|375px]]|left}} |
| + | |{{S2frame|[[Image:ThatReallyYou_Logbook2.jpg|375px]]|left}} | ||
| + | |} | ||
| + | {| | ||
| + | |{{S2frame|[[Image:ThatReallyYou_Logbook3.jpg|375px]]|left}} | ||
| + | |{{S2frame|[[Image:ThatReallyYou_Logbook4.jpg|375px]]|left}} | ||
| + | |} | ||
| + | {| | ||
| + | |{{S2frame|[[Image:ThatReallyYou_Logbook5.jpg|375px]]|left}} | ||
| + | |{{S2frame|[[Image:ThatReallyYou_Logbook6.jpg|375px]]|left}} | ||
|} | |} | ||
{| | {| | ||
| − | |{{S2frame|[[Image: | + | |{{S2frame|[[Image:ThatReallyYou_Logbook7.jpg|375px]]|left}} |
| − | |||
|} | |} | ||
| − | |||
== Notes == | == Notes == | ||
| Line 88: | Line 107: | ||
</div> | </div> | ||
[[Category:Sacred 2 Quest|{{PAGENAME}}]] | [[Category:Sacred 2 Quest|{{PAGENAME}}]] | ||
| − | |||
| − | |||
| − | |||
| − | |||
| − | |||
| − | |||
| − | |||
| − | |||
[[Category:Sacred 2 Ice & Blood Quest|{{PAGENAME}}]] | [[Category:Sacred 2 Ice & Blood Quest|{{PAGENAME}}]] | ||
| + | [[Category:Sacred 2 Cursed Forest Quest|{{PAGENAME}}]] | ||
Latest revision as of 01:59, 16 October 2013
|
| ||||||||||
Quick Walkthrough
|
| |||||||||
Detailed Walkthrough
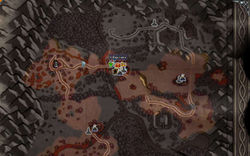
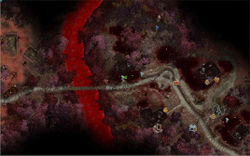
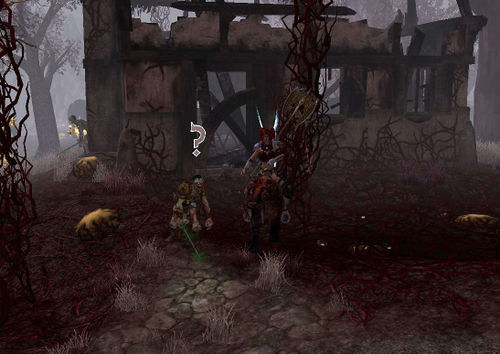
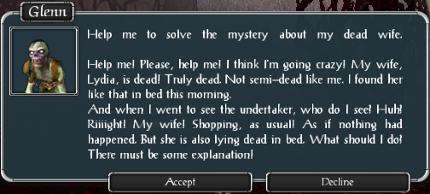
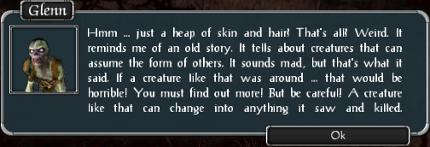
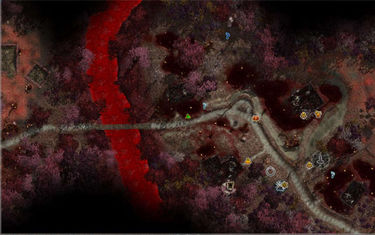
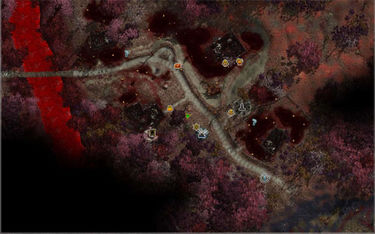
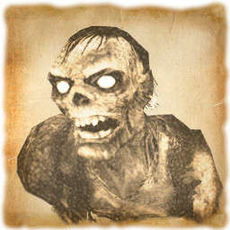
Near the bridge on the west side of Village Ruins, you meet a zombie named Glenn who has a problem. He discovered his wife's body this morning, but later saw her shopping in town.
|
| ||
|
| ||
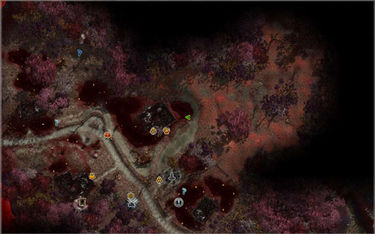
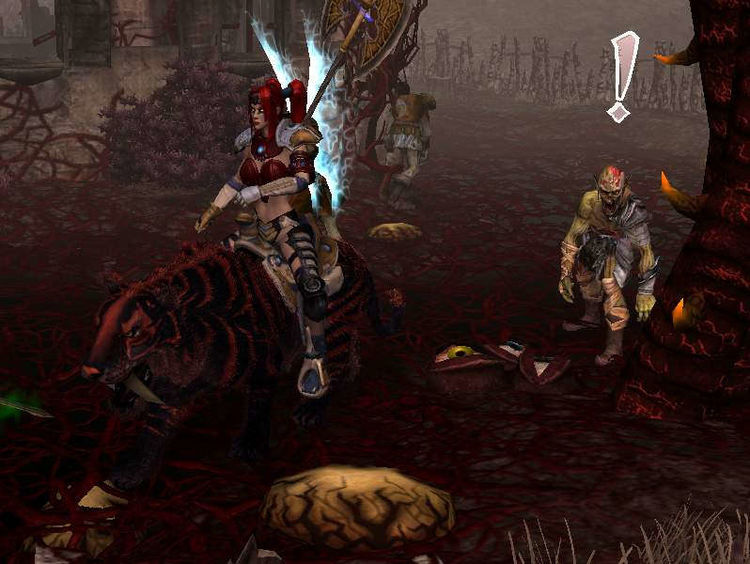
Armed with the picture of the deceased, you head towards the blacksmith looking for her.
|
| ||||||||||||||||||
|
| ||
|
| ||
You then head towards the stables. There you find Lydia and she assures you she is as alive as any zombie.
|
| ||
|
| ||
|
| ||
With that, she walks off. Something is not right here, better follow her. She walks past the merchant and disappears into a cave.
|
| ||
|
| ||
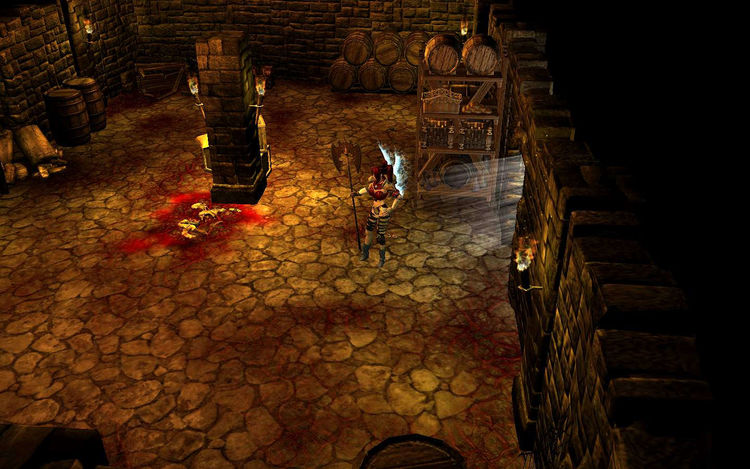
Inside is a bloody mess. There is something sinister going on here!
|
| ||
|
| ||
Better go back and see Glenn again.
|
| ||
You head back into to town to continue you search. Between the merchant and the hot air balloon you find another corpse.
|
| ||
|
| ||
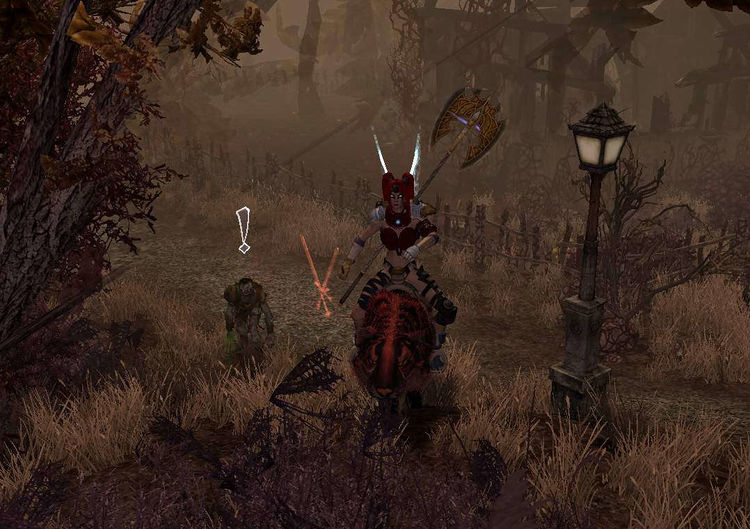
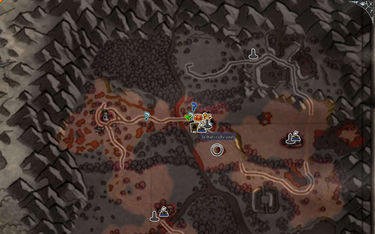
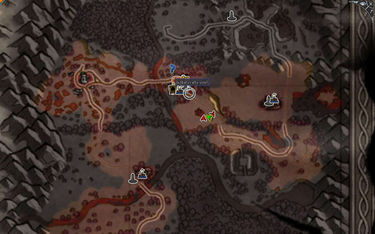
Keep going and you will find the shapeshifter on the edge of town by the lamppost.
|
| ||||||||||||||||||
|
| ||
|
| ||
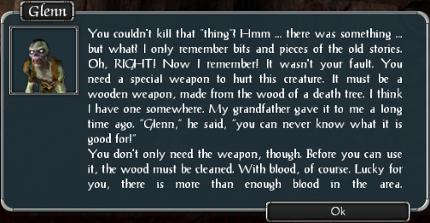
You fight! Unfortunately you cannot kill this thing. Back to Glenn again.
|
| ||
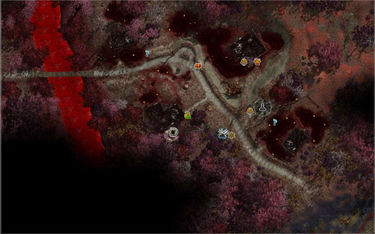
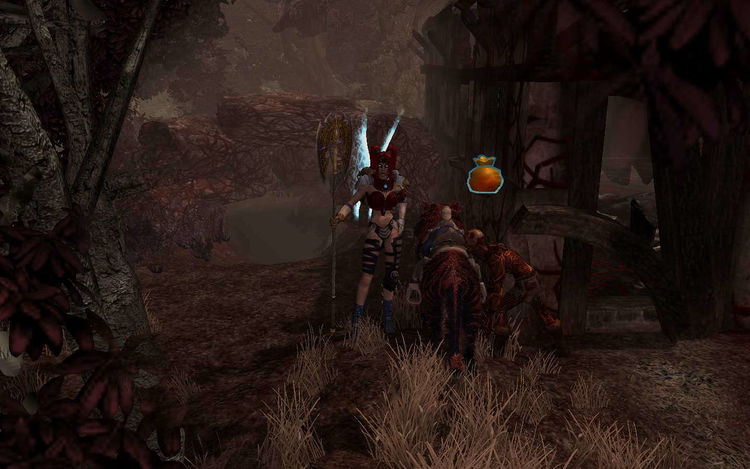
Take the wood given to you by Glenn and head south out of town into the Field of Eternal Pain.
|
| ||
|
| ||
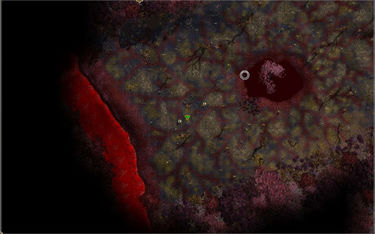
Now time to take on this monster again. You will find "her" near where you last fought. This time the outcome is much different than than last
|
| ||
|
| ||
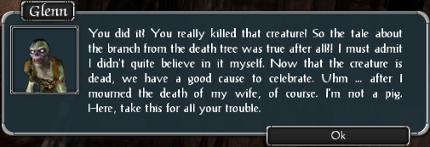
Go back to see Glenn one last time and give him the news.
|
| ||
Quest Enemies
Woman
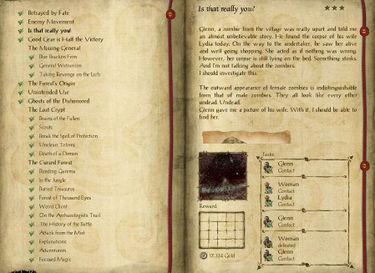
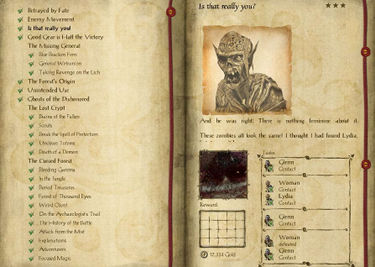
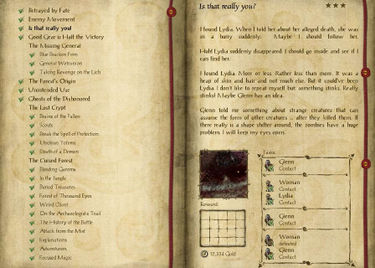
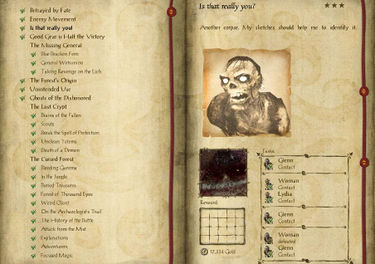
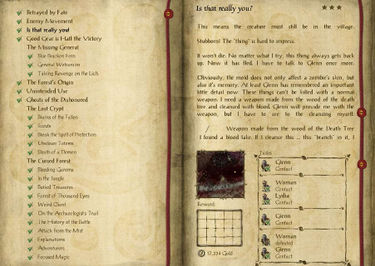
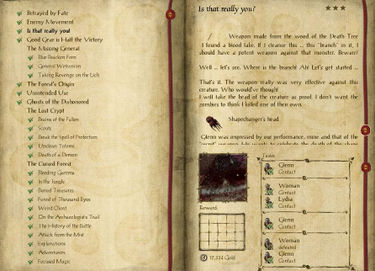
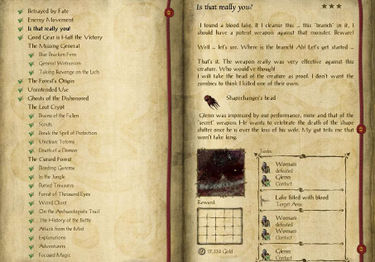
Logbook Entry
|
| ||||||||||||||||||
|
| ||||||||||||||||||
|
| ||||||||||||||||||
| |||||||||
