Difference between revisions of "Sacred 2:On Kirich's Heels"
(New page: {{subst:Quest}}) |
|||
| (13 intermediate revisions by 4 users not shown) | |||
| Line 1: | Line 1: | ||
{{Languages}} | {{Languages}} | ||
| + | <div class="plainlinks"> | ||
| + | {|WIDTH="100%" | ||
| + | |WIDTH="15%" VALIGN="TOP"|__TOC__ | ||
| + | |WIDTH="35%" VALIGN="TOP"| | ||
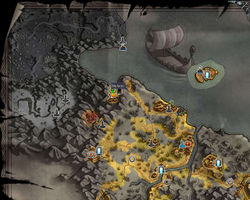
| + | * '''Quest Objective:''' Find [[Sacred 2:Kirich DeElfici|Kirich DeElfici]], the evil merchant | ||
| + | * '''Quest Difficulty:''' None | ||
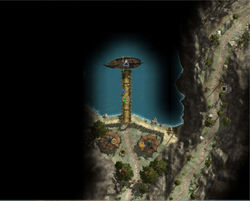
| + | * '''Quest Giver:''' [[Sacred 2:Fisherman|Fisherman]] on the pier in Blulutuz, Nor Plat | ||
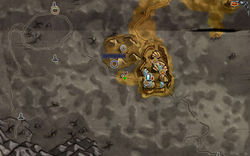
| + | * '''Location(s):''' [[Sacred 2:Bulutuz|Bulutuz]], North east [[Sacred 2:Nor Plat|Nor Plat]] | ||
| + | * '''Prerequisite Quest:''' [[Sacred 2:Orc Trouble|Orc Trouble]] | ||
| + | * '''Next Quest:''' [[Sacred 2:DeElfici in the Desert|DeElfici in the Desert]] | ||
| + | * '''Reward:''' [[Sacred 2:Experience|Experience]] | ||
| + | |WIDTH="50%" VALIGN="TOP"| | ||
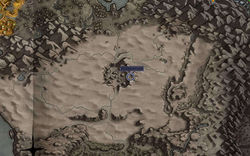
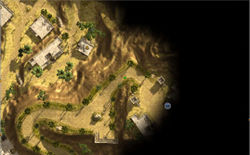
| + | {{S2frame|[[Image:OnKirichsHeels_FisherMap.jpg|250px]][[Image:OnKirichsHeels_FisherTabMap.jpg|250px]]|right|'''[[Sacred 2:Map of Ancaria|View the Ancaria Interactive Map]]'''}} | ||
| + | |} | ||
| + | {|WIDTH="100%" | ||
| + | |WIDTH="60%" VALIGN="TOP"| | ||
| + | == Quick Walkthrough == | ||
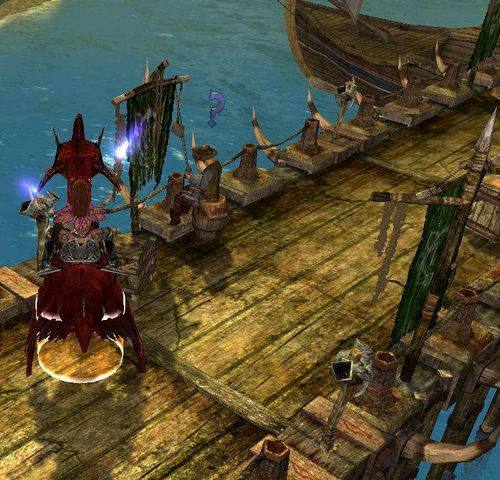
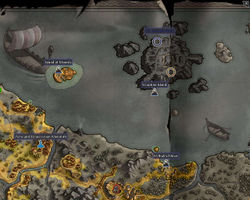
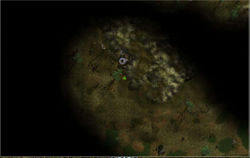
| + | * Talk to the [[Sacred 2:Fisherman|Fisherman]] on the pier in [[Sacred 2:Bulutuz|Bulutuz]] to know that [[Sacred 2:Kirich DeElfici|Kirich DeElfici]] fled to the [[Sacred 2:Seraphim Island|Seraphim Island]] | ||
| + | * Talk to the Seraphim Port Guard on the Seraphim Island to know that Kirich's boat crashed and to receive his letter | ||
| + | * Talk to the [[Sacred 2:Dragon Priest|Dragon Priest]] in the Dragon territory to know that Kirich escaped using the teleporter | ||
| + | * Talk to the Lizardman [[Sacred 2:Scout Razza'Matazz|Scout Razza'Matazz]] in [[Sacred 2:The Swamp|The Swamp]] near [[Sacred 2:Hissil'Ta|Hissil'Ta]] to know that Kirich lives in the cave nearby | ||
| + | * Go to that cave and find Kirich inside it | ||
| + | * Talk to Kirich to understand that he's quite crazy and kill him | ||
| + | * Find [[Sacred 2:Viola DeElfici|Viola DeElfici]] in [[Sacred 2:Khorum|Khorum]] in the [[Sacred 2:Bengaresh Desert|Bengaresh Desert]] and tell her this story and to finish this quest | ||
| + | |WIDTH="40%" VALIGN="TOP"|{{S2frame|[[Image:OnKirichsHeels_FisherCamera.jpg|500px]]}} | ||
| + | |} | ||
| + | == Detailed Walkthrough == | ||
| + | This quest is a rather long one takes place in no less than 3 areas. As you're leaving the Orc territory for the Seraphim Island as part of your regular main quest. The fisherman on the pier will tell you he saw him leave but the ship he left on hasn't returned yet. | ||
| + | {{S2frame|[[Image:OnKirchsHeels_FisherDialog.jpg|430px]]|left}} | ||
| + | <br clear="both" /> | ||
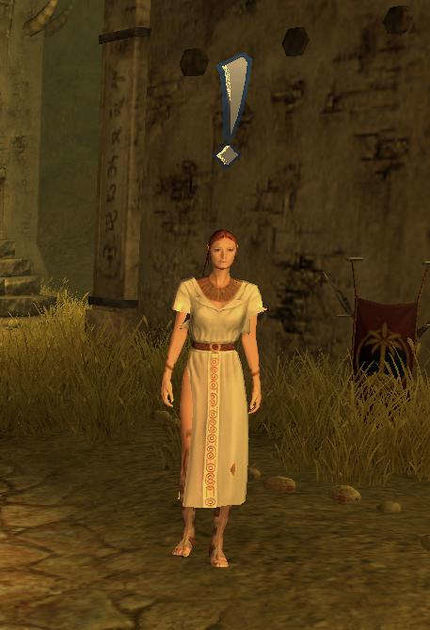
| + | Talk to the captain waiting there and move onto the next stop - [[Sacred 2:Seraphim Island|Seraphim Island]]. The quest marker will jump to the northwest corner of Seraphim Island. When you get there, you'll see a Seraphim with a blue quest marker overhead. She will tell you she found a shipwreck and a note. | ||
| + | {{S2frame|[[Image:OnKirichsHeels_PortGuardMap.jpg|250px]][[Image:OnKirichsHeels_PortGuardTabMap.jpg|250px]]|left]]}} | ||
| + | <br clear="both" /> | ||
| + | {{S2frame|[[Image:OnKirichsHeels_PortGuardCamera.jpg|400px]]|left}} | ||
| + | <br clear="both" /> | ||
| + | {{S2frame|[[Image:OnKirichsHeels_PortGuardDialog.jpg|430px]]|left}} | ||
| + | <br clear="both" /> | ||
| + | As you read the note, you find that Kirich was on the ship, but somehow may have survived. The quest marker moves to another one of the Dragonsea Islands to the east. | ||
| + | {{S2frame|[[Image:OnKirichsHeels_DragonPriestMap.jpg|250px]][[Image:OnKirichsHeels_DragonPriestTabMap.jpg|250px]]|left]]}} | ||
| + | <br clear="both" /> | ||
| − | < | + | After completing the quests and such on Seraphim Island, go into the underground cave system and do the quests you need to get to the east side. On top of the large island on the east end, near where you talk to the dragon, you'll find a dragon cultist standing next to a smallish mountain with a blue quest marker. When you talk to him, you'll find that Kirich was there recently and jumped into the portal without preparing himself for it. |
| − | {| | + | {{S2frame|[[Image:OnKirichsHeels_DragonPriestCamera.jpg|400px]]|left}} |
| − | | | + | <br clear="both" /> |
| − | + | {{S2frame|[[Image:OnKirichsHeels_DragonPriestDialog.jpg|430px]]|left}} | |
| − | + | <br clear="both" /> | |
| − | + | ||
| − | + | After your business is complete, follow him into the portal - it will take you to the northeast part of the swamps. Moving along, you will find the quest marker is now near the big Lizardman city of Hissil'Ta. | |
| − | + | {{S2frame|[[Image:OnKirichsHeels_LizardmanMap.jpg|250px]][[Image:OnKirichsHeels_LizardmanTabMap.jpg|250px]]|left]]}} | |
| − | + | <br clear="both" /> | |
| − | |||
| − | |||
| − | | | ||
| − | <br /> | ||
| − | |||
| − | |||
| − | = | + | When you get there, you'll find a Lizardman, [[Sacred 2:Scout Razza'Matazz|Scout Razza'Matazz]], with the blue marker overhead. |
| − | + | {{S2frame|[[Image:OnKirichsHeels_LizardmanCamera.jpg|400px]]|left}} | |
| + | <br clear="both" /> | ||
| + | He will tell you that yes, indeed, he's seen the object of your quest and Kirich has lost his mind and is hiding out in a cave nearby. | ||
| + | {{S2frame|[[Image:OnKirichsHeels_LizardmanDialog.jpg|400px]]|left}} | ||
| + | <br clear="both" /> | ||
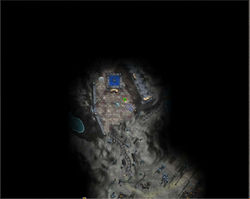
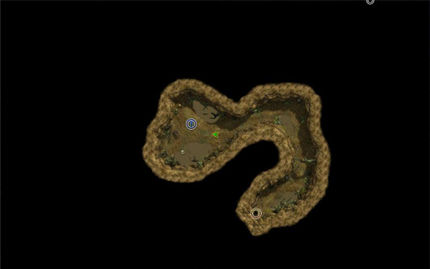
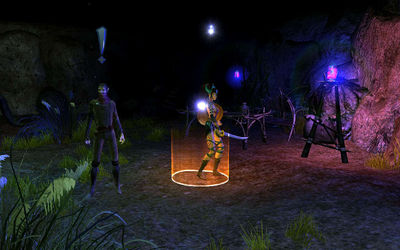
| + | Go into the cave and you'll find him foaming at the mouth. Put the poor sod out of his misery. And thus ends the big chase. | ||
| + | {{S2frame|[[Image:OnKirichsHeels_KirichMap.jpg|250px]][[Image:OnKirichsHeels_Kirich1TabMap.jpg|250px]]|left]]}} | ||
| + | <br clear="both" /> | ||
| + | {{S2frame|[[Image:OnKirichsHeels_Kirich2TabMap.jpg|430px]]|left}} | ||
| + | <br clear="both" /> | ||
| + | {{S2frame|[[Image:OnKirichsHeels_KirichCamera.jpg|400px]]|left}} | ||
| + | <br clear="both" /> | ||
| + | {{S2frame|[[Image:OnKirichsHeels_KirichDialog.jpg|430px]]|left}} | ||
| + | <br clear="both" /> | ||
| − | == | + | Your next stop will be [[Sacred 2:Khorum|Khorum]] within the [[Sacred 2:Bengaresh Desert|Bengaresh Desert]]. There you will find [[Sacred 2:Viola DeElfici|Viola DeElfici]]. |
| − | + | {{S2frame|[[Image:OnKirichsHeels_KhorumMap.jpg|250px]][[Image:OnKirichsHeels_KhorumTabMap.jpg|250px]]|left]]}} | |
| + | <br clear="both" /> | ||
| + | {{S2frame|[[Image:OnKirichsHeels_ViloaCamera.jpg|430px]]|left}} | ||
| + | <br clear="both" /> | ||
| + | {{S2frame|[[Image:OnKirichsHeels_ViolaDialog.jpg|430px]]|left}} | ||
| + | <br clear="both" /> | ||
| + | This quest is complete. | ||
| + | == Quest Enemies == | ||
| + | === [[Sacred 2:Kirich DeElfici|Kirich DeElfici]] === | ||
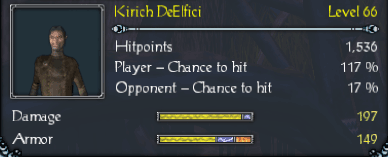
| + | {{:Sacred 2:Kirich DeElfici}} | ||
== Logbook Entry == | == Logbook Entry == | ||
| − | + | {| | |
| − | + | |{{S2frame|[[Image:Kirich log1.jpg|300px]]|left}} | |
| − | + | |{{S2frame|[[Image:Kirich log2.jpg|300px]]|left}} | |
| + | |} | ||
== Notes == | == Notes == | ||
| − | + | * This quest might have also been named "Missed him by this much..." The next stop is in the desert and we finally meet the only good DeElfici in the family tree. | |
| + | </div> | ||
| − | + | [[Category:Sacred 2 Quest|{{PAGENAME}}]] | |
| − | |||
| − | |||
| − | [[Category:Sacred 2 | ||
| − | |||
| − | |||
[[Category:Sacred 2 Class Quest|{{PAGENAME}}]] | [[Category:Sacred 2 Class Quest|{{PAGENAME}}]] | ||
| − | [[Category:Sacred 2 Quest|{{PAGENAME}}]] | + | [[Category:Sacred 2 Nor Plat Quest|{{PAGENAME}}]] |
| + | [[Category:Sacred 2 Chain Quest Part|{{SUBPAGENAME}}]] | ||
Latest revision as of 22:18, 22 December 2011
|
| ||||||||||
Quick Walkthrough
|
| |||||||||
Detailed Walkthrough
This quest is a rather long one takes place in no less than 3 areas. As you're leaving the Orc territory for the Seraphim Island as part of your regular main quest. The fisherman on the pier will tell you he saw him leave but the ship he left on hasn't returned yet.
|
| ||
Talk to the captain waiting there and move onto the next stop - Seraphim Island. The quest marker will jump to the northwest corner of Seraphim Island. When you get there, you'll see a Seraphim with a blue quest marker overhead. She will tell you she found a shipwreck and a note.
|
| ||
|
| ||
|
| ||
As you read the note, you find that Kirich was on the ship, but somehow may have survived. The quest marker moves to another one of the Dragonsea Islands to the east.
|
| ||
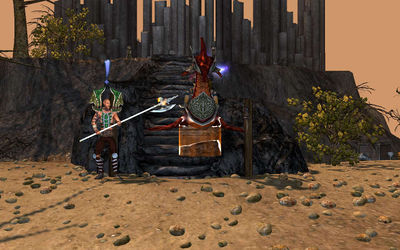
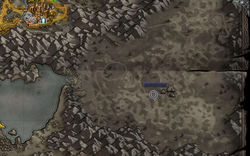
After completing the quests and such on Seraphim Island, go into the underground cave system and do the quests you need to get to the east side. On top of the large island on the east end, near where you talk to the dragon, you'll find a dragon cultist standing next to a smallish mountain with a blue quest marker. When you talk to him, you'll find that Kirich was there recently and jumped into the portal without preparing himself for it.
|
| ||
|
| ||
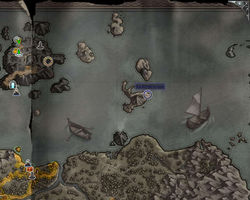
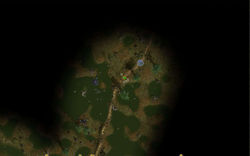
After your business is complete, follow him into the portal - it will take you to the northeast part of the swamps. Moving along, you will find the quest marker is now near the big Lizardman city of Hissil'Ta.
|
| ||
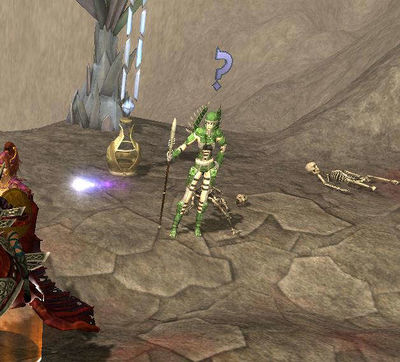
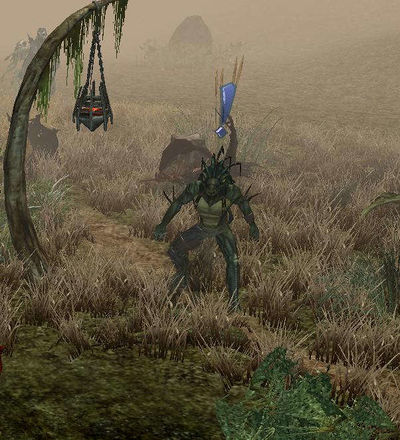
When you get there, you'll find a Lizardman, Scout Razza'Matazz, with the blue marker overhead.
|
| ||
He will tell you that yes, indeed, he's seen the object of your quest and Kirich has lost his mind and is hiding out in a cave nearby.
|
| ||
Go into the cave and you'll find him foaming at the mouth. Put the poor sod out of his misery. And thus ends the big chase.
|
| ||
|
| ||
|
| ||
|
| ||
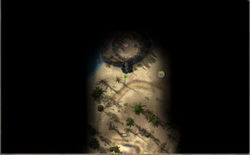
Your next stop will be Khorum within the Bengaresh Desert. There you will find Viola DeElfici.
|
| ||
|
| ||
|
| ||
This quest is complete.
Quest Enemies
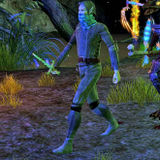
Kirich DeElfici
|
|
Damage Types: Weakest Against: | ||||||||||||||||||
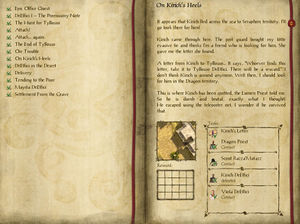
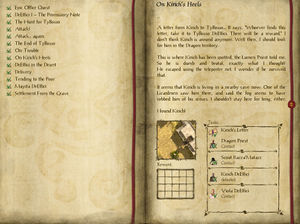
Logbook Entry
|
| ||||||||||||||||||
Notes
- This quest might have also been named "Missed him by this much..." The next stop is in the desert and we finally meet the only good DeElfici in the family tree.
