Difference between revisions of "Sacred 2:Take the Initiative"
Jump to navigation
Jump to search
(→Notes) |
|||
| (2 intermediate revisions by the same user not shown) | |||
| Line 10: | Line 10: | ||
* '''Next Quest:''' None | * '''Next Quest:''' None | ||
* '''Reward:''' [[Sacred 2:Experience|Experience]], [[Sacred 2:Gold |Gold]], Quest Item | * '''Reward:''' [[Sacred 2:Experience|Experience]], [[Sacred 2:Gold |Gold]], Quest Item | ||
| − | |WIDTH="20%" VALIGN="TOP"|[ | + | |WIDTH="20%" VALIGN="TOP"|{{s2frame|[[Image:El_Darrag_Map.jpg|500px]]}} |
<br /> | <br /> | ||
|} | |} | ||
| Line 30: | Line 30: | ||
<br /> | <br /> | ||
<br /> | <br /> | ||
| − | [ | + | |
| + | {{S2frame|[[Image:Commander_El-Darrags_2_small.jpg|x400px]]|left}} | ||
| + | <br clear="both" /> | ||
| + | {{S2frame|[[Image:Kill_the_Leader_of_the_Desert_Folk.jpg|400px]]|left}} | ||
| + | <br clear="both" /> | ||
<br /> | <br /> | ||
<br /> | <br /> | ||
| Line 38: | Line 42: | ||
<br /> | <br /> | ||
<br /> | <br /> | ||
| − | [ | + | {{S2frame|[[Image:Take_the_Initiative_Quest_End.jpg|400px]]|left}} |
| + | <br clear="both" /> | ||
<br /> | <br /> | ||
<br /> | <br /> | ||
| Line 44: | Line 49: | ||
<br /> | <br /> | ||
<br /> | <br /> | ||
| − | [ | + | {{S2frame|[[Image:Take_the_Initiative_Quest_End_MiniM.jpg|400px]]|left}} |
| + | <br clear="both" /> | ||
<br /> | <br /> | ||
<br /> | <br /> | ||
| − | [ | + | {{S2frame|[[Image:Murrat_ThI_Quest_End_Npc.jpg|400px]]|left}} |
| + | <br clear="both" /> | ||
<br /> | <br /> | ||
<br /> | <br /> | ||
| − | [ | + | {{S2frame|[[Image:Take_the_Initiative_Quest_Complete.jpg|400px]]|left}} |
| + | <br clear="both" /> | ||
<br /> | <br /> | ||
<br /> | <br /> | ||
| Line 59: | Line 67: | ||
== Logbook Entry == | == Logbook Entry == | ||
<br /> | <br /> | ||
| − | [ | + | |
| + | {| | ||
| + | |{{S2frame|[[Image:Take_the_Initiative_Quest_Logbook.jpg|300px]]|left}} | ||
| + | |{{S2frame|[[Image:Take_the_Initiative_Quest_Complete_.jpg|300px]]|left}} | ||
| + | |} | ||
| + | |||
<br /> | <br /> | ||
| Line 73: | Line 86: | ||
</div> | </div> | ||
| − | [[Category:Sacred 2 | + | [[Category:Sacred 2 Quest|{{PAGENAME}}]] |
| − | [[Category:Sacred 2 Quest|{{ | + | [[Category:Sacred 2 Chain Quest Part|{{PAGENAME}}]] |
| + | [[Category:Sacred 2 Bengaresh Desert Quest|{{PAGENAME}}]] | ||
Latest revision as of 00:52, 12 September 2013
|
| ||||||||||
Quick Walkthrough
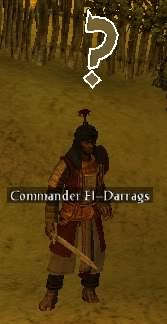
- Talk to Commander El-Darrags
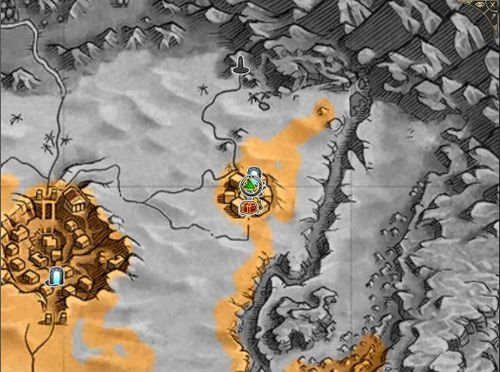
- Head to the Desert Folks camp east of El-Darrag and slay their leader
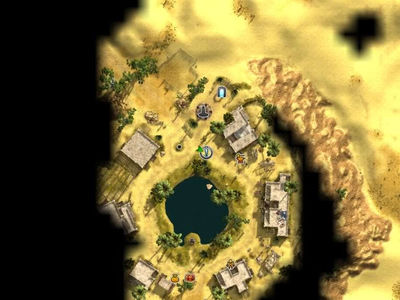
- Head back to El-Darrag and tell Murrat of your success
Detailed Walkthrough
- Talk to Commander El-Darrags
Afer completing the quest: Attack is the Best Defense, talk to Commander El-Darrags again.
|
| ||
|
| ||
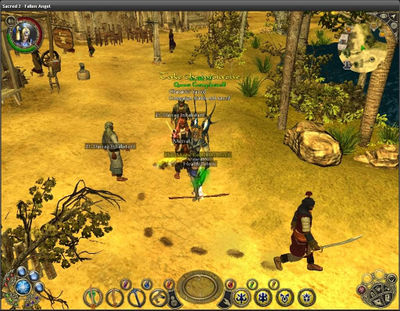
- Head to the Desert Folks camp east of El-Darrag and slay their leader
Talk to Commander El-Darrags once again after slaying the Desert Folks leader and his companions
|
| ||
- Head back to El-Darrag and tell Murrat of your success
|
| ||
|
| ||
|
| ||
This quest is now complete
Logbook Entry
|
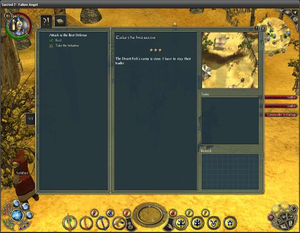
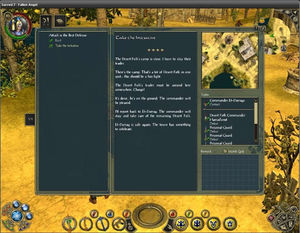
| ||||||||||||||||||
Notes
This quest can drop set items as reward.
