Difference between revisions of "Sacred 2:The Hunt for TyBosso"
(New page: {{subst:Quest}}) |
|||
| (12 intermediate revisions by 3 users not shown) | |||
| Line 1: | Line 1: | ||
| − | |||
| − | |||
| − | |||
<div class="plainlinks"> | <div class="plainlinks"> | ||
{|WIDTH="100%" | {|WIDTH="100%" | ||
|WIDTH="15%" VALIGN="TOP"|__TOC__ | |WIDTH="15%" VALIGN="TOP"|__TOC__ | ||
|WIDTH="35%" VALIGN="TOP"| | |WIDTH="35%" VALIGN="TOP"| | ||
| − | * '''Quest Objective:''' | + | * '''Quest Objective:''' Search for [[Sacred 2:TyBosso DeElfici|TyBosso]] |
| − | * '''Quest Difficulty:''' | + | * '''Quest Difficulty:''' None |
| − | * '''Quest Giver:''' | + | * '''Quest Giver:''' [[Sacred 2:Glydial DeElfici |Glydial DeElfici]] |
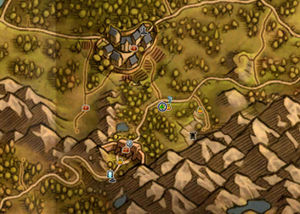
| − | * '''Location(s):''' | + | * '''Location(s):''' Trading post north of the [[Sacred 2:High Elf Outpost|High Elf Outpost]] within [[Sacred 2:Tyr_Lysia|Tyr Lysia]] |
| − | * '''Prerequisite Quest:''' | + | * '''Prerequisite Quest:''' [[Sacred 2:DeElfici I-The Promissory Note|DeElfici I-The Promissory Note]] |
| − | * '''Next Quest:''' | + | * '''Next Quest:''' [[Sacred 2:Attack!|Attack!]] |
| − | * '''Reward:''' | + | * '''Reward:''' None |
| − | |WIDTH="50%" VALIGN="TOP"| | + | |WIDTH="50%" VALIGN="TOP"| |
| − | {{S2frame|[[Image: | + | {{S2frame|[[Image:LongJourney_DeElficiMap.jpg|250px]][[Image:LongJourney_DeElficiTabMap.jpg|250px]]|right|'''[[Sacred 2:Map of Ancaria|View the Ancaria Interactive Map]]'''}} |
|} | |} | ||
{|WIDTH="100%" | {|WIDTH="100%" | ||
|WIDTH="60%" VALIGN="TOP"| | |WIDTH="60%" VALIGN="TOP"| | ||
== Quick Walkthrough == | == Quick Walkthrough == | ||
| − | + | * Talk to [[Sacred 2:Glydial DeElfici |Glydial DeElfici]]. He asks you to escort him to the human side of the wall. | |
| − | * | + | * Escort him through the secret tunnel and to [[Sacred 2:Marys DeElfici|Marys DeElfici]] in [[Sacred 2:Artamark|Artamark]]. |
| − | * | + | * Talk to Marys DeElfici and leave Glydial with him. |
| − | * | + | * Find the [[Sacred 2:Dying Merchant|Dying Merchant]] and talk to him. |
| − | |WIDTH="40%" VALIGN="TOP"|{{S2frame|[[Image: | + | * Receive Marys DeElfici's amulet from a dying merchant and pursue Marys into the mountains. |
| + | * Confront Marys DeElfici and his guards in a cave and defeat them. | ||
| + | * Talk to Glydial DeElfici who is hiding in the cave and escort him to [[Sacred 2:Griffinborough|Griffinborough]]. | ||
| + | * Talk to the [[Sacred 2:Guard - Griffinborough|Guard]] there to be sure that somebody would watch out Glydial and to finish this quest. | ||
| + | |WIDTH="40%" VALIGN="TOP"|{{S2frame|[[Image:LongJourney_DeElficiCamera.jpg|500px]]}} | ||
|} | |} | ||
== Detailed Walkthrough == | == Detailed Walkthrough == | ||
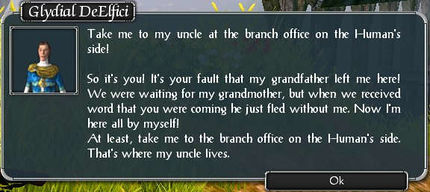
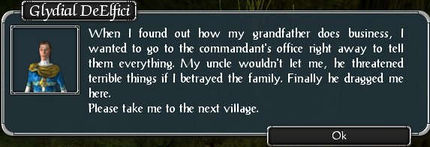
| − | + | Talk to Glydial DeElfici at the trading post north of the [[Sacred 2:High Elf Outpost|High Elf Outpost]]. He will ask you to escort him over to the human side. | |
| + | {{S2frame|[[Image:HuntForTybosso_GlydialDialog.jpg|430px]]|left}} | ||
| + | <br clear="both" /> | ||
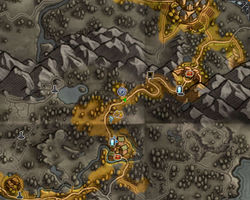
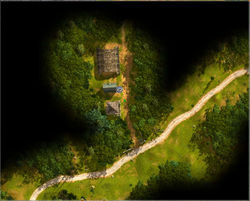
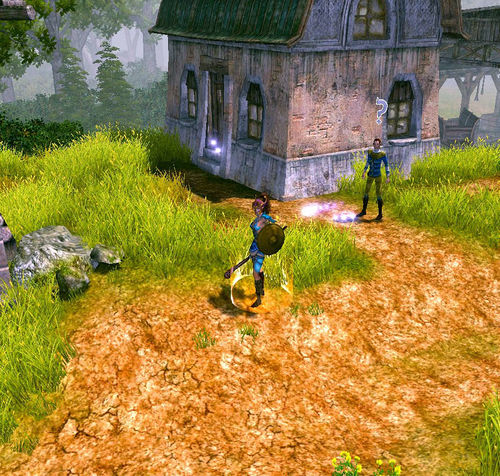
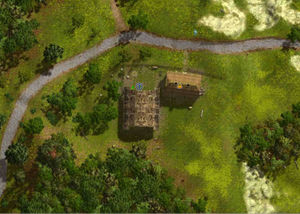
| − | + | Escort Glydial through the tunnel into [[Sacred 2:Artamark|Artamark]]. Follow the road north and then west. You will take him to his uncle, Marys DeEfici, who is at the stables between [[Sacred 2:Black Oaks|Black Oaks]] and [[Sacred 2:Dragonmaw Pass|Dragonmaw Pass]] | |
| + | {{S2frame|[[Image:HuntForTybosso_MarysMap.jpg|250px]][[Image:HuntForTybosso_MarysTabMap.jpg|250px]]|left]]}} | ||
| + | <br clear="both" /> | ||
| + | {{S2frame|[[Image:HuntForTybosso_MarysCamera.jpg|400px]]|left}} | ||
| + | <br clear="both" /> | ||
| + | {{S2frame|[[Image:HuntForTybosso_MarysDialog.jpg|430px]]|left}} | ||
| + | <br clear="both" /> | ||
| + | Head towards [[Sacred 2:Griffinborough|Griffinborough]] and just east of the narrow pass, you will find the body of a Dying Merchant. He gives you Marys' Amulet and tells you that the DeElficis fled into the mountains. | ||
| + | {{S2frame|[[Image:HuntForTybosso_MerchantMap.jpg|250px]][[Image:HuntForTybosso_MerchantTabMap.jpg|250px]]|left]]}} | ||
| + | <br clear="both" /> | ||
| + | {{S2frame|[[Image:HuntForTybosso_MerchantCamera.jpg|400px]]|left}} | ||
| + | <br clear="both" /> | ||
| + | {{S2frame|[[Image:HuntForTybosso_MerchantDialog.jpg|430px]]|left}} | ||
| + | <br clear="both" /> | ||
| − | + | There is a road just east of the body. Follow it south into the mountains. The road leads you over the mountain. Once on the other side, the road will turn west. At that point, turn east. Continue east until you come to a mountain with a trail leading up to a cave. | |
| + | {{S2frame|[[Image:HuntForTybosso_Marys1Map.jpg|250px]][[Image:HuntForTybosso_Marys1TabMap.jpg|250px]]|left]]}} | ||
| + | <br clear="both" /> | ||
| + | {{S2frame|[[Image:HuntForTybosso_MarysCamera1.jpg|400px]]|left}} | ||
| + | <br clear="both" /> | ||
| − | {{S2frame|[[Image: | + | In that cave you will find Marys DeElfici with his guards. |
| + | {{S2frame|[[Image:HuntForTybosso_MarysCamera2.jpg|400px]]|left}} | ||
| + | <br clear="both" /> | ||
| + | {{S2frame|[[Image:HuntForTybosso_MarysDialog1.jpg|430px]]|left}} | ||
<br clear="both" /> | <br clear="both" /> | ||
| + | After defeating Marys DeElfici and his guards, talk to Glydial DeElfici who is hiding in the back of the cave. You have to talk to him twice. | ||
| + | {{S2frame|[[Image:HuntForTybosso_GlydialCamera1.jpg|400px]]|left}} | ||
| + | <br clear="both" /> | ||
| + | Deja vu, anyone? | ||
| + | {{S2frame|[[Image:HuntForTybosso_GlydialDialog.jpg|430px]]|left}} | ||
| + | <br clear="both" /> | ||
| − | {{S2frame|[[Image: | + | {{S2frame|[[Image:HuntForTybosso_GlydialDialog1.jpg|430px]]|left}} |
<br clear="both" /> | <br clear="both" /> | ||
| − | + | Once again, you get to play nanny to Glydial. This time he wants to go to Griffinborough. Escort him to the city and turn him over to a guard just inside the west gate. | |
| − | {{S2frame|[[Image: | + | {{S2frame|[[Image:HuntForTybosso_GriffinboroughMap.jpg|400px]]|left}} |
| + | <br clear="both" /> | ||
| + | {{S2frame|[[Image:HuntForTybosso_GriffinboroughDialog.jpg|430px]]|left}} | ||
<br clear="both" /> | <br clear="both" /> | ||
| + | After dropping of Glydial, travel north to the other western gate and exit the city. Just across the bridge, you will be ambushed. That will finish this quest and start Attack!{{S2frame|[[Image:HuntForTybosso_Griffinborough1Map.jpg|400px]]|left}} | ||
| + | <br clear="both" /> | ||
| − | |||
| − | |||
| − | |||
| − | |||
| − | |||
| − | |||
| − | |||
| − | |||
== Quest Enemies == | == Quest Enemies == | ||
| − | |||
| − | === [[Sacred 2: | + | === [[Sacred 2:Marys DeElfici|Marys DeElfici]] === |
| − | {{:Sacred 2: | + | {{:Sacred 2:Marys DeElfici}} |
== Hirelings and Escorts == | == Hirelings and Escorts == | ||
| − | + | * [[Sacred 2:Glydial DeElfici|Glydial DeElfici]] - Escort. Tries to escape the fight. | |
| − | |||
| − | |||
| + | == Logbook Entry == | ||
| − | |||
| − | |||
{| | {| | ||
| − | |{{S2frame|[[Image: | + | |{{S2frame|[[Image:The hunt for tybosso log1.jpg|300px]]|left}} |
| − | |{{S2frame|[[Image: | + | |{{S2frame|[[Image:The hunt for tybosso log2.jpg|300px]]|left}} |
|} | |} | ||
== Notes == | == Notes == | ||
| − | + | * On the console versions, when you follow the DeElficis into the mountains, your blue quest marker may mark a cave southwest of the Dying Merchant's location. This is incorrect. | |
</div> | </div> | ||
| − | |||
[[Category:Sacred 2 Quest|{{PAGENAME}}]] | [[Category:Sacred 2 Quest|{{PAGENAME}}]] | ||
| − | |||
| − | |||
[[Category:Sacred 2 Class Quest|{{PAGENAME}}]] | [[Category:Sacred 2 Class Quest|{{PAGENAME}}]] | ||
| − | [[Category:Sacred 2 | + | [[Category:Sacred 2 Tyr Lysia Quest|{{PAGENAME}}]] |
| − | [[Category:Sacred 2 | + | [[Category:Sacred 2 Chain Quest Part|{{SUBPAGENAME}}]] |
| − | |||
| − | |||
| − | |||
Latest revision as of 23:17, 17 April 2012
|
| ||||||||||
Quick Walkthrough
|
| |||||||||
Detailed Walkthrough
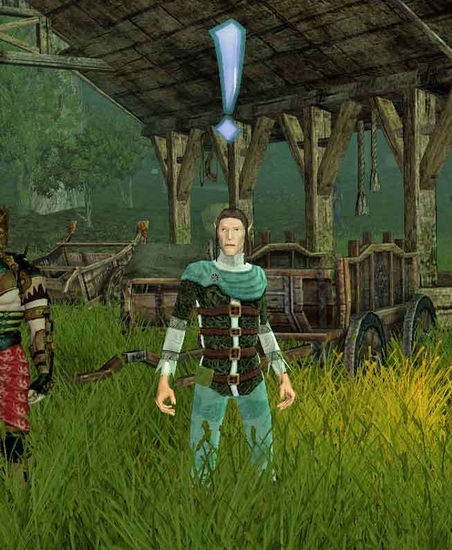
Talk to Glydial DeElfici at the trading post north of the High Elf Outpost. He will ask you to escort him over to the human side.
|
| ||
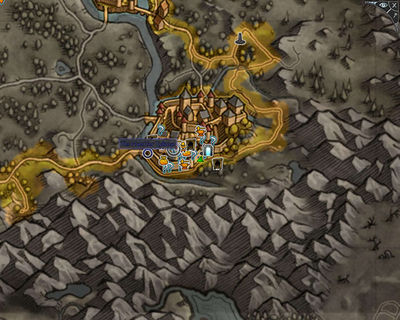
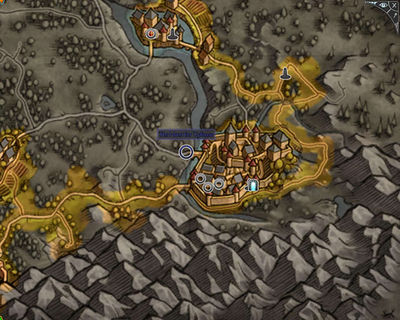
Escort Glydial through the tunnel into Artamark. Follow the road north and then west. You will take him to his uncle, Marys DeEfici, who is at the stables between Black Oaks and Dragonmaw Pass
|
| ||
|
| ||
|
| ||
Head towards Griffinborough and just east of the narrow pass, you will find the body of a Dying Merchant. He gives you Marys' Amulet and tells you that the DeElficis fled into the mountains.
|
| ||
|
| ||
|
| ||
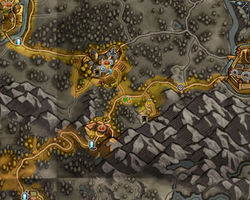
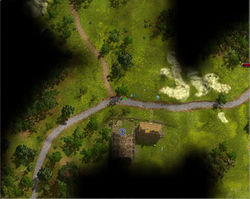
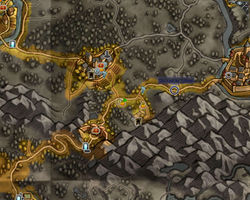
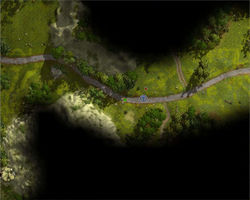
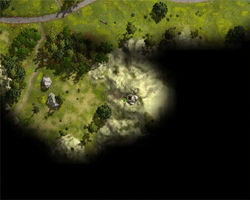
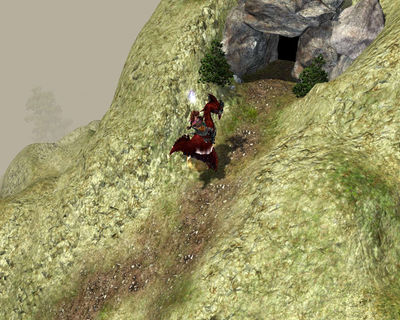
There is a road just east of the body. Follow it south into the mountains. The road leads you over the mountain. Once on the other side, the road will turn west. At that point, turn east. Continue east until you come to a mountain with a trail leading up to a cave.
|
| ||
|
| ||
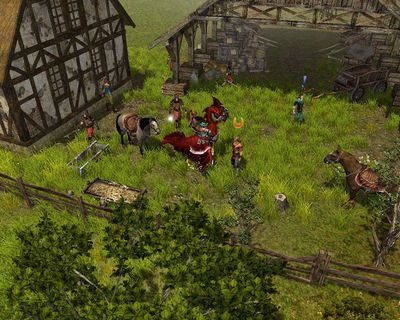
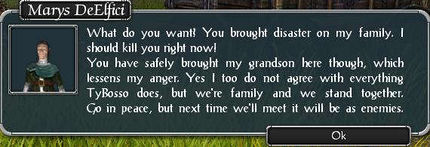
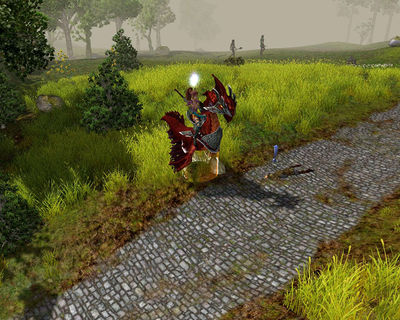
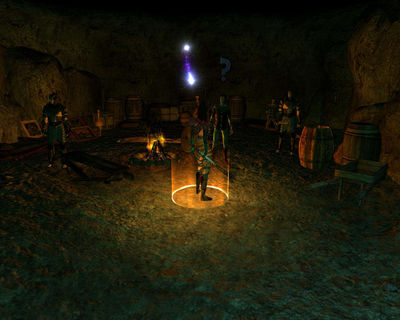
In that cave you will find Marys DeElfici with his guards.
|
| ||
|
| ||
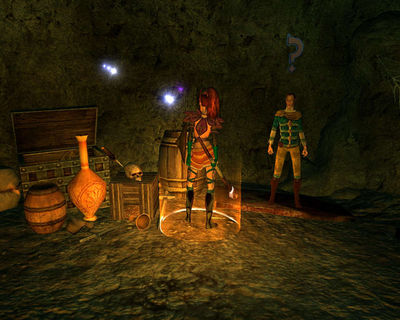
After defeating Marys DeElfici and his guards, talk to Glydial DeElfici who is hiding in the back of the cave. You have to talk to him twice.
|
| ||
Deja vu, anyone?
|
| ||
|
| ||
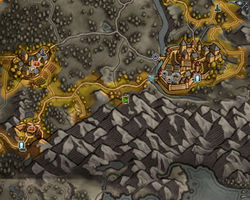
Once again, you get to play nanny to Glydial. This time he wants to go to Griffinborough. Escort him to the city and turn him over to a guard just inside the west gate.
|
| ||
|
| ||
After dropping of Glydial, travel north to the other western gate and exit the city. Just across the bridge, you will be ambushed. That will finish this quest and start Attack!
|
| ||
Quest Enemies
Marys DeElfici
|
| ||
Marys DeElfici controls the Human area of the family business. He's expecting a package and thinks you are there to deliver it. Unfortunately for him you are there to deliver something else.
Location
- The Hunt for TyBosso can be located north of Dragonmaw Pass
- Have a look through the SacredWiki Map
- See exact location below:
|
| ||
Quests
- The Hunt for TyBosso is quest giver for The Human Branch - Shadow quest
Notes
Hirelings and Escorts
- Glydial DeElfici - Escort. Tries to escape the fight.
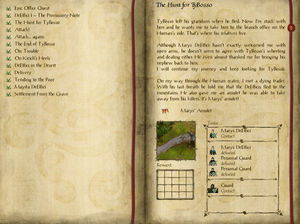
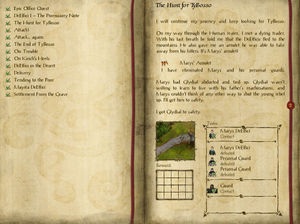
Logbook Entry
|
| ||||||||||||||||||
Notes
- On the console versions, when you follow the DeElficis into the mountains, your blue quest marker may mark a cave southwest of the Dying Merchant's location. This is incorrect.
