Difference between revisions of "Sacred 2:The Lost Amulets"
| Line 21: | Line 21: | ||
| − | |WIDTH="40%" VALIGN="TOP"|{{S2frame|[[Image:Lost-amulet- | + | |WIDTH="40%" VALIGN="TOP"|{{S2frame|[[Image:Lost-amulet-mage.jpg|500px]]}} |
|} | |} | ||
== Detailed Walkthrough == | == Detailed Walkthrough == | ||
| Line 29: | Line 29: | ||
{{S2frame|[[Image:Lost_amulet_Questgiver.jpg|300px]]|left}} | {{S2frame|[[Image:Lost_amulet_Questgiver.jpg|300px]]|left}} | ||
| + | {{S2frame|[[Image:Lost-amulet-mage-chat.jpg|300px]]|left}} | ||
<br clear="both" /> | <br clear="both" /> | ||
| Line 41: | Line 42: | ||
After collecting all 3 (their precise location is indicated on the mini-map), return to the monolith, but instead of talking to the [[Sacred 2:Mage School Graduate|Mage School Graduate]], enter the [[Sacred 2:Brigand Camp 1 (Tyr Lysia)|Brigand Camp]]. In the camp you will find [[Sacred 2:Nimantus the Lumberjack|Nimantus the Lumberjack]], just next to the trader. | After collecting all 3 (their precise location is indicated on the mini-map), return to the monolith, but instead of talking to the [[Sacred 2:Mage School Graduate|Mage School Graduate]], enter the [[Sacred 2:Brigand Camp 1 (Tyr Lysia)|Brigand Camp]]. In the camp you will find [[Sacred 2:Nimantus the Lumberjack|Nimantus the Lumberjack]], just next to the trader. | ||
| − | {{S2frame|[ | + | {{S2frame|[[Image:Lost_amulet_endlocation.jpg|300px]]]|left}} |
| − | {{S2frame|[[Image: | + | {{S2frame|[[Image:Nimantus-chat.jpg|400px]]]|left}} |
| + | |||
<br clear="both" /> | <br clear="both" /> | ||
Revision as of 22:49, 10 December 2011
|
| ||||||||||
Quick Walkthrough
|
| |||||||||
Detailed Walkthrough
As for the location:
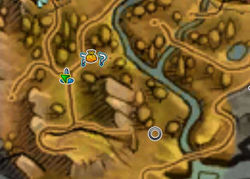
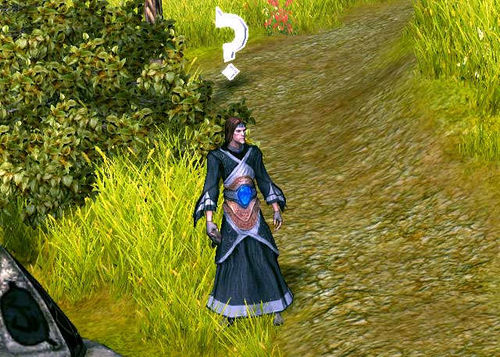
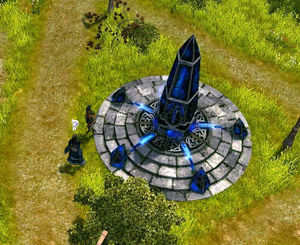
This is an easy find. Just go straight to the monolith at the Brigand Camp (see map above). Right next to that should be your quest giver, the Mage School Graduate.
|
| ||
|
| ||
He will tell you that during one of his assignments, elemental beings (earth elementals in this case) stole his amulets. Brave as you are, you offer to track them down, and retrieve them.
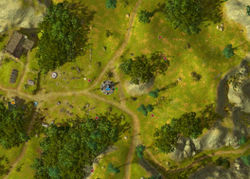
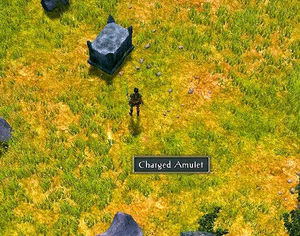
To get to where the amulets are, you're best off following he yellow line on the map above. In the grass, amongst the stone boulders, are 3 amulets like these:
|
| ||
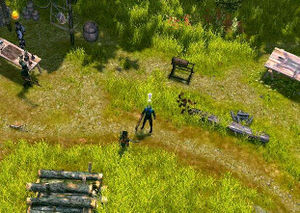
After collecting all 3 (their precise location is indicated on the mini-map), return to the monolith, but instead of talking to the Mage School Graduate, enter the Brigand Camp. In the camp you will find Nimantus the Lumberjack, just next to the trader.
|
| ||
|
| ||
Talking to him will complete your quest, and juice up your wallet.
Quest Enemies
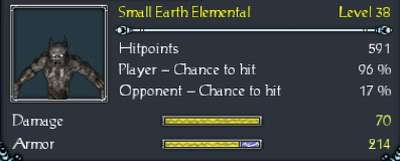
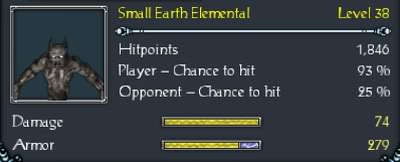
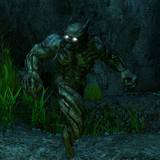
Small Earth Elemental
|
|
Damage Types: Weakest Against: Region: Tyr Lysia | ||||||||||||||||||
|
|
Damage Types: Weakest Against: Region: Tyr Lysia | ||||||||||||||||||
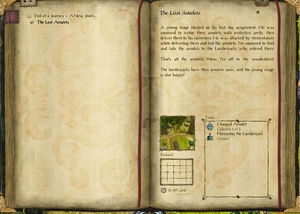
Logbook Entry
|
| ||
Notes
- Tip: Talk to the guard with a question mark over his head at the on your way to into that camp. You will get the Hunting Highwaymen quest which is the first in a three quest chain that you can complete in Sloeford.
- This camp is actually a logging camp according to the sign. On the map and in the log it is referred to as Brigand Camp.
- Note: Despite what the quest and logbook say, the next part of this chain begins in Sloeford, not Thylysium.
