Difference between revisions of "Sacred 2:Trojans"
(Prelim) |
m |
||
| (6 intermediate revisions by 2 users not shown) | |||
| Line 3: | Line 3: | ||
|WIDTH="15%" VALIGN="TOP"|__TOC__ | |WIDTH="15%" VALIGN="TOP"|__TOC__ | ||
|WIDTH="35%" VALIGN="TOP"| | |WIDTH="35%" VALIGN="TOP"| | ||
| − | * '''Quest Objective:''' | + | * '''Quest Objective:''' Establish a truce with the dragons |
| − | * '''Quest Difficulty:''' | + | * '''Quest Difficulty:''' None |
* '''Quest Giver:''' [[Sacred 2:Ali_Baba|Alibaba]] | * '''Quest Giver:''' [[Sacred 2:Ali_Baba|Alibaba]] | ||
| − | * '''Location(s):''' [[Sacred 2: | + | * '''Location(s):''' Starts in the [[Sacred 2:Bengaresh Desert|Bengaresh Desert]] and finishes up at the [[Sacred 2:Temple of Tears|Temple of Tears]] within [[Sacred 2:The Jungle|The Jungle]] |
| − | * '''Prerequisite Quest:''' [[Sacred 2: | + | * '''Prerequisite Quest:''' [[Sacred 2:The Authorization Key|The Authorization Key]] |
| − | * '''Next Quest:''' [[Sacred 2: | + | * '''Next Quest:''' [[Sacred 2:Communication|Communication]] |
| − | * '''Reward:''' | + | * '''Reward:''' None |
| + | * '''Main Quest Page:''' [[Sacred 2:Temple Guardian Class Chain Quest|Temple Guardian Class Chain Quest]] | ||
|WIDTH="50%" VALIGN="TOP"| | |WIDTH="50%" VALIGN="TOP"| | ||
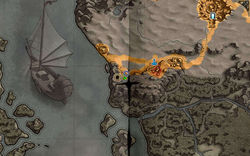
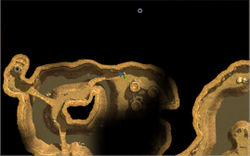
{{S2frame|[[Image:Trojans_AlibabaMap.jpg|250px]][[Image:Trojans_AlibabaTabMap.jpg|250px]]|right|'''[[Sacred 2:Map of Ancaria|View the Ancaria Interactive Map]]'''}} | {{S2frame|[[Image:Trojans_AlibabaMap.jpg|250px]][[Image:Trojans_AlibabaTabMap.jpg|250px]]|right|'''[[Sacred 2:Map of Ancaria|View the Ancaria Interactive Map]]'''}} | ||
| Line 16: | Line 17: | ||
|WIDTH="60%" VALIGN="TOP"| | |WIDTH="60%" VALIGN="TOP"| | ||
== Quick Walkthrough == | == Quick Walkthrough == | ||
| − | * | + | |
| − | * | + | * Talk to [[Sacred 2:Alibaba|Alibaba]] |
| − | * | + | * Defeat Alibaba and his gang |
| + | * Collect '''Energy Source XS - Fourth Key''' | ||
| + | * Head to [[Sacred 2:The Jungle|The Jungle]] | ||
| + | * Talk to and escort [[Sacred 2:Android|Android]] | ||
| + | * Talk to and escort [[Sacred 2:Ambrox, Envoy of the Dragons|Ambrox, Envoy of the Dragons]] | ||
| + | * Head to the [[Sacred 2:Temple of Tears|Temple of Tears]] and destroy the Project Dragon Nemesis serum | ||
| + | * Talk to Ambrox, Envoy of the Dragons to establish the truce | ||
|WIDTH="40%" VALIGN="TOP"|{{S2frame|[[Image:Trojans_AlibabaCamera.jpg|500px]]}} | |WIDTH="40%" VALIGN="TOP"|{{S2frame|[[Image:Trojans_AlibabaCamera.jpg|500px]]}} | ||
|} | |} | ||
| Line 24: | Line 31: | ||
== Detailed Walkthrough == | == Detailed Walkthrough == | ||
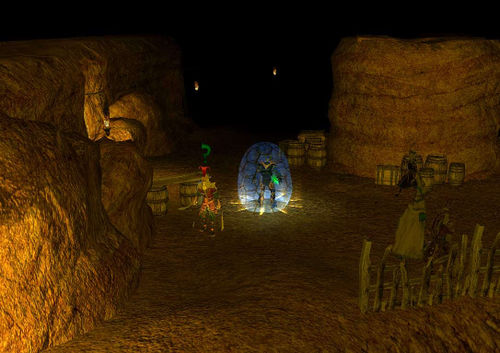
The prior quest ended in a cave in Bengaresh Desert. In this cave you will find Alibaba. It seems he and his gang of 40 thieves has occupied this Temple Guardian location. | The prior quest ended in a cave in Bengaresh Desert. In this cave you will find Alibaba. It seems he and his gang of 40 thieves has occupied this Temple Guardian location. | ||
| − | {{S2frame|[[Image:Trojans_AlibabaDialog.jpg]]|left}}<br clear="both" /> | + | {{S2frame|[[Image:Trojans_AlibabaDialog.jpg|430px]]|left}}<br clear="both" /> |
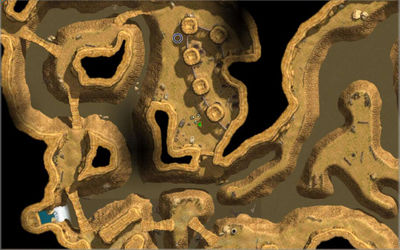
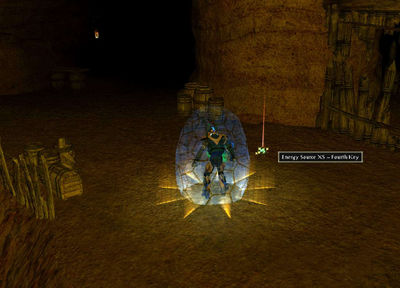
Apparently, he is not in a mood to discuss the matter. Oh well... Guess you will just have to kill him and all his gang. You will find them scattered throughout the cave. After they are all dead, you can collect what you came for, Energy Source XS - Fourth Key. | Apparently, he is not in a mood to discuss the matter. Oh well... Guess you will just have to kill him and all his gang. You will find them scattered throughout the cave. After they are all dead, you can collect what you came for, Energy Source XS - Fourth Key. | ||
| − | {{S2frame|[[Image:Trojans_EnergySourceTabMap.jpg| | + | {{S2frame|[[Image:Trojans_EnergySourceTabMap.jpg|400px]]|left]]}}<br |
clear="both" /> | clear="both" /> | ||
| − | {{S2frame|[[Image:Trojans_EnergySourceCamera.jpg| | + | {{S2frame|[[Image:Trojans_EnergySourceCamera.jpg|400px]]|left}}<br clear="both" /> |
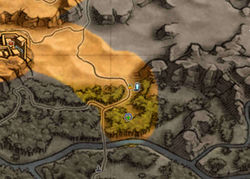
Your next stop is in The Jungle. | Your next stop is in The Jungle. | ||
| − | {{S2frame|[[Image: | + | {{S2frame|[[Image:androidmap.jpg|250px]][[Image:androidtab.jpg|250px]]|left]]}}<br |
clear="both" /> | clear="both" /> | ||
| + | Just south of the [[Sacred 2:Archaeologist Camp|Archaeologist Camp]] you will find a small clearing. In that clearing, you will meet [[Sacred 2:Android|Android]], who is the fifth, and final, key. | ||
| + | {{S2frame|[[Image:Trojans_AndroidCamera.jpg|400px]]|left}}<br clear="both" /> | ||
| + | {{S2frame|[[Image:Trojans_AndroidDialog.jpg|430px]]|left}}<br clear="both" /> | ||
| + | |||
| + | With Android in tow, continue south. Immediately after crossing [[Sacred 2:Kybele's Tears|Kybele's Tears]], you meet [[Sacred 2:Ambrox, Envoy of the Dragons|Ambrox, Envoy of the Dragons]]. | ||
| + | {{S2frame|[[Image:ambroxmap.jpg|250px]][[Image:ambroxtab.jpg|250px]]|left]]}}<br | ||
| + | clear="both" /> | ||
| + | {{S2frame|[[Image:Trojans_AmbroxCamera.jpg|400px]]|left}}<br clear="both" /> | ||
| + | [[Image:Ambroxchat.gif|430px]]<br clear="both" /> | ||
| − | {{S2frame|[[Image: | + | Ambrox is suspicious and insists on accompanying you. Now take the five keys and your dragon chaperone, and head to the [[Sacred 2:Temple of Tears|Temple of Tears]]. |
| + | {{S2frame|[[Image:nemesismap.jpg|250px]][[Image:nemesistab.jpg|250px]]|left]]}}<br | ||
clear="both" /> | clear="both" /> | ||
| − | |||
| − | |||
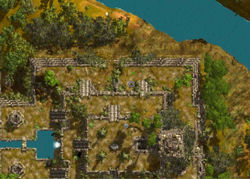
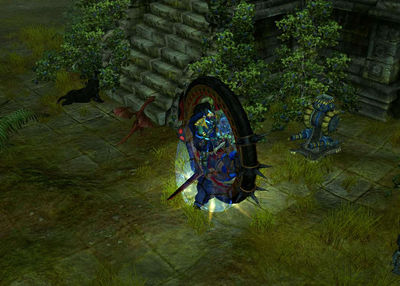
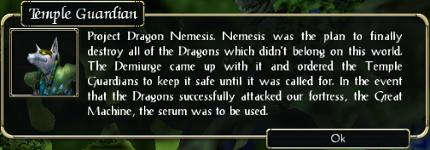
| − | < | + | Once there, you find Project Dragon Nemesis. |
| − | {{S2frame|[[Image: | + | {{S2frame|[[Image:Trojans_SerumCamera.jpg|400px]]|left}}<br clear="both" /> |
| + | {{S2frame|[[Image:Trojans_SerumDialog.jpg|430px]]|left}}<br clear="both" /> | ||
| + | |||
| + | No wonder Ambrox was suspicious! Now with the serum destroyed, talk to him again. | ||
| + | {{S2frame|[[Image:Trojans_Ambrox2Dialog.jpg|430px]]|left}}<br clear="both" /> | ||
== Quest Enemies == | == Quest Enemies == | ||
| − | + | == [[Sacred 2:Alibaba|Alibaba]] == | |
| − | {{:Sacred 2: | + | {{:Sacred 2:Alibaba}} |
| + | == [[Sacred 2:Alibaba's Gang Member|Alibaba's Gang Member]] == | ||
| + | {{:Sacred 2:Alibaba's Gang Member}} | ||
== Hirelings and Escorts == | == Hirelings and Escorts == | ||
| − | * [[Sacred 2: | + | * [[Sacred 2:Android|Android]] - Escort. Immortal. Oblivious to the fight. |
| − | + | * [[Sacred 2:Ambrox, Envoy of the Dragons|Ambrox, Envoy of the Dragons]] - Escort. Immortal. Tries to fight. | |
| − | * [[Sacred 2: | ||
== Logbook Entry == | == Logbook Entry == | ||
{| | {| | ||
| − | |{{S2frame|[[Image: | + | |{{S2frame|[[Image:Trojans_Logbook1.jpg|375px]]|left}} |
| − | + | |{{S2frame|[[Image:Trojans_Logbook2.jpg|375px]]|left}} | |
| − | |||
| − | |||
| − | |{{S2frame|[[Image: | ||
|} | |} | ||
| Line 69: | Line 86: | ||
| − | </div> | + | </div>[[Category:Sacred 2 Quest|{{PAGENAME}}]] |
| − | [[Category:Sacred 2 Quest|{{PAGENAME}}]] | + | [[Category:Sacred 2 Chain Quest Part|{{PAGENAME}}]] |
| + | [[Category:Sacred 2 Class Quest|{{PAGENAME}}]] | ||
| + | [[Category:Sacred 2 Light Path Quest|{{PAGENAME}}]] | ||
| + | [[Category:Sacred 2 Bengaresh Desert Quest|{{PAGENAME}}]] | ||
Latest revision as of 00:44, 14 April 2012
|
| ||||||||||
Quick Walkthrough
|
| |||||||||
Detailed Walkthrough
The prior quest ended in a cave in Bengaresh Desert. In this cave you will find Alibaba. It seems he and his gang of 40 thieves has occupied this Temple Guardian location.
|
| ||
Apparently, he is not in a mood to discuss the matter. Oh well... Guess you will just have to kill him and all his gang. You will find them scattered throughout the cave. After they are all dead, you can collect what you came for, Energy Source XS - Fourth Key.
|
| ||
|
| ||
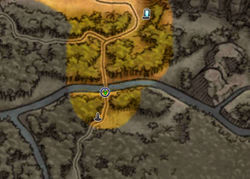
Your next stop is in The Jungle.
|
| ||
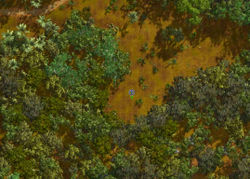
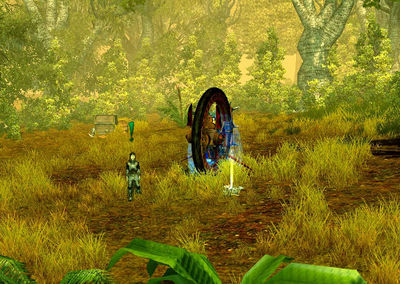
Just south of the Archaeologist Camp you will find a small clearing. In that clearing, you will meet Android, who is the fifth, and final, key.
|
| ||
|
| ||
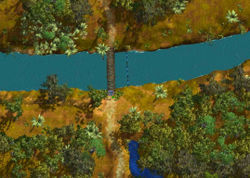
With Android in tow, continue south. Immediately after crossing Kybele's Tears, you meet Ambrox, Envoy of the Dragons.
|
| ||
|
| ||
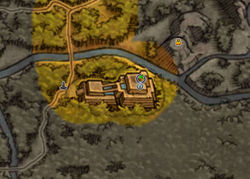
Ambrox is suspicious and insists on accompanying you. Now take the five keys and your dragon chaperone, and head to the Temple of Tears.
|
| ||
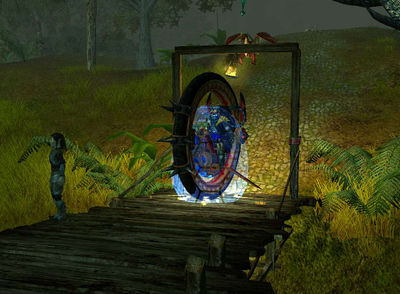
Once there, you find Project Dragon Nemesis.
|
| ||
|
| ||
No wonder Ambrox was suspicious! Now with the serum destroyed, talk to him again.
|
| ||
Quest Enemies
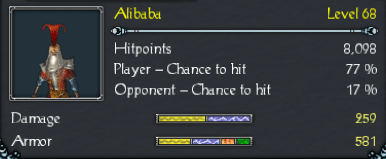
Alibaba
|
|
Damage Types: Weakest Against: Quest:Trojans Quest Location: Southern Desert Village in Bengaresh Desert | ||||||||||||||||||
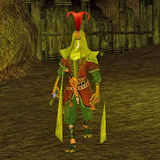
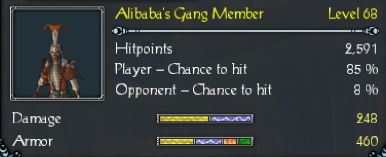
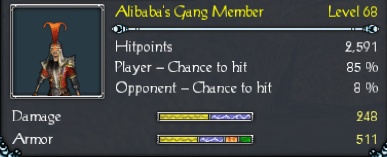
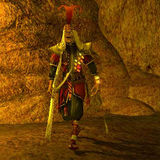
Alibaba's Gang Member
|
|
Damage Types: Weakest Against: Quest:Trojans Quest Location: Southern Desert Village in Bengaresh Desert | ||||||||||||||||||
|
|
Damage Types: Weakest Against: Quest:Trojans Quest Location: Southern Desert Village in Bengaresh Desert | ||||||||||||||||||
Hirelings and Escorts
- Android - Escort. Immortal. Oblivious to the fight.
- Ambrox, Envoy of the Dragons - Escort. Immortal. Tries to fight.
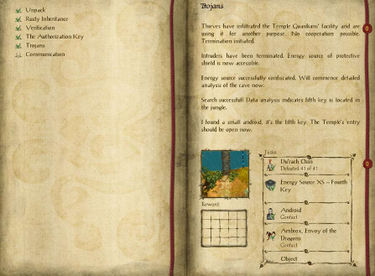
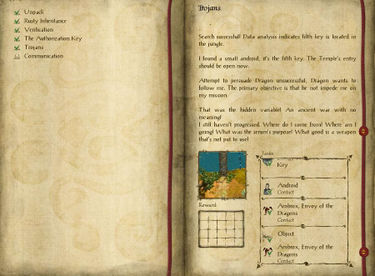
Logbook Entry
|
| ||||||||||||||||||
