Difference between revisions of "Sacred 2:Unpack"
(some edits to text to apply only to light characters, added some info, added some links, added walkthrough imgs, changed location and logbook imgs) |
|||
| (6 intermediate revisions by 3 users not shown) | |||
| Line 1: | Line 1: | ||
| − | |||
| − | |||
| − | |||
| − | |||
| − | |||
<div class="plainlinks"> | <div class="plainlinks"> | ||
| − | {| | + | {|WIDTH="100%" |
| − | |WIDTH=" | + | |WIDTH="15%" VALIGN="TOP"|__TOC__ |
| − | |WIDTH=" | + | |WIDTH="35%" VALIGN="TOP"| |
| − | * '''Quest Objective:''' | + | * '''Quest Objective:''' Start collecting items from the archives |
| − | * '''Quest Difficulty:''' | + | * '''Quest Difficulty:''' No difficulty given for this quest |
| − | * '''Quest Giver:''' [[Sacred 2: Hologram|Hologram]] | + | * '''Quest Giver:''' [[Sacred 2:Hologram|Hologram]] |
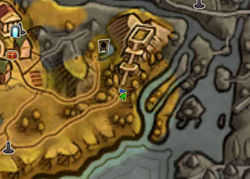
| − | * '''Location(s):''' [[Sacred 2:Temple Ruins|Temple Ruins]] | + | * '''Location(s):''' [[Sacred 2:Tyr Lysia|Tyr Lysia]] at [[Sacred 2:Temple Ruins|Temple Ruins]] |
* '''Prerequisite Quest:''' None | * '''Prerequisite Quest:''' None | ||
* '''Next Quest:''' [[Sacred 2:Verification|Verification]] | * '''Next Quest:''' [[Sacred 2:Verification|Verification]] | ||
| − | * '''Reward:''' | + | * '''Reward:''' [[Sacred 2:Gold|Gold]] [[Sacred 2:Experience|Experience]] |
| − | |WIDTH=" | + | * '''Main Quest Page:''' [[Sacred 2:Temple Guardian Class Chain Quest|Temple Guardian Class Chain Quest]] |
| − | + | |WIDTH="50%" VALIGN="TOP"| | |
| − | [ | + | |
| + | {{S2frame|[[Image:hologrammap.jpg|250px]][[Image:Hologramtab.jpg|250px]]|right|'''[[Sacred 2:Map of Ancaria|View the Ancaria Interactive Map]]'''}} | ||
|} | |} | ||
| − | + | {|WIDTH="100%" | |
| + | |WIDTH="60%" VALIGN="TOP"| | ||
== Quick Walkthrough == | == Quick Walkthrough == | ||
| − | * Talk to the Hologram | + | * Talk to the [[Sacred 2:Hologram|Hologram]] |
| − | * Collect | + | * Collect 3 items at top of temple |
| − | * Talk to Benny in Sloeford | + | * Talk to [[Sacred 2:Benny|Benny]] in [[Sacred 2:Sloeford|Sloeford]] |
| − | * Talk to the Toy Dealer in Twainbrook | + | * Talk to the 2 [[Sacred 2:Toy Dealer|Toy Dealers]] in [[Sacred 2:Twainbrook|Twainbrook]] |
| − | * | + | * Rescue [[Sacred 2:Little Boy|Little Boy]] in [[Sacred 2:Goblin Camp|Goblin Camp]] |
| − | + | * Talk to the Toy Dealers again | |
| − | * Talk to the Toy | + | * Talk to [[Sacred 2:Hologram|Hologram]] at [[Sacred 2:Thylysium Cemetery|Thylysium Cemetery]] |
| − | * Talk to | + | * Talk to [[Sacred 2:The Curator|The Curator]] in [[Sacred 2:Thylysium|Thylysium]] |
| − | + | * Defeat 3 [[Sacred 2:Spider|Spiders]] and 1 [[Sacred 2:Elven Ghost|Elven Ghost]] | |
| − | + | * Pick up '''Scientific Object''' | |
| − | * Talk to The Curator in Thylysium | + | * Talk to The Curator again |
| − | * | + | * Talk to [[Sacred 2:TyBosso DeElfici|TyBosso DeElfici]] |
| − | * | + | * Escort him to northern entrance of city |
| − | * Talk to The Curator | + | * Defeat 4 [[Sacred 2:Guard - Fallen Heroes|Guards]] |
| − | * | + | * Continue escorting Tybosso to a small camp south of [[Sacred 2:Dragonmaw Pass|Dragonmaw Pass]] |
* Talk to TyBosso | * Talk to TyBosso | ||
| − | * | + | * Talk to [[Sacred 2:Mage Aegwyn|Mage Aegwyn]] |
| − | * | + | * Defeat TyBosso and pick up '''Wooden Ship''' |
| − | * | + | * Speak to Mage Aegwyn again |
| − | + | ||
| − | + | |WIDTH="40%" VALIGN="TOP"|{{S2frame|[[Image:hologramloc.jpg|500px]]}} | |
| − | + | |} | |
| + | |||
| + | == Detailed Walkthrough == | ||
| + | |||
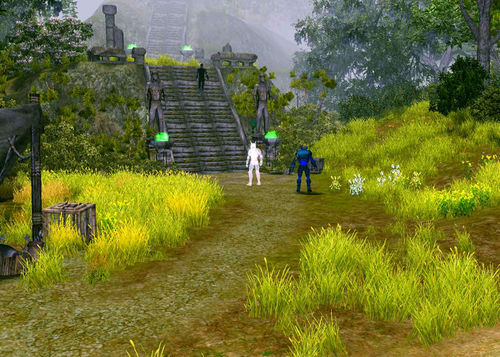
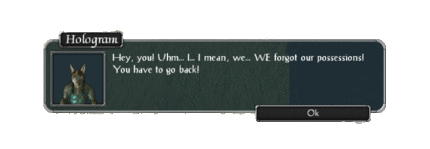
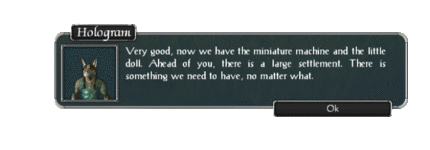
| + | You awaken from a long hibernation and power up. As all the circuitry comes to life, you walk down from the top of the Temple Ruins. At the base of the temple a [[Sacred 2:Hologram|Hologram]] appears in the shape of a Temple Guardian. He says I, er, we need forgot our possessions. | ||
| + | |||
| + | [[Image:hologramchat.gif|430px]] | ||
| + | |||
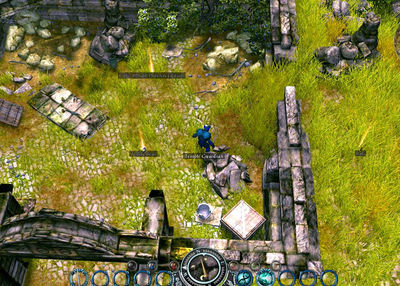
| + | You need to head back to the top of the temple. There you find 3 items, none of which seem to have any relation with each other. But the Hologram said to get everything, so you pick up a '''ball''', a '''teddy bear''' and the '''Cube 2.0 x86 Pheonix Edition'''. | ||
| + | |||
| + | {{S2frame|[[Image:itemsloc.jpg|400px]]|left}} | ||
| + | <br clear="both" /> | ||
| + | |||
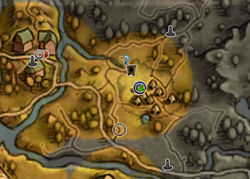
| + | When you return to the bottom the Hologram is gone. You decide to head to the nearest settlement. Heading west you come upon the town of [[Sacred 2:Sloeford|Sloeford]]. A small boy named [[Sacred 2:Benny|Benny]] says you look strange but still wants to know if you want to play. | ||
| + | |||
| + | {{S2frame|[[Image:bennymap.jpg|250px]][[Image:bennytab.jpg|250px]]|left]]}} | ||
| + | <br clear="both" /> | ||
| + | |||
| + | {{S2frame|[[Image:bennyloc.jpg|400px]]|left}} | ||
| + | <br clear="both" /> | ||
| + | |||
| + | [[Image:bennychat.gif|430px]] | ||
| + | |||
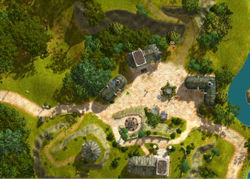
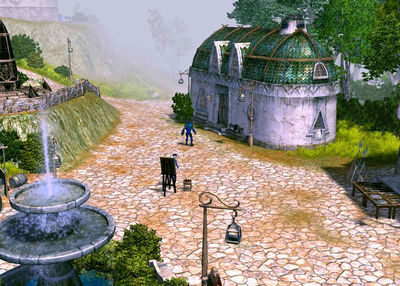
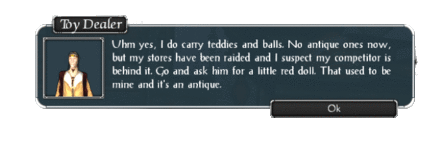
| + | The child doesn't have anything you need so you continue on looking for the next town. You travels bring you to the town of [[Sacred 2:Twainbrook|Twainbrook]]. You locate a [[Sacred 2:Toy Dealer|Toy Dealer]] at the Rune Master's house. He doesn't have any old teddy bears or balls, but he says his store has been raided recently and used to have an antique doll. He believes his main competitor was behind the theft and is now in possession of it. | ||
| + | |||
| + | {{S2frame|[[Image:toydealermap.jpg|250px]][[Image:toydealertab.jpg|250px]]|left]]}} | ||
| + | <br clear="both" /> | ||
| + | |||
| + | {{S2frame|[[Image:toydealerloc.jpg|400px]]|left}} | ||
| + | <br clear="both" /> | ||
| + | |||
| + | [[Image:toydealerchat.gif|430px]] | ||
| + | |||
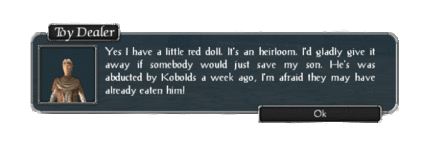
| + | You find the other toy dealer near the town center. He says he does have the doll. It's an heirloom of the family and he is willing to give it to you if you can rescue his son who was abducted by the Kobolds last week. | ||
| + | |||
| + | [[Image:toydealer2chat.gif|430px]] | ||
| + | |||
| + | You head east and search through the [[Sacred 2:Goblin Camp|Goblin Camp]]. He's more than happy to see you and you tell him you will bring him back safely to his father. | ||
| + | |||
| + | {{S2frame|[[Image:littleboymap.jpg|250px]][[Image:littleboytab.jpg|250px]]|left]]}} | ||
| + | <br clear="both" /> | ||
| + | |||
| + | {{S2frame|[[Image:littleboyloc.jpg|400px]]|left}} | ||
| + | <br clear="both" /> | ||
| + | |||
| + | [[Image:littleboychat.gif|430px]] | ||
| + | |||
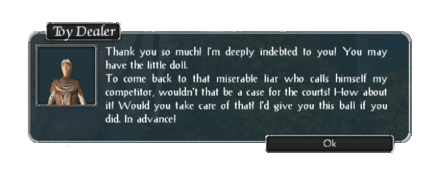
| + | You return to the second toy dealer and he gives you the doll once he sees his son is safely back. He mentions that his competitor is a notorious liar. He says if you take care of him he'll even give you a new ball! In advance! | ||
| + | |||
| + | [[Image:toydealer2chat2.gif|430px]] | ||
| + | |||
| + | You go over to the first toy dealer you met. You realize that his data is corrupt and must be purged from the system. | ||
| + | |||
| + | [[Image:toydealerchat2.gif|430px]] | ||
| + | |||
| + | Now that there is one less toy dealer in the world, you head off to Thylysium. You still need one more item and the Hologram says that it will be found there. You'll find the Hologram neat the [[Sacred 2:Thylysium Cemetery|Thylysium Cemetery]] | ||
| + | |||
| + | {{S2frame|[[Image:hologram2map.jpg|250px]][[Image:hologram2tab.jpg|250px]]|left]]}} | ||
| + | <br clear="both" /> | ||
| + | |||
| + | {{S2frame|[[Image:hologram2loc.jpg|400px]]|left}} | ||
| + | <br clear="both" /> | ||
| + | |||
| + | [[Image:hologram2chat.gif|430px]] | ||
| + | |||
| + | Once in the city you head over to the museum and talk to [[Sacred 2:The Curator|The Curator]]. He says it's being used only as a storage area now and it's off-limits to private citizens, Even he won't go in there due to the spiders and ghosts. You search through your database for the appropriate response to gain access. | ||
| + | |||
| + | |||
| + | {{S2frame|[[Image:curatormap.jpg|250px]][[Image:curatortab.jpg|250px]]|left]]}} | ||
| + | <br clear="both" /> | ||
| + | |||
| + | {{S2frame|[[Image:curatorloc.jpg|400px]]|left}} | ||
| + | <br clear="both" /> | ||
| + | |||
| + | |||
| + | [[Image:curatorchat.gif|430px]] | ||
| + | |||
| + | You say that you are a pest controller. Well that's totally different. The Curator lets you inside. | ||
| + | |||
| + | [[Image:curatorchat2.gif|430px]] | ||
| + | |||
| + | You eliminate the 'pests' and run an analysis of all the objects in the room. One item, a '''Scientific Object''', on the desk is emitting strange noises. That must be the one. You exit the building and ask The Curator about it. He agrees it's a strange object, but he can't give it you. It's on loan from [[Sacred 2:TyBosso DeElfici|TyBosso DeElfici]]. The contract for the loan has expired so the curator asks if you could return it to TyBosso. Maybe he'll let you have it once you speak to him. | ||
| + | |||
| + | [[Image:unpackchat.gif|430px]] | ||
| + | |||
| + | [[Image:curatorchat3.gif|430px]] | ||
| + | |||
| + | You head over to the harbor side and find TyBosso's house. He offers you a deal. Escort him out of the city and he'll give you the item. His story doesn't add up. Maybe his matrix is damaged or a virus has installed itself. You decide to analyze him further while escorting him. | ||
| + | |||
| + | {{S2frame|[[Image:tybossomap.jpg|250px]][[Image:tybossotab.jpg|250px]]|left]]}} | ||
| + | <br clear="both" /> | ||
| + | |||
| + | {{S2frame|[[Image:tybossoloc.jpg|400px]]|left}} | ||
| + | <br clear="both" /> | ||
| + | |||
| + | [[Image:tybossounpackchat.gif|430px]] | ||
| + | |||
| + | |||
| + | You head out of the northern city exit when some [[Sacred 2:Guard - Fallen Heroes|Guards]] attack. You easily kill the 4 of them and continue on your mission. | ||
| + | |||
| + | |||
| + | {{S2frame|[[Image:guardunpackloc.jpg|400px]]|left}} | ||
| + | <br clear="both" /> | ||
| + | |||
| + | No other attacks occur when you reach your destination, a small camp a little north of [[Sacred 2:Clearview|Clearview]]. While in the house TyBosso hears some noise outside and asks you to investigate. He will be out shortly after he gathers a few things. | ||
| + | |||
| + | {{S2frame|[[Image:tybossocampmap.jpg|250px]][[Image:tybossocamptabm.jpg|250px]]|left]]}} | ||
| + | <br clear="both" /> | ||
| + | |||
| + | {{S2frame|[[Image:tybossocamploc.jpg|400px]]|left}} | ||
| + | <br clear="both" /> | ||
| + | |||
| + | [[Image:tybossocampchat.gif|430px]] | ||
| + | |||
| + | Outside you meet [[Sacred 2:Mage Aegwyn|Mage Aegwyn]]. She explains TyBosso is a criminal and hands you an official letter. She says it will explain everything. The letter is authentic and the seal is verified...TyBosso is a criminal. | ||
| + | |||
| + | [[Image:aegwynchat.gif|430px]] | ||
| + | |||
| + | You go into the house and carry out a little justice on him. TyBosso will not hurt anyone again. The mage thanks you for your assistance. | ||
| + | |||
| + | [[Image:aegwynchat2.gif|430px]] | ||
| + | |||
| + | You decide to look through TyBosso's place. You find a '''Wooden Ship'''. Your analysis says it is important so you pick it up. You continue you on your journey north towards the Human Lands. | ||
| + | |||
| + | {{S2frame|[[Image:woodenshiploc.jpg|400px]]|left}} | ||
| + | <br clear="both" /> | ||
| + | |||
| + | This end the first part of this chain quest. The second part, [[Sacred 2:Verification|Verification]], starts in a cave just south of [[Sacred 2:Dragonmaw Pass|Dragonmaw Pass]] | ||
| + | |||
| + | |||
| + | == Quest Enemies == | ||
| + | == [[Sacred 2:Toy Dealer - Unpack|Toy Dealer]] == | ||
| + | {{:Sacred 2:Toy Dealer - Unpack}} | ||
| − | == | + | == [[Sacred 2:Tybosso DeElfici - Diligent Apprentices|Tybosso DeElfici]] == |
| − | + | {{:Sacred 2:Tybosso DeElfici - Diligent Apprentices}} | |
| − | + | == Hirelings and Escorts == | |
| − | |||
| − | |||
| − | |||
| − | |||
| − | |||
| − | |||
| − | |||
| − | |||
| − | |||
| − | |||
| − | |||
| − | |||
| − | |||
| − | |||
| − | |||
| − | |||
| − | |||
| − | |||
| + | * [[Sacred 2:TyBosso DeElfici|TyBosso DeElfici]] - Escort. Immortal. | ||
== Logbook Entry == | == Logbook Entry == | ||
| − | |||
| − | + | {| | |
| − | + | |{{S2frame|[[Image:unpacklog1.jpg|300px]]|left}} | |
| + | |{{S2frame|[[Image:unpacklog2.jpg|300px]]|left}} | ||
| + | |{{S2frame|[[Image:unpacklog3.jpg|300px]]|left}} | ||
| + | |{{S2frame|[[Image:unpacklog4.jpg|300px]]|left}} | ||
| + | |} | ||
| + | == Notes == | ||
</div> | </div> | ||
| − | + | [[Category:Sacred 2 Quest|{{PAGENAME}}]] | |
| − | [[Category:Sacred 2 Class Quest]] | + | [[Category:Sacred 2 Chain Quest Part|{{PAGENAME}}]] |
| − | [[Category:Sacred 2 Quest]] | + | [[Category:Sacred 2 Class Quest|{{PAGENAME}}]] |
| + | [[Category:Sacred 2 Light Path Quest|{{PAGENAME}}]] | ||
| + | [[Category:Sacred 2 Tyr Lysia Quest|{{PAGENAME}}]] | ||
| + | <div class="plainlinks"> | ||
Latest revision as of 01:29, 13 January 2012
|
| ||||||||||
Quick Walkthrough
|
| |||||||||
Detailed Walkthrough
You awaken from a long hibernation and power up. As all the circuitry comes to life, you walk down from the top of the Temple Ruins. At the base of the temple a Hologram appears in the shape of a Temple Guardian. He says I, er, we need forgot our possessions.
You need to head back to the top of the temple. There you find 3 items, none of which seem to have any relation with each other. But the Hologram said to get everything, so you pick up a ball, a teddy bear and the Cube 2.0 x86 Pheonix Edition.
|
| ||
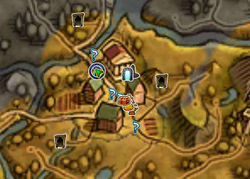
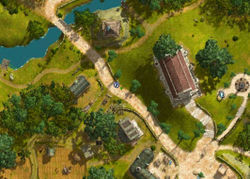
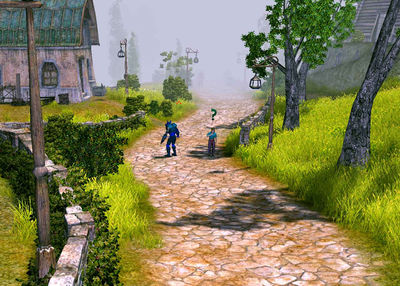
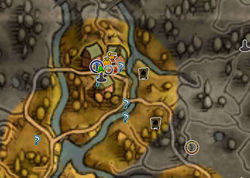
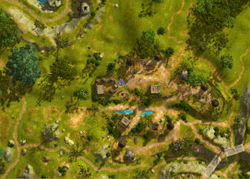
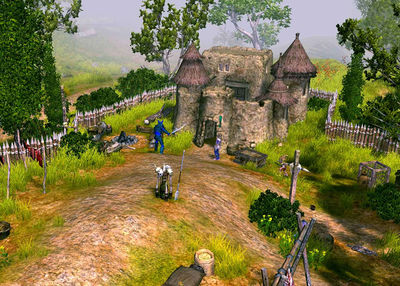
When you return to the bottom the Hologram is gone. You decide to head to the nearest settlement. Heading west you come upon the town of Sloeford. A small boy named Benny says you look strange but still wants to know if you want to play.
|
| ||
|
| ||
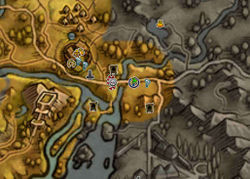
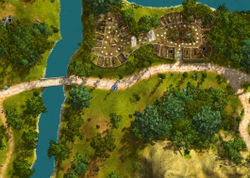
The child doesn't have anything you need so you continue on looking for the next town. You travels bring you to the town of Twainbrook. You locate a Toy Dealer at the Rune Master's house. He doesn't have any old teddy bears or balls, but he says his store has been raided recently and used to have an antique doll. He believes his main competitor was behind the theft and is now in possession of it.
|
| ||
|
| ||
You find the other toy dealer near the town center. He says he does have the doll. It's an heirloom of the family and he is willing to give it to you if you can rescue his son who was abducted by the Kobolds last week.
You head east and search through the Goblin Camp. He's more than happy to see you and you tell him you will bring him back safely to his father.
|
| ||
|
| ||
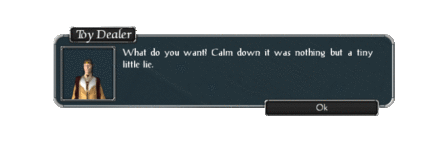
You return to the second toy dealer and he gives you the doll once he sees his son is safely back. He mentions that his competitor is a notorious liar. He says if you take care of him he'll even give you a new ball! In advance!
You go over to the first toy dealer you met. You realize that his data is corrupt and must be purged from the system.
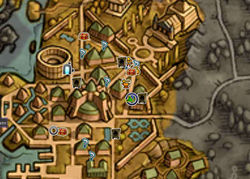
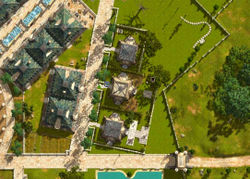
Now that there is one less toy dealer in the world, you head off to Thylysium. You still need one more item and the Hologram says that it will be found there. You'll find the Hologram neat the Thylysium Cemetery
|
| ||
|
| ||
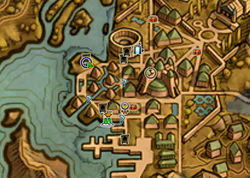
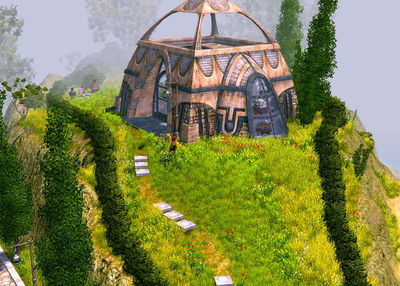
Once in the city you head over to the museum and talk to The Curator. He says it's being used only as a storage area now and it's off-limits to private citizens, Even he won't go in there due to the spiders and ghosts. You search through your database for the appropriate response to gain access.
|
| ||
|
| ||
You say that you are a pest controller. Well that's totally different. The Curator lets you inside.
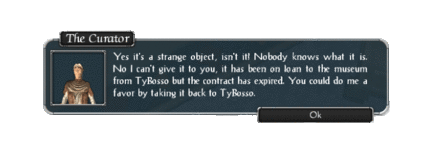
You eliminate the 'pests' and run an analysis of all the objects in the room. One item, a Scientific Object, on the desk is emitting strange noises. That must be the one. You exit the building and ask The Curator about it. He agrees it's a strange object, but he can't give it you. It's on loan from TyBosso DeElfici. The contract for the loan has expired so the curator asks if you could return it to TyBosso. Maybe he'll let you have it once you speak to him.
You head over to the harbor side and find TyBosso's house. He offers you a deal. Escort him out of the city and he'll give you the item. His story doesn't add up. Maybe his matrix is damaged or a virus has installed itself. You decide to analyze him further while escorting him.
|
| ||
|
| ||
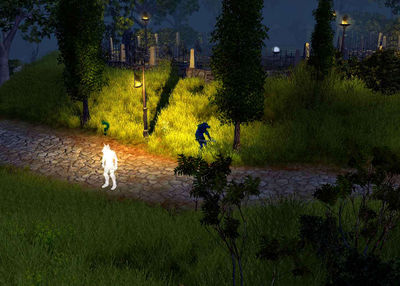
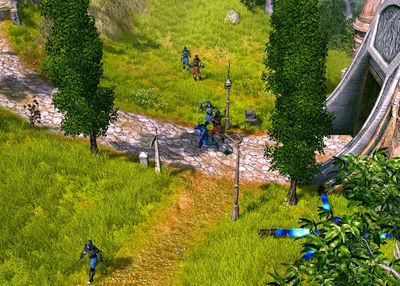
You head out of the northern city exit when some Guards attack. You easily kill the 4 of them and continue on your mission.
|
| ||
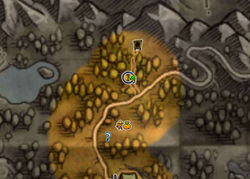
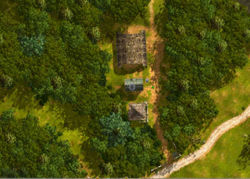
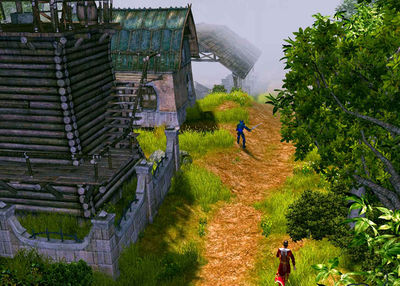
No other attacks occur when you reach your destination, a small camp a little north of Clearview. While in the house TyBosso hears some noise outside and asks you to investigate. He will be out shortly after he gathers a few things.
|
| ||
|
| ||
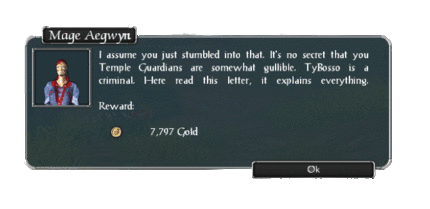
Outside you meet Mage Aegwyn. She explains TyBosso is a criminal and hands you an official letter. She says it will explain everything. The letter is authentic and the seal is verified...TyBosso is a criminal.
You go into the house and carry out a little justice on him. TyBosso will not hurt anyone again. The mage thanks you for your assistance.
You decide to look through TyBosso's place. You find a Wooden Ship. Your analysis says it is important so you pick it up. You continue you on your journey north towards the Human Lands.
|
| ||
This end the first part of this chain quest. The second part, Verification, starts in a cave just south of Dragonmaw Pass
Quest Enemies
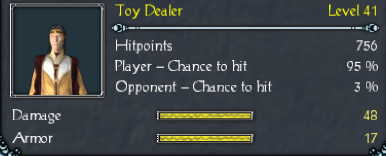
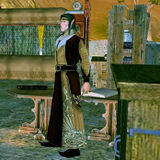
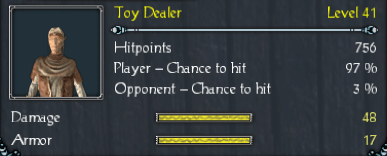
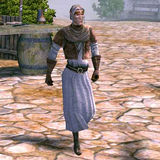
Toy Dealer
|
|
Damage Types: Weakest Against: Quest:Unpack Quest Location: Twainbrook in Tyr Lysia | ||||||||||||||||||
|
|
Damage Types: Weakest Against: Quest:Unpack - Shadow Quest Location: Twainbrook in Tyr Lysia | ||||||||||||||||||
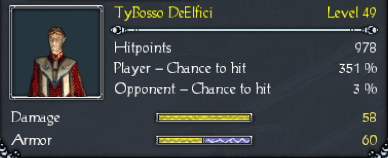
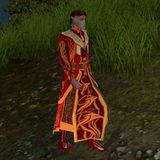
Tybosso DeElfici
|
|
Damage Types: Weakest Against: Quest:Diligent Apprentices Quest Location: Skook's Corner in Artamark | ||||||||||||||||||
Also in the Unpack quest and The Last of the DeElfici's - Shadow quest
Hirelings and Escorts
- TyBosso DeElfici - Escort. Immortal.
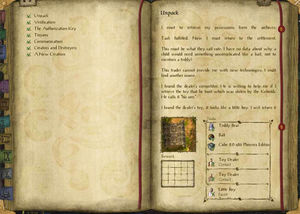
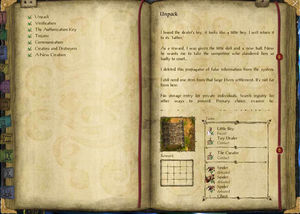
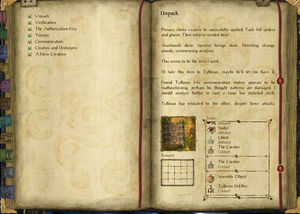
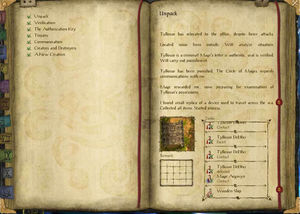
Logbook Entry
|
|
|
| ||||||||||||||||||||||||||||||||||||
