Difference between revisions of "Sacred 2:Water Samples"
Jump to navigation
Jump to search
(Created page with "{{Languages}} <div class="plainlinks"> {| |WIDTH="20%" VALIGN="TOP"|__TOC__ |WIDTH="50%" VALIGN="TOP"| * '''Quest Objective:''' Escort Gagthoz along T-energy pipes to collect...") |
|||
| Line 2: | Line 2: | ||
<div class="plainlinks"> | <div class="plainlinks"> | ||
| − | {| | + | {|WIDTH="100%" |
| − | |WIDTH=" | + | |WIDTH="15%" VALIGN="TOP"|__TOC__ |
| − | |WIDTH=" | + | |WIDTH="35%" VALIGN="TOP"| |
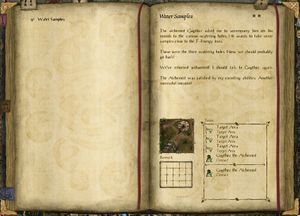
* '''Quest Objective:''' Escort Gagthoz along T-energy pipes to collect water samples | * '''Quest Objective:''' Escort Gagthoz along T-energy pipes to collect water samples | ||
* '''Quest Difficulty:''' 2 stars | * '''Quest Difficulty:''' 2 stars | ||
* '''Quest Giver:''' [[Sacred 2:Gagthoz the Alchemist|Gagthoz the Alchemist]] | * '''Quest Giver:''' [[Sacred 2:Gagthoz the Alchemist|Gagthoz the Alchemist]] | ||
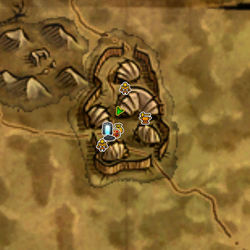
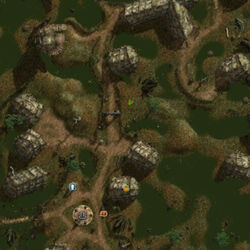
* '''Location(s):''' [[Sacred 2:Hissil'Ta|Hissil'Ta]] | * '''Location(s):''' [[Sacred 2:Hissil'Ta|Hissil'Ta]] | ||
| − | * '''Prerequisite Quest:''' | + | * '''Prerequisite Quest:''' None |
| − | * '''Next Quest:''' | + | * '''Next Quest:''' None |
| − | * '''Reward:''' | + | * '''Reward:''' |
| − | |WIDTH=" | + | |WIDTH="50%" VALIGN="TOP"| {{S2frame|[[Image:hiss mmap.jpg|250px]][[Image:hiss tmap.jpg|250px]]|right|'''[[Sacred 2:Map of Ancaria|View the Ancaria Interactive Map]]'''}} |
| − | |||
| − | |||
| − | |||
|} | |} | ||
| + | {|WIDTH="100%" | ||
| + | |WIDTH="60%" VALIGN="TOP"| | ||
== Quick Walkthrough == | == Quick Walkthrough == | ||
* Talk to [[Sacred 2:Gagthoz the Alchemist|Gagthoz the Alchemist]]. | * Talk to [[Sacred 2:Gagthoz the Alchemist|Gagthoz the Alchemist]]. | ||
* Escort Gagthoz along T-energy pipes. | * Escort Gagthoz along T-energy pipes. | ||
* Lead the Gagthoz back to [[Sacred 2:Hissil'Ta|Hissil'Ta]] and talk to him. | * Lead the Gagthoz back to [[Sacred 2:Hissil'Ta|Hissil'Ta]] and talk to him. | ||
| − | + | |WIDTH="40%" VALIGN="TOP"|{{S2frame|[[Image:S2_Water_Samples_quest_start_request3.jpeg|500px]]}} | |
| − | + | |} | |
== Detailed Walkthrough == | == Detailed Walkthrough == | ||
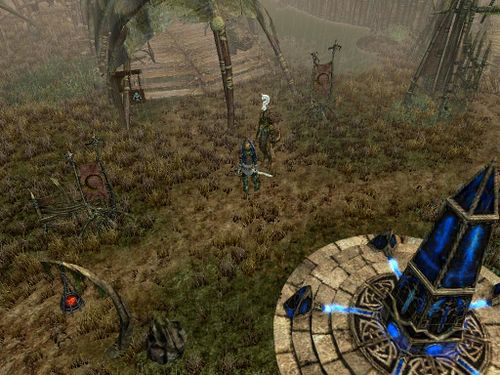
[[Sacred 2:Gagthoz the Alchemist|Gagthoz the Alchemist]] will ask for an escort on his water sample collecting expedition along the nearby T-energy line. | [[Sacred 2:Gagthoz the Alchemist|Gagthoz the Alchemist]] will ask for an escort on his water sample collecting expedition along the nearby T-energy line. | ||
<br> | <br> | ||
| − | + | [[Image:S2_Water_Samples_quest_start_request.jpeg]] | |
| − | <br> | + | <br>[[Image:S2_Water_Samples_quest_start_request2.jpeg]] |
| − | The T-energy line is west of town. Use the quest indicator so see where the samples need to be collected. Keep an eye out for Gagthoz, as he can be killed by nearby monsters. | + | |
| + | |||
| + | The T-energy line is west of town. Use the quest indicator so see where the samples need to be collected. Keep an eye out for Gagthoz, as he can be killed by nearby monsters, and the quest will fail. | ||
<br> | <br> | ||
Once enough water samples have been collected, head back to Hissil'Ta portal where the quest has been started. Talk to to Gagthoz for your reward. | Once enough water samples have been collected, head back to Hissil'Ta portal where the quest has been started. Talk to to Gagthoz for your reward. | ||
<br> | <br> | ||
| − | + | <br>[[Image:S2_Water_Samples_quest_end.jpeg]] | |
| − | |||
== Logbook Entry == | == Logbook Entry == | ||
| − | + | {| | |
| − | + | |{{S2frame|[[Image:S2_Water_Samples_quest_log.jpeg|300px]]|left}} | |
| − | + | |} | |
== Notes == | == Notes == | ||
Revision as of 18:24, 24 October 2013
|
| ||||||||||
Quick Walkthrough
|
| |||||||||
Detailed Walkthrough
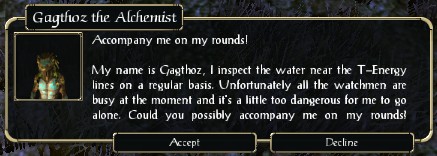
Gagthoz the Alchemist will ask for an escort on his water sample collecting expedition along the nearby T-energy line.

The T-energy line is west of town. Use the quest indicator so see where the samples need to be collected. Keep an eye out for Gagthoz, as he can be killed by nearby monsters, and the quest will fail.
Once enough water samples have been collected, head back to Hissil'Ta portal where the quest has been started. Talk to to Gagthoz for your reward.

Logbook Entry
| |||||||||
