Difference between revisions of "Sacred 2:The Authorization Key"
(Add next part) |
(Finish incomplete quest) |
||
| Line 3: | Line 3: | ||
|WIDTH="15%" VALIGN="TOP"|__TOC__ | |WIDTH="15%" VALIGN="TOP"|__TOC__ | ||
|WIDTH="35%" VALIGN="TOP"| | |WIDTH="35%" VALIGN="TOP"| | ||
| − | * '''Quest Objective:''' | + | * '''Quest Objective:''' Find the keys to unlock the door to the main laboratory |
| − | * '''Quest Difficulty:''' | + | * '''Quest Difficulty:''' None |
| − | * '''Quest Giver:''' | + | * '''Quest Giver:''' Automatic upon completing prior quest |
| − | * '''Location(s):''' [[Sacred 2: | + | * '''Location(s):''' [[Sacred 2:Nor Plat|Nor Plat]], [[Sacred 2:Dragon Sea Islands|Dragon Sea Islands]], [[Sacred 2:The Swamp|The Swamp]], [[Sacred 2:Bengaresh Desert|Bengaresh Desert]] |
| − | * '''Prerequisite Quest:''' [[Sacred 2: | + | * '''Prerequisite Quest:''' [[Sacred 2:Verification|Verification]] |
* '''Next Quest:''' [[Sacred 2:QUEST|QUEST]] | * '''Next Quest:''' [[Sacred 2:QUEST|QUEST]] | ||
| − | * '''Reward:''' | + | * '''Reward:''' None |
|WIDTH="50%" VALIGN="TOP"| | |WIDTH="50%" VALIGN="TOP"| | ||
{{S2frame|[[Image:AuthorizationKey_StartMap.jpg|250px]][[Image:&TabMap.jpg|250px]]|right|'''[[Sacred 2:Map of Ancaria|View the Ancaria Interactive Map]]'''}} | {{S2frame|[[Image:AuthorizationKey_StartMap.jpg|250px]][[Image:&TabMap.jpg|250px]]|right|'''[[Sacred 2:Map of Ancaria|View the Ancaria Interactive Map]]'''}} | ||
| Line 16: | Line 16: | ||
|WIDTH="60%" VALIGN="TOP"| | |WIDTH="60%" VALIGN="TOP"| | ||
== Quick Walkthrough == | == Quick Walkthrough == | ||
| − | * | + | * Defeat [[Sacred 2:Skragsshita|Skragsshita]] and collect Cursed Shrunken Head -First Key |
| − | * | + | * Defeat [[Sacred 2:Heritage Keeper Sereish|Heritage Keeper Sereish]] and collect Splinter of the Righteous - Third Key |
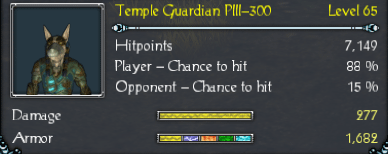
| − | * | + | * Collect Yellowed Dragon Tooth - Third Key, then defeat [[Sacred 2:Temple Guardian PIII-300|Temple Guardian PIII-300]] |
|WIDTH="40%" VALIGN="TOP"|{{S2frame|[[Image:&Camera.jpg|500px]]}} | |WIDTH="40%" VALIGN="TOP"|{{S2frame|[[Image:&Camera.jpg|500px]]}} | ||
|} | |} | ||
| Line 52: | Line 52: | ||
{{S2frame|[[Image:AuthorizationKey_Sereish2Dialog.jpg]]|left}}<br clear="both" /> | {{S2frame|[[Image:AuthorizationKey_Sereish2Dialog.jpg]]|left}}<br clear="both" /> | ||
| − | The next item is located on the far south side of [[Sacred 2:The Swamp| | + | The next item is located on the far south side of [[Sacred 2:The Swamp|The Swamp]], so again you will need to continue on the main campaign quest to get there. |
| + | {{S2frame|[[Image:AuthorizationKey_DragonToothMap.jpg|375px]][[Image:AuthorizationKey_DragonToothTabMap.jpg|375px]]|left]]}}<br | ||
| + | clear="both" /> | ||
| + | Your search leads you to a cave on the southern edge of [[Sacred 2:The Swamp|The Swamp]]. | ||
| + | {{S2frame|[[Image:AuthorizationKey_DragonTooth1Camera.jpg|750px]]|left}}<br clear="both" /> | ||
| + | |||
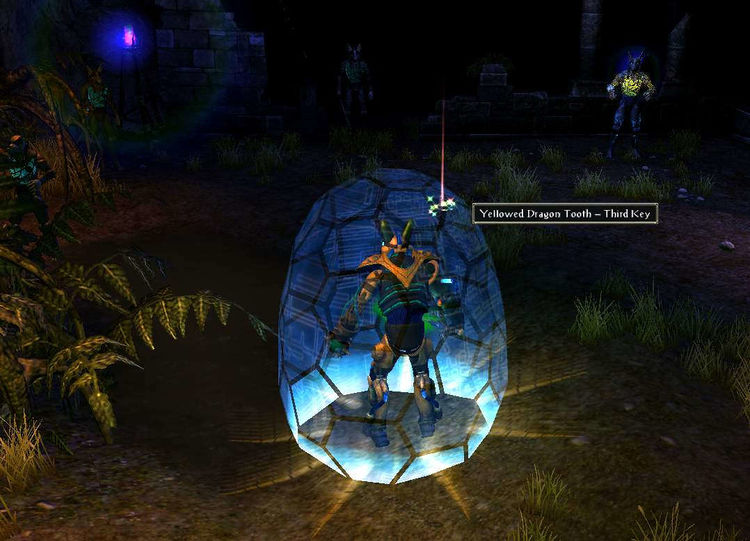
| + | In the back of the cave, you will find Yellowed Dragon Tooth -Third Key, surrounded by a group of Temple Guardians. | ||
| + | {{S2frame|[[Image:AuthorizationKey_DragonTooth2Camera.jpg|750px]]|left}}<br clear="both" /> | ||
| + | |||
| + | Pick up the key and one of the Temple Guardians wishes to speak to you. | ||
| + | {{S2frame|[[Image:AuthorizationKey_PIII300Dialog.jpg]]|left}}<br clear="both" /> | ||
| + | |||
| + | They attack! After defeating the Temple Guardians, leave the cave and your next stop is on the far side of the [[Sacred 2:Bengaresh Desert|Bengaresh Desert]], so continue the main campaign until you get there. | ||
| + | {{S2frame|[[Image:AuthorizationKey_DesertMap.jpg|375px]][[Image:AuthorizationKey_DesertTabMap.jpg|375px]]|left]]}}<br | ||
| + | clear="both" /> | ||
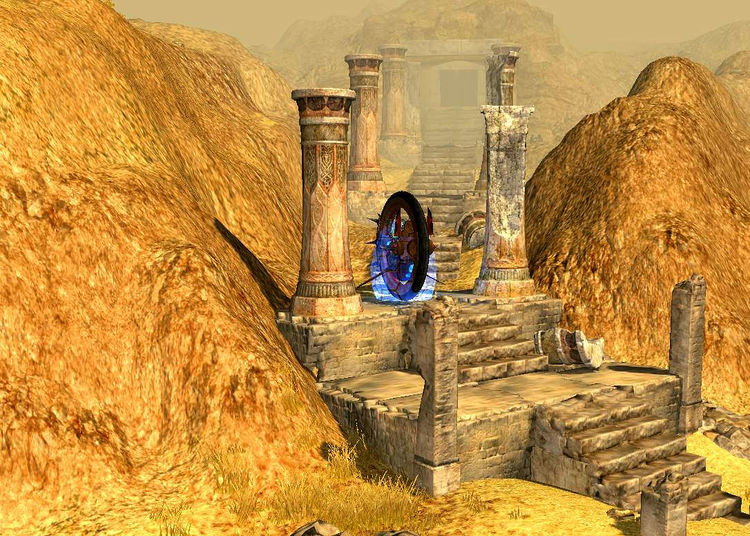
| − | {{S2frame|[[Image: | + | It appears to be an temple. |
| − | + | {{S2frame|[[Image:AuthorizationKey_DesertCamera.jpg|750px]]|left}}<br clear="both" /> | |
| − | + | Enter the cave and this quest is done. You will find the next quest giver within the cave. | |
| − | |||
| Line 69: | Line 82: | ||
{{:Sacred 2:Heritage Keeper Sereish}} | {{:Sacred 2:Heritage Keeper Sereish}} | ||
| − | == | + | === [[Sacred 2:Temple Guardian PIII-300|Temple Guardian PIII-300]] === |
| − | + | {{:Sacred 2:Temple Guardian PIII-300}} | |
| − | |||
| − | |||
== Logbook Entry == | == Logbook Entry == | ||
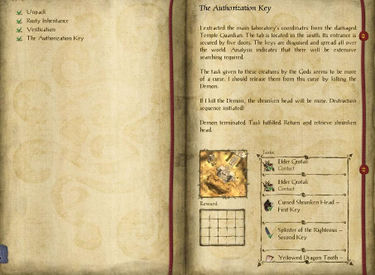
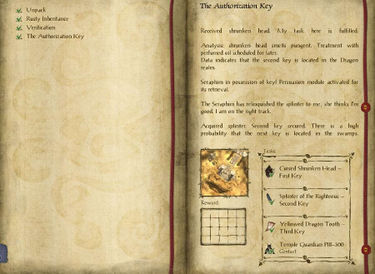
{| | {| | ||
| − | |{{S2frame|[[Image: | + | |{{S2frame|[[Image:AuthorizationKey_Logbook1.jpg|375px]]|left}} |
| + | |{{S2frame|[[Image:AuthorizationKey_Logbook2.jpg|375px]]|left}} | ||
|} | |} | ||
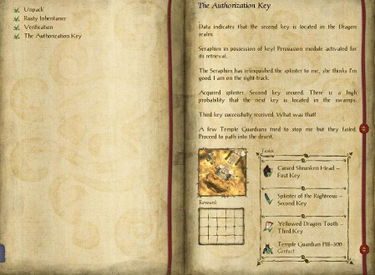
{| | {| | ||
| − | |{{S2frame|[[Image: | + | |{{S2frame|[[Image:AuthorizationKey_Logbook3.jpg|375px]]|left}} |
| − | |||
|} | |} | ||
Revision as of 18:57, 23 October 2011
|
| ||||||||||
Quick Walkthrough
|
| |||||||||
Detailed Walkthrough
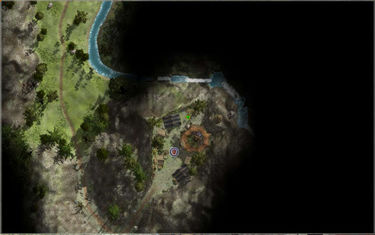
Your first stop is in the mountains of Nor Plat, just southwest of the Nor-Plat Border Wall.
|
| ||
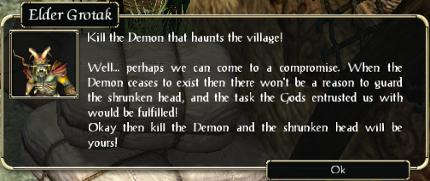
It is a small village. Once there, talk to Elder Grotak. He cannot give you the Cursed Shrunken Head - First Key because it is the village's totem to protect them against the demon that haunts the village.
|
| ||
You talk to him again and he agrees to give you the shrunken head if you defeat the demon.
|
| ||
You agree, of course, and do not have to go far to find the demon. It is already in the village.
|
| ||
After defeating the demon, Skragsshita talk to Elder Grotak and he will give you the shrunken head.
|
| ||
The next item, Splinter of the Righteous - Second Key, is located in a cave in the Dragon Sea Islands.
|
| ||
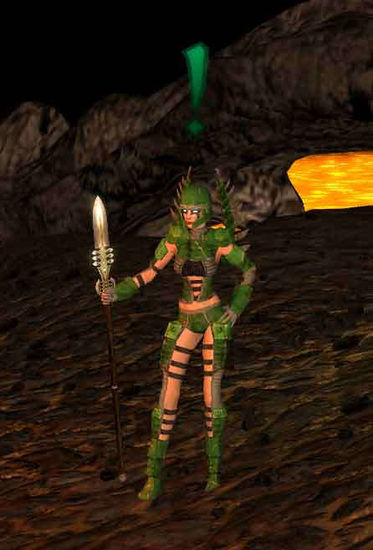
You will need to continue along the main campaign quest in order to get to this point. After defeating Xanthiar, head south towards the Human Outpost. On the way you will meet Heritage Keeper Sereish, a Seraphim. She has been ordered to guard the splinter with her life and cannot give it to you.
|
| ||
|
| ||
You have no choice but to fight her for the splinter. You are victorious but spare her life. She interprets your mercy as a sign of your noble intent, so she gives you the splinter.
|
| ||
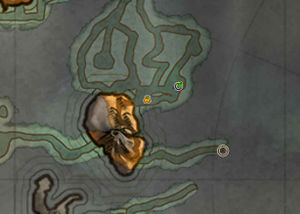
The next item is located on the far south side of The Swamp, so again you will need to continue on the main campaign quest to get there.
|
| ||
Your search leads you to a cave on the southern edge of The Swamp.
|
| ||
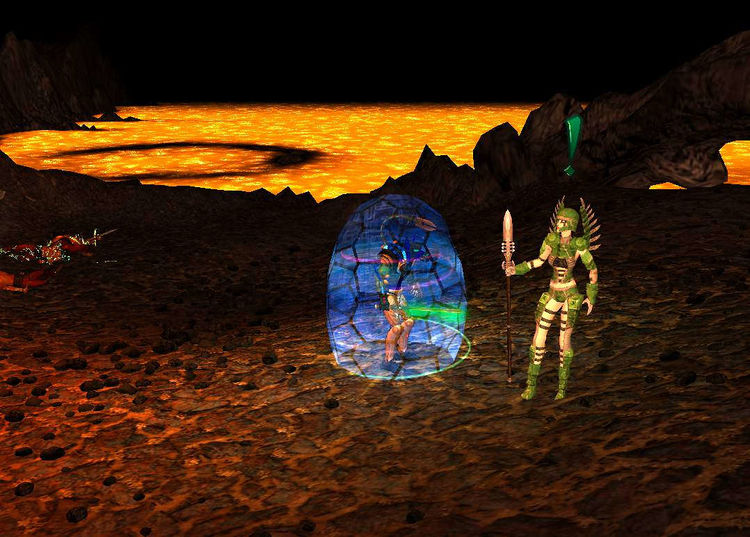
In the back of the cave, you will find Yellowed Dragon Tooth -Third Key, surrounded by a group of Temple Guardians.
|
| ||
Pick up the key and one of the Temple Guardians wishes to speak to you.
|
| ||
They attack! After defeating the Temple Guardians, leave the cave and your next stop is on the far side of the Bengaresh Desert, so continue the main campaign until you get there.
|
| ||
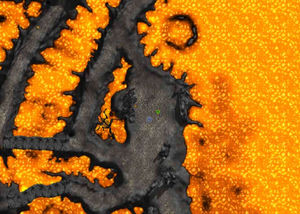
It appears to be an temple.
|
| ||
Enter the cave and this quest is done. You will find the next quest giver within the cave.
Quest Enemies
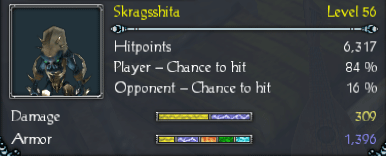
Skragsshita
|
|
Damage Types: Weakest Against: Equally resistant to all Quest:The Authorization Key Quest Location: Blade Fields in Nor Plat | ||||||||||||||||||
Heritage Keeper Sereish
|
| ||
You visit the Heritage Keeper in search of the second key - The Splinter of the Righteous. She take her responsibility very seriously so she won't hand over the key, vowing to die before doing so. You are forced to fight her but spare her life. She realizes that you don't want to hurt her and she decides to give the key to you.
Location
- The Authorization Key can be located in Carnach Cave
- Have a look through the SacredWiki Map
- See exact location below:
|
| ||
Quests
- The Authorization Key is involved in The Authorization Key quest
Notes
Temple Guardian PIII-300
|
|
Damage Types: Weakest Against: Equally resistant to all Quest:The Authorization Key Quest Location: Ruins of Gazath in The Swamp | ||||||||||||||||||
Logbook Entry
|
| ||||||||||||||||||
| |||||||||

