Difference between revisions of "Sacred 2:Communication"
| (2 intermediate revisions by the same user not shown) | |||
| Line 10: | Line 10: | ||
* '''Next Quest:''' [[Sacred 2:Creators and Destroyers|Creators and Destroyers]] | * '''Next Quest:''' [[Sacred 2:Creators and Destroyers|Creators and Destroyers]] | ||
* '''Reward:''' None | * '''Reward:''' None | ||
| + | * '''Main Quest Page:''' [[Sacred 2:Temple Guardian Class Chain Quest|Temple Guardain Class Chain Quest]] | ||
|WIDTH="50%" VALIGN="TOP"| | |WIDTH="50%" VALIGN="TOP"| | ||
| − | {{S2frame|[[Image: | + | {{S2frame|[[Image:nemesismap.jpg|250px]][[Image:nemesistab.jpg|250px]]|right|'''[[Sacred 2:Map of Ancaria|View the Ancaria Interactive Map]]'''}} |
|} | |} | ||
{|WIDTH="100%" | {|WIDTH="100%" | ||
| Line 19: | Line 20: | ||
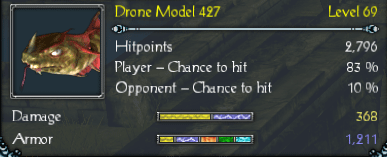
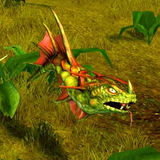
* Defeat five [[Sacred 2:Drone Model 427|Drone Model 427]] | * Defeat five [[Sacred 2:Drone Model 427|Drone Model 427]] | ||
* Talk to [[Sacred 2:Woosh|Woosh]] | * Talk to [[Sacred 2:Woosh|Woosh]] | ||
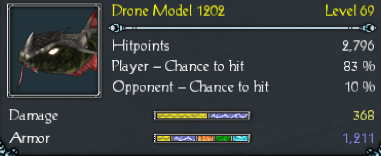
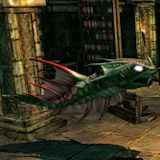
| − | * Defeat | + | * Defeat 12 [[Sacred 2:Temple Guardian Model 538|Temple Guardian Model 538]] and [[Sacred 2:Temple Guardian Model 540|Model 540]], and [[Sacred 2:Drone Model 1202|Drone Model 1202]] |
* Pick up five Blueprints | * Pick up five Blueprints | ||
* Talk to [[Sacred 2:Hologram|Hologram]] | * Talk to [[Sacred 2:Hologram|Hologram]] | ||
| − | * Travel to the Strange Machine located in Dyr Lain | + | * Travel to the Strange Machine located in southwestern Dyr Lain (enter cave near [[Sacred 2:Forest Guardian|Forest Guardian]]) |
|WIDTH="40%" VALIGN="TOP"| | |WIDTH="40%" VALIGN="TOP"| | ||
|} | |} | ||
| Line 28: | Line 29: | ||
== Detailed Walkthrough == | == Detailed Walkthrough == | ||
You just finished the Trojans quest and are standing on the Temple of Tears. Talk to [[Sacred 2:Android|Android]] again. | You just finished the Trojans quest and are standing on the Temple of Tears. Talk to [[Sacred 2:Android|Android]] again. | ||
| − | {{S2frame|[[Image:Communication_AndroidDialog.jpg]]|left}}<br clear="both" /> | + | {{S2frame|[[Image:Communication_AndroidDialog.jpg|430px]]|left}}<br clear="both" /> |
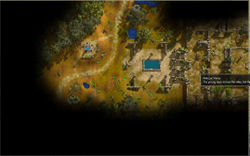
Head west towards the Resurrection Monolith. | Head west towards the Resurrection Monolith. | ||
| − | {{S2frame|[[Image:Communication_WooshMap.jpg| | + | {{S2frame|[[Image:Communication_WooshMap.jpg|250px]][[Image:Communication_WooshTabMap.jpg|250px]]|left]]}}<br |
clear="both" /> | clear="both" /> | ||
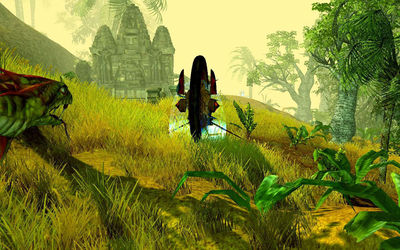
You are ambushed at the Monolith. After the fight, one of your attackers want to talk. | You are ambushed at the Monolith. After the fight, one of your attackers want to talk. | ||
| − | {{S2frame|[[Image:Communication_WooshCamera.jpg| | + | {{S2frame|[[Image:Communication_WooshCamera.jpg|400px]]|left}}<br clear="both" /> |
| − | {{S2frame|[[Image:Communication_Woosh1Dialog.jpg]]|left}}<br clear="both" /> | + | {{S2frame|[[Image:Communication_Woosh1Dialog.jpg|430px]]|left}}<br clear="both" /> |
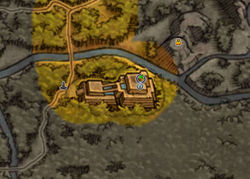
The repair facility is far to the northwest, near [[Sacred 2:The Boathouse|The Boathouse]]. | The repair facility is far to the northwest, near [[Sacred 2:The Boathouse|The Boathouse]]. | ||
| − | {{S2frame|[[Image: | + | {{S2frame|[[Image:tgnafiancavemap.jpg|250px]][[Image:tgnafiancavetab.jpg|250px]]|left]]}}<br |
clear="both" /> | clear="both" /> | ||
| − | {{S2frame|[[Image:Communication_FacilityCamera.jpg| | + | {{S2frame|[[Image:Communication_FacilityCamera.jpg|400px]]|left}}<br clear="both" /> |
Woosh warns you of an attack inside the facility...how sporting of him! | Woosh warns you of an attack inside the facility...how sporting of him! | ||
| − | {{S2frame|[[Image:Communication_Woosh2Dialog.jpg]]|left}}<br clear="both" /> | + | {{S2frame|[[Image:Communication_Woosh2Dialog.jpg|430px]]|left}}<br clear="both" /> |
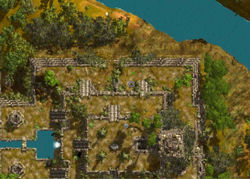
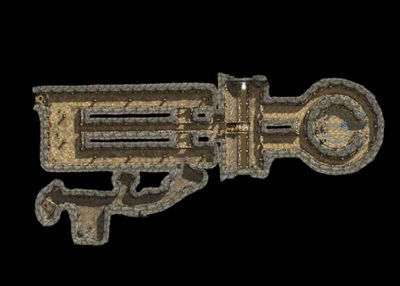
Most of the enemies are found in the center of the room. | Most of the enemies are found in the center of the room. | ||
| − | |||
| − | |||
After defeating the dozen Temple Guards, pick up the five Blueprints that they drop. Then you will find [[Sacred 2:Hologram|Hologram]] in a back chamber. | After defeating the dozen Temple Guards, pick up the five Blueprints that they drop. Then you will find [[Sacred 2:Hologram|Hologram]] in a back chamber. | ||
| − | {{S2frame|[[Image: | + | {{S2frame|[[Image:commmap.jpg|400px]]|left]]}}<br |
clear="both" /> | clear="both" /> | ||
| − | {{S2frame|[[Image:Communication_HologramDialog.jpg]]|left}}<br clear="both" /> | + | {{S2frame|[[Image:Communication_HologramDialog.jpg|430px]]|left}}<br clear="both" /> |
With your memory restored, the next thing to do is rejoin yourself with Hologram. The machine to accomplish this is located on the southwest corner of [[Sacred 2:Dyr Lain|Dyr Lain]]. | With your memory restored, the next thing to do is rejoin yourself with Hologram. The machine to accomplish this is located on the southwest corner of [[Sacred 2:Dyr Lain|Dyr Lain]]. | ||
| − | {{S2frame|[[Image: | + | {{S2frame|[[Image:tgdyrlaincavemap.jpg|250px]][[Image:tgdyrlaincavetab.jpg|250px]]|left]]}}<br |
clear="both" /> | clear="both" /> | ||
| Line 66: | Line 65: | ||
{{:Sacred 2:Drone Model 427}} | {{:Sacred 2:Drone Model 427}} | ||
| − | === [[Sacred 2:Temple | + | === [[Sacred 2:Drone Model 1202|Drone Model 1202]] === |
| − | {{:Sacred 2:Temple | + | {{:Sacred 2:Drone Model 1202}} |
| + | |||
| + | === [[Sacred 2:Temple Guardian Model 538|Temple Guardian Model 538]] === | ||
| + | {{:Sacred 2:Temple Guardian Model 538}} | ||
| + | === [[Sacred 2:Temple Guardian Model 540|Temple Guardian Model 540]] === | ||
| + | {{:Sacred 2:Temple Guardian Model 540}} | ||
== Hirelings and Escorts == | == Hirelings and Escorts == | ||
| Line 87: | Line 91: | ||
</div> | </div> | ||
[[Category:Sacred 2 Quest|{{PAGENAME}}]] | [[Category:Sacred 2 Quest|{{PAGENAME}}]] | ||
| + | [[Category:Sacred 2 Chain Quest Part|{{PAGENAME}}]] | ||
| + | [[Category:Sacred 2 Class Quest|{{PAGENAME}}]] | ||
| + | [[Category:Sacred 2 Light Path Quest|{{PAGENAME}}]] | ||
[[Category:Sacred 2 The Jungle Quest|{{PAGENAME}}]] | [[Category:Sacred 2 The Jungle Quest|{{PAGENAME}}]] | ||
Latest revision as of 19:33, 6 April 2012
|
| ||||||||||
Quick Walkthrough
|
Detailed Walkthrough
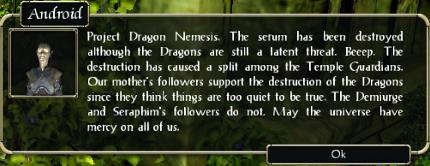
You just finished the Trojans quest and are standing on the Temple of Tears. Talk to Android again.
|
| ||
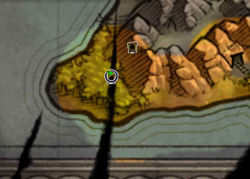
Head west towards the Resurrection Monolith.
|
| ||
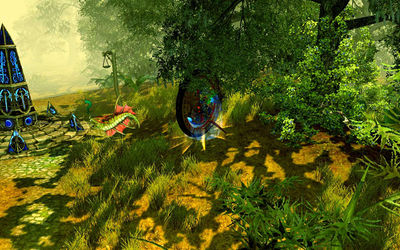
You are ambushed at the Monolith. After the fight, one of your attackers want to talk.
|
| ||
|
| ||
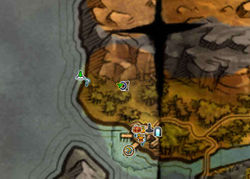
The repair facility is far to the northwest, near The Boathouse.
|
| ||
|
| ||
Woosh warns you of an attack inside the facility...how sporting of him!
|
| ||
Most of the enemies are found in the center of the room.
After defeating the dozen Temple Guards, pick up the five Blueprints that they drop. Then you will find Hologram in a back chamber.
|
| ||
|
| ||
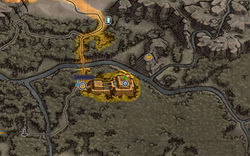
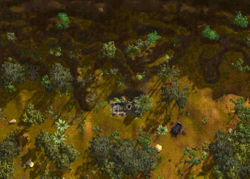
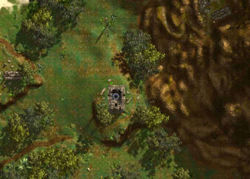
With your memory restored, the next thing to do is rejoin yourself with Hologram. The machine to accomplish this is located on the southwest corner of Dyr Lain.
|
| ||
Once there, this quest is complete.
Quest Enemies
Drone Model 427
|
|
Damage Types: Weakest Against: Equally resistant to all Quest:Communication Quest Location: The Boathouse in The Jungle | ||||||||||||||||||
Drone Model 1202
|
|
Damage Types: Weakest Against: Equally resistant to all Quest:Communication Quest Location: The Boathouse in The Jungle | ||||||||||||||||||
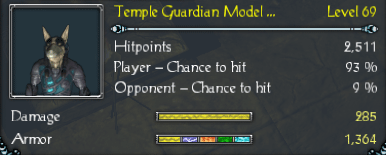
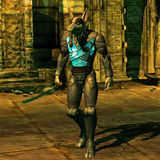
Temple Guardian Model 538
|
|
Damage Types: Weakest Against: Equally resistant to all Quest:Communication Quest Location: The Boathouse in The Jungle | ||||||||||||||||||
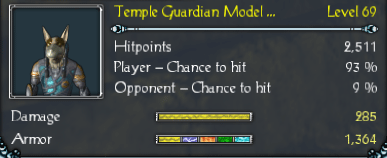
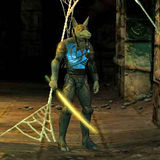
Temple Guardian Model 540
|
|
Damage Types: Weakest Against: Equally resistant to all Quest:Communication Quest Location: The Boathouse in The Jungle | ||||||||||||||||||
Hirelings and Escorts
- Woosh - Escort. Immortal. Oblivious to the fight.
Logbook Entry
|
| ||||||||||||||||||
Notes
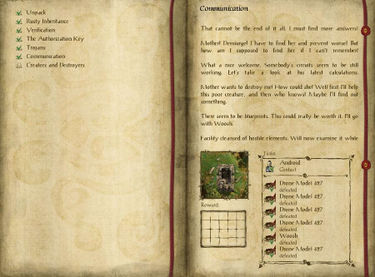
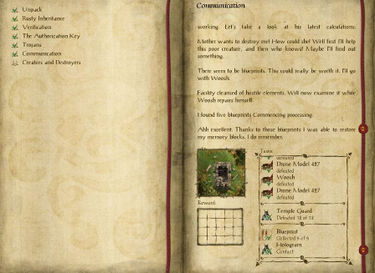
- The cave where this quest ends is immediately south of where the Forest Guardian lives. Contact is likely, so be prepared.
