Difference between revisions of "Sacred 2:Hops and Barley"
Jump to navigation
Jump to search
(Removed chain quest category) |
|||
| (3 intermediate revisions by 2 users not shown) | |||
| Line 11: | Line 11: | ||
* '''Next Quest:''' [[Sacred 2:The One Who Made It|The One Who Made It]] | * '''Next Quest:''' [[Sacred 2:The One Who Made It|The One Who Made It]] | ||
* '''Reward:''' none | * '''Reward:''' none | ||
| − | |WIDTH=" | + | |WIDTH="50%" VALIGN="TOP"| |
| − | + | ||
| + | {{S2frame|[[Image:third_sacrifice_map5.jpg|250px]]|right|'''[[Sacred 2:Map of Ancaria|View the Ancaria Interactive Map]]'''}} | ||
|} | |} | ||
| + | {|WIDTH="100%" | ||
| + | |WIDTH="60%" VALIGN="TOP"| | ||
| + | |||
== Quick Walkthrough == | == Quick Walkthrough == | ||
| Line 27: | Line 31: | ||
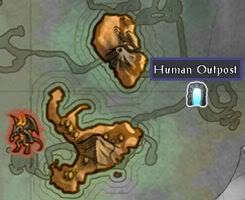
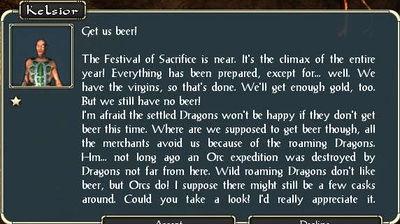
You will find this quest near the Human Outpost portal. The Dragon Cultist Kelsior asks you to get him some beer for an important ceremony: | You will find this quest near the Human Outpost portal. The Dragon Cultist Kelsior asks you to get him some beer for an important ceremony: | ||
| − | [ | + | {{S2frame|[[Image:third_sacrifice_quest1.jpg|400px]]|left}} |
| + | <br clear="both" /> | ||
| + | |||
| + | {{S2frame|[[Image:third_sacrifice_map1.jpg|400px]]|left}} | ||
| + | <br clear="both" /> | ||
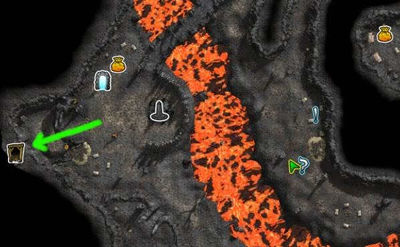
Enter the caves (indicated by green arrow) and look for some beer. | Enter the caves (indicated by green arrow) and look for some beer. | ||
| Line 34: | Line 42: | ||
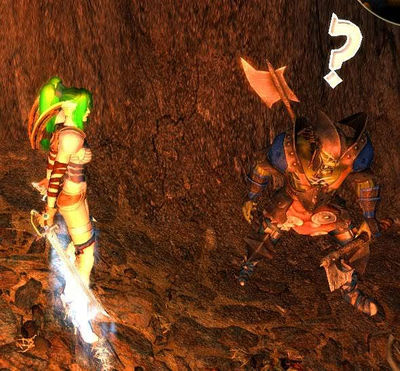
Not far inside you'll find a bottle of beer, and an injured orc. Pick up the beer and talk to the orc to continue the chain-quest. | Not far inside you'll find a bottle of beer, and an injured orc. Pick up the beer and talk to the orc to continue the chain-quest. | ||
| − | [ | + | {{S2frame|[[Image:third_sacrifice_orc.jpg|400px]]|left}} |
| + | <br clear="both" /> | ||
| + | == Logbook Entry == | ||
| + | |||
| + | {| | ||
| + | |{{S2frame|[[Image:third_sacrifice_log1.jpg|300px]]|left}} | ||
| + | |} | ||
| − | |||
| − | |||
| Line 48: | Line 60: | ||
</div> | </div> | ||
| − | [[Category:Sacred 2 Quest]] | + | [[Category:Sacred 2 Quest|{{PAGENAME}}]] |
| + | [[Category:Sacred 2 Chain Quest Part|{{PAGENAME}}]] | ||
| + | [[Category:Sacred 2 The Dragon Sea Islands Quest|{{PAGENAME}}]] | ||
Latest revision as of 03:22, 10 September 2013
|
| ||||||||||
|
Quick Walkthrough
Detailed WalkthroughYou will find this quest near the Human Outpost portal. The Dragon Cultist Kelsior asks you to get him some beer for an important ceremony:
Enter the caves (indicated by green arrow) and look for some beer.
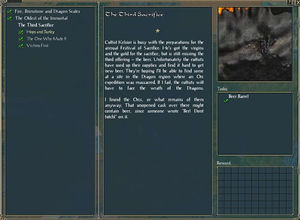
Logbook Entry
Notes |
|||||||||||||||||||||||||||||||||||||
