Difference between revisions of "Sacred 2:Infidelities"
Jump to navigation
Jump to search
(Quest completed) |
|||
| (2 intermediate revisions by one other user not shown) | |||
| Line 2: | Line 2: | ||
{|WIDTH="100%" | {|WIDTH="100%" | ||
|WIDTH="15%" VALIGN="TOP"|__TOC__ | |WIDTH="15%" VALIGN="TOP"|__TOC__ | ||
| − | |WIDTH=" | + | |WIDTH="33%" VALIGN="TOP"| |
| − | * '''Quest Objective:''' Collect the Philanterer's wife | + | * '''Quest Objective:''' Collect the Philanterer's wife jewelry from his mistresses |
* '''Quest Difficulty:''' 2 stars | * '''Quest Difficulty:''' 2 stars | ||
* '''Quest Giver:''' [[Sacred 2:Philanderer|Philanderer]] | * '''Quest Giver:''' [[Sacred 2:Philanderer|Philanderer]] | ||
| Line 10: | Line 10: | ||
* '''Next Quest:''' None | * '''Next Quest:''' None | ||
* '''Reward:''' [[Sacred 2:Experience|Experience]], [[Sacred 2:Gold|Gold]] | * '''Reward:''' [[Sacred 2:Experience|Experience]], [[Sacred 2:Gold|Gold]] | ||
| − | |WIDTH=" | + | |WIDTH="52%" VALIGN="TOP"| |
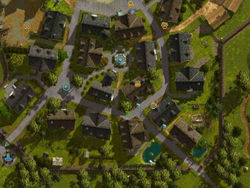
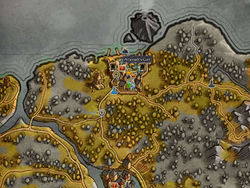
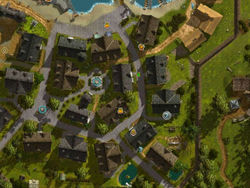
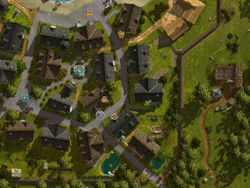
{{S2frame|[[Image:Infidelities_tabmap.jpg|250px]][[Image:Infidelities_map.jpg|250px]]|right|'''[[Sacred 2:Map of Ancaria|View the Ancaria Interactive Map]]'''}} | {{S2frame|[[Image:Infidelities_tabmap.jpg|250px]][[Image:Infidelities_map.jpg|250px]]|right|'''[[Sacred 2:Map of Ancaria|View the Ancaria Interactive Map]]'''}} | ||
|} | |} | ||
{|WIDTH="100%" | {|WIDTH="100%" | ||
| − | |WIDTH=" | + | |WIDTH="48%" VALIGN="TOP"| |
== Quick Walkthrough == | == Quick Walkthrough == | ||
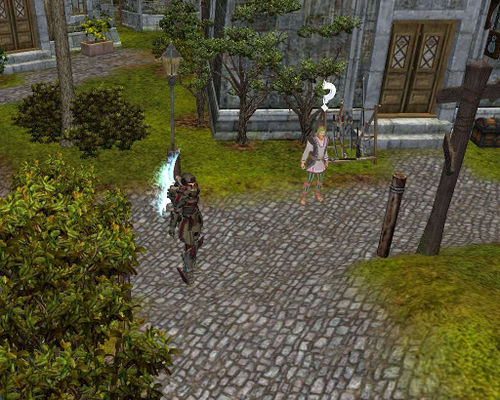
* Talk to the Philanderer | * Talk to the Philanderer | ||
| − | * Talk to Hemilie | + | * Talk to [[Sacred 2:Hemilie|Hemilie]] |
| − | * Talk to | + | * Talk to [[Sacred 2:Wild Gretchen|Wild Gretchen]] |
| − | * Talk to Petunia | + | * Talk to [[Sacred 2:Petunia|Petunia]] |
| − | * Talk to Minchi | + | * Talk to [[Sacred 2:Minchi|Minchi]] |
| − | * Talk to Alexia | + | * Talk to [[Sacred 2:Alexia|Alexia]] |
| − | * Talk to Pious Helena | + | * Talk to [[Sacred 2:Pious Helena|Pious Helena]] |
| − | * Talk to Tusmalie | + | * Talk to [[Sacred 2:Tusmalie|Tusmalie]] |
| − | * Talk to Julie | + | * Talk to [[Sacred 2:Julie|Julie]] |
* Talk back to the Philanderer to get your reward | * Talk back to the Philanderer to get your reward | ||
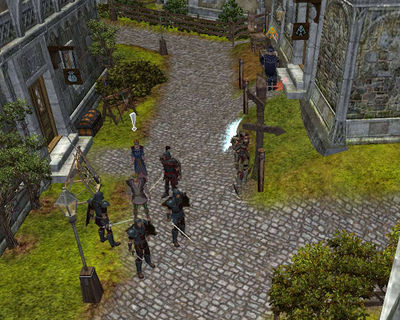
| − | |WIDTH=" | + | |WIDTH="52%" VALIGN="TOP"|{{S2frame|[[Image:Infidelities_philanderer_camera1.jpg|500px]]}} |
|} | |} | ||
== Detailed Walkthrough == | == Detailed Walkthrough == | ||
{| | {| | ||
| − | |WIDTH="300px" VALIGN="TOP"|<br>You're looking for an inn where having a rest in Artamark's Gate, after your long travel from the southern lands. While walking by Artamark's Gate streets a man asks for your help. The man explains he's been unfaithful to his wife and she wants to turn him into a troll, thus forcing him to exile in the mountains. You think he's a fool and decide to take your rest, but in the last moment he promises a quantity of gold that you can't reject... time to work! Your mission consists in collecting his wife's | + | |WIDTH="300px" VALIGN="TOP"|<br>You're looking for an inn where having a rest in Artamark's Gate, after your long travel from the southern lands. While walking by Artamark's Gate streets a man asks for your help. The man explains he's been unfaithful to his wife and she wants to turn him into a troll, thus forcing him to exile in the mountains. You think he's a fool and decide to take your rest, but in the last moment he promises a quantity of gold that you can't reject... time to work! Your mission consists in collecting his wife's jewelry back to see if she gets calmed with that... what an adventure! |
|WIDTH="50px"| | |WIDTH="50px"| | ||
|{{S2frame|[[Image:Infidelities_philanderer_dialog_1.jpg|430px]]|left}} | |{{S2frame|[[Image:Infidelities_philanderer_dialog_1.jpg|430px]]|left}} | ||
| Line 38: | Line 38: | ||
{| | {| | ||
| − | |WIDTH="300px" VALIGN="TOP"|<br>You meet Hemilie next to the tavern where she works, and she quickly returns the | + | |WIDTH="300px" VALIGN="TOP"|<br>You meet Hemilie next to the tavern where she works, and she quickly returns the jewelry. Well, this looks like a fast job! |
|WIDTH="50px"| | |WIDTH="50px"| | ||
|{{S2frame|[[Image:Infidelities_mistress_1_camera.jpg|400px]]|left}}{{S2frame|[[Image:Infidelities_mistress_1_tmap.jpg|250px]]|left}}{{S2frame|[[Image:Infidelities_mistress_1_dialog.jpg|430px]]|left}} | |{{S2frame|[[Image:Infidelities_mistress_1_camera.jpg|400px]]|left}}{{S2frame|[[Image:Infidelities_mistress_1_tmap.jpg|250px]]|left}}{{S2frame|[[Image:Infidelities_mistress_1_dialog.jpg|430px]]|left}} | ||
| Line 45: | Line 45: | ||
{| | {| | ||
| − | |WIDTH="300px" VALIGN="TOP"|<br>Now it's time to find Wild Gretchen. She's at home, and she also returns the | + | |WIDTH="300px" VALIGN="TOP"|<br>Now it's time to find Wild Gretchen. She's at home, and she also returns the jewelry wanting to help him. Let's go... |
|WIDTH="50px"| | |WIDTH="50px"| | ||
|{{S2frame|[[Image:Infidelities_mistress_2_camera.jpg|400px]]|left}}{{S2frame|[[Image:Infidelities_mistress_2_tabmap.jpg|250px]]|left}}{{S2frame|[[Image:Infidelities_mistress_2_dialog.jpg|430px]]|left}} | |{{S2frame|[[Image:Infidelities_mistress_2_camera.jpg|400px]]|left}}{{S2frame|[[Image:Infidelities_mistress_2_tabmap.jpg|250px]]|left}}{{S2frame|[[Image:Infidelities_mistress_2_dialog.jpg|430px]]|left}} | ||
| Line 52: | Line 52: | ||
{| | {| | ||
| − | |WIDTH="300px" VALIGN="TOP"|<br>Let's meet now Petunia. You find her also at home, and you quickly get the | + | |WIDTH="300px" VALIGN="TOP"|<br>Let's meet now Petunia. You find her also at home, and you quickly get the jewelry. She seems to be in love with the guy's eyes... |
|WIDTH="50px"| | |WIDTH="50px"| | ||
|{{S2frame|[[Image:Infidelities_mistress_3_camera.jpg|400px]]|left}}{{S2frame|[[Image:Infidelities_mistress_3_tabmap.jpg|250px]]|left}}{{S2frame|[[Image:Infidelities_mistress_3_dialog.jpg|430px]]|left}} | |{{S2frame|[[Image:Infidelities_mistress_3_camera.jpg|400px]]|left}}{{S2frame|[[Image:Infidelities_mistress_3_tabmap.jpg|250px]]|left}}{{S2frame|[[Image:Infidelities_mistress_3_dialog.jpg|430px]]|left}} | ||
| Line 59: | Line 59: | ||
{| | {| | ||
| − | |WIDTH="300px" VALIGN="TOP"|<br>Ehem... time for... eeerr... Minchi. She is not such in love with the man, but she agrees to help the man by returning the | + | |WIDTH="300px" VALIGN="TOP"|<br>Ehem... time for... eeerr... Minchi. She is not such in love with the man, but she agrees to help the man by returning the jewelry. |
|WIDTH="50px"| | |WIDTH="50px"| | ||
|{{S2frame|[[Image:Infidelities_mistress_4_camera.jpg|400px]]|left}}{{S2frame|[[Image:Infidelities_mistress_4_tabmap.jpg|250px]]|left}}{{S2frame|[[Image:Infidelities_mistress_4_dialog.jpg|430px]]|left}} | |{{S2frame|[[Image:Infidelities_mistress_4_camera.jpg|400px]]|left}}{{S2frame|[[Image:Infidelities_mistress_4_tabmap.jpg|250px]]|left}}{{S2frame|[[Image:Infidelities_mistress_4_dialog.jpg|430px]]|left}} | ||
| Line 66: | Line 66: | ||
{| | {| | ||
| − | |WIDTH="300px" VALIGN="TOP"|<br>Well, more job... uhm... Alexia? Finally you find Alexia's home, and she really wants to help the man. Maybe she doesn't like the | + | |WIDTH="300px" VALIGN="TOP"|<br>Well, more job... uhm... Alexia? Finally you find Alexia's home, and she really wants to help the man. Maybe she doesn't like the jewelry... |
|WIDTH="50px"| | |WIDTH="50px"| | ||
|{{S2frame|[[Image:Infidelities_mistress_5_camera.jpg|400px]]|left}}{{S2frame|[[Image:Infidelities_mistress_5_tabmap.jpg|250px]]|left}}{{S2frame|[[Image:Infidelities_mistress_5_dialog.jpg|430px]]|left}} | |{{S2frame|[[Image:Infidelities_mistress_5_camera.jpg|400px]]|left}}{{S2frame|[[Image:Infidelities_mistress_5_tabmap.jpg|250px]]|left}}{{S2frame|[[Image:Infidelities_mistress_5_dialog.jpg|430px]]|left}} | ||
| Line 73: | Line 73: | ||
{| | {| | ||
| − | |WIDTH="300px" VALIGN="TOP"|<br>Uhm... you know... these things happen... Pious Helena's home is quite near from here... She's upset knowing the guy is married! But she returns the | + | |WIDTH="300px" VALIGN="TOP"|<br>Uhm... you know... these things happen... Pious Helena's home is quite near from here... She's upset knowing the guy is married! But she returns the jewelry anyway... again those eyes! |
|WIDTH="50px"| | |WIDTH="50px"| | ||
|{{S2frame|[[Image:Infidelities_mistress_6_camera.jpg|400px]]|left}}{{S2frame|[[Image:Infidelities_mistress_5_tabmap.jpg|250px]]|left}}{{S2frame|[[Image:Infidelities_mistress_6_dialog.jpg|430px]]|left}} | |{{S2frame|[[Image:Infidelities_mistress_6_camera.jpg|400px]]|left}}{{S2frame|[[Image:Infidelities_mistress_5_tabmap.jpg|250px]]|left}}{{S2frame|[[Image:Infidelities_mistress_6_dialog.jpg|430px]]|left}} | ||
| Line 80: | Line 80: | ||
{| | {| | ||
| − | |WIDTH="300px" VALIGN="TOP"|<br>Uh... this... ''*cough*''... Tusmalie, this girl is really in love with the guy! Seems incredible, she returns the | + | |WIDTH="300px" VALIGN="TOP"|<br>Uh... this... ''*cough*''... Tusmalie, this girl is really in love with the guy! Seems incredible, she returns the jewelry almost instantly! Well, here it comes the difficult job... |
|WIDTH="50px"| | |WIDTH="50px"| | ||
|{{S2frame|[[Image:Infidelities_mistress_7_camera.jpg|400px]]|left}}{{S2frame|[[Image:Infidelities_mistress_7_tabmap.jpg|250px]]|left}}{{S2frame|[[Image:Infidelities_mistress_7_dialog.jpg|430px]]|left}} | |{{S2frame|[[Image:Infidelities_mistress_7_camera.jpg|400px]]|left}}{{S2frame|[[Image:Infidelities_mistress_7_tabmap.jpg|250px]]|left}}{{S2frame|[[Image:Infidelities_mistress_7_dialog.jpg|430px]]|left}} | ||
| Line 87: | Line 87: | ||
{| | {| | ||
| − | |WIDTH="300px" VALIGN="TOP"|<br>You meet Julie, the wife, back at the man's house. It seems the | + | |WIDTH="300px" VALIGN="TOP"|<br>You meet Julie, the wife, back at the man's house. It seems the judgment will take place just right now!! You arrive just in time with all the jewelry and you quickly give it back to Julie. She doesn't look like being very pleased, but she forgives her husband and agrees not putting the curse on him. She says that the guy should be grateful to you, and her eyes just make him shiver! |
|WIDTH="50px"| | |WIDTH="50px"| | ||
|{{S2frame|[[Image:Infidelities_julie_camera.jpg|400px]]|left}}{{S2frame|[[Image:Infidelities_julie_tabmap.jpg|250px]]|left}}{{S2frame|[[Image:Infidelities_julie_dialog.jpg|430px]]|left}} | |{{S2frame|[[Image:Infidelities_julie_camera.jpg|400px]]|left}}{{S2frame|[[Image:Infidelities_julie_tabmap.jpg|250px]]|left}}{{S2frame|[[Image:Infidelities_julie_dialog.jpg|430px]]|left}} | ||
| Line 123: | Line 123: | ||
[[Category:Sacred 2 Quest|{{PAGENAME}}]] | [[Category:Sacred 2 Quest|{{PAGENAME}}]] | ||
[[Category:Sacred 2 Side Quest|{{PAGENAME}}]] | [[Category:Sacred 2 Side Quest|{{PAGENAME}}]] | ||
| + | [[Category:Sacred 2 Artamark Quest|{{PAGENAME}}]] | ||
Latest revision as of 02:34, 20 December 2011
|
| ||||||||||
Quick Walkthrough
|
| |||||||||
Detailed Walkthrough
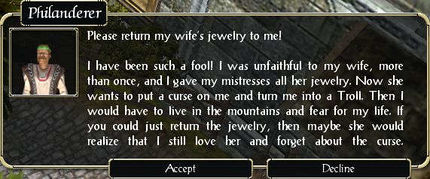
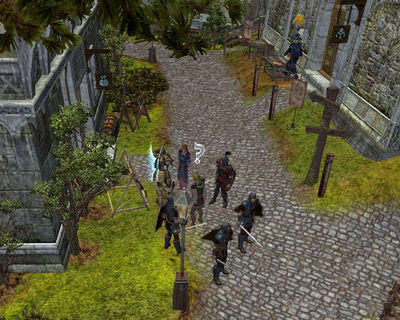
You're looking for an inn where having a rest in Artamark's Gate, after your long travel from the southern lands. While walking by Artamark's Gate streets a man asks for your help. The man explains he's been unfaithful to his wife and she wants to turn him into a troll, thus forcing him to exile in the mountains. You think he's a fool and decide to take your rest, but in the last moment he promises a quantity of gold that you can't reject... time to work! Your mission consists in collecting his wife's jewelry back to see if she gets calmed with that... what an adventure! |
| ||||||||||
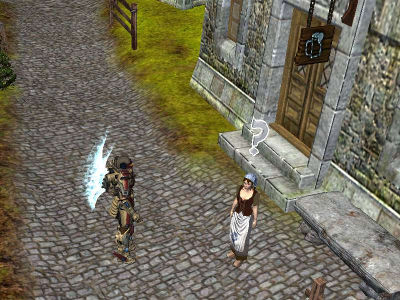
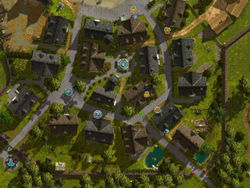
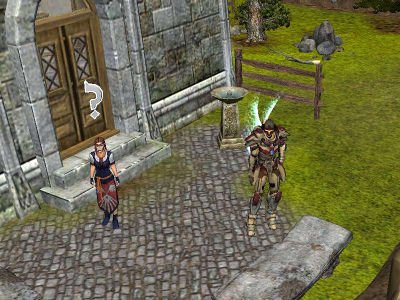
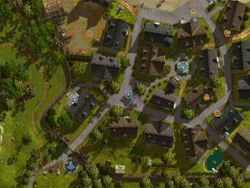
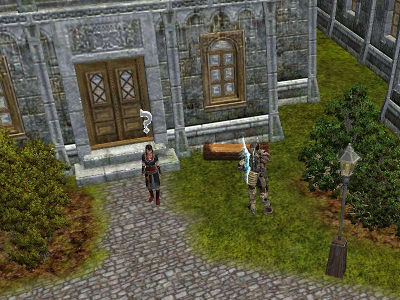
You meet Hemilie next to the tavern where she works, and she quickly returns the jewelry. Well, this looks like a fast job! |
| ||||||||||||||||||||||||||||
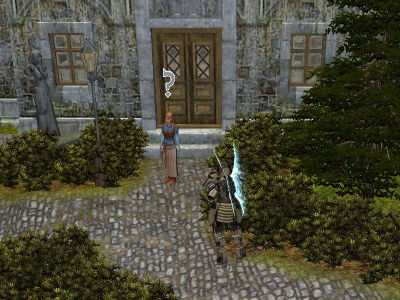
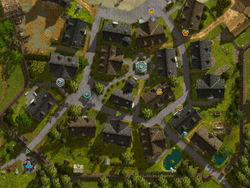
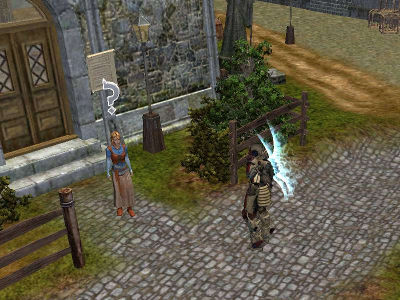
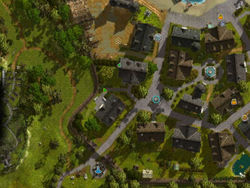
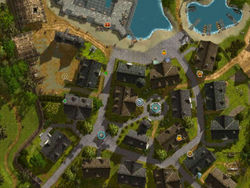
Now it's time to find Wild Gretchen. She's at home, and she also returns the jewelry wanting to help him. Let's go... |
| ||||||||||||||||||||||||||||
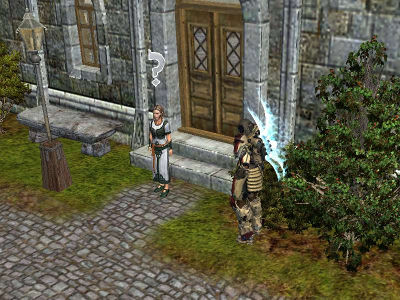
Let's meet now Petunia. You find her also at home, and you quickly get the jewelry. She seems to be in love with the guy's eyes... |
| ||||||||||||||||||||||||||||
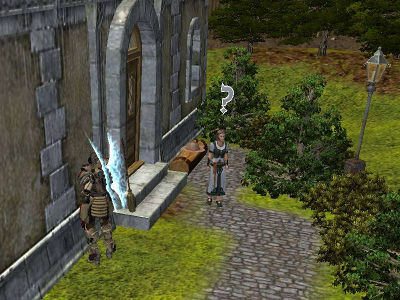
Ehem... time for... eeerr... Minchi. She is not such in love with the man, but she agrees to help the man by returning the jewelry. |
| ||||||||||||||||||||||||||||
Well, more job... uhm... Alexia? Finally you find Alexia's home, and she really wants to help the man. Maybe she doesn't like the jewelry... |
| ||||||||||||||||||||||||||||
Uhm... you know... these things happen... Pious Helena's home is quite near from here... She's upset knowing the guy is married! But she returns the jewelry anyway... again those eyes! |
| ||||||||||||||||||||||||||||
Uh... this... *cough*... Tusmalie, this girl is really in love with the guy! Seems incredible, she returns the jewelry almost instantly! Well, here it comes the difficult job... |
| ||||||||||||||||||||||||||||
You meet Julie, the wife, back at the man's house. It seems the judgment will take place just right now!! You arrive just in time with all the jewelry and you quickly give it back to Julie. She doesn't look like being very pleased, but she forgives her husband and agrees not putting the curse on him. She says that the guy should be grateful to you, and her eyes just make him shiver! |
| ||||||||||||||||||||||||||||
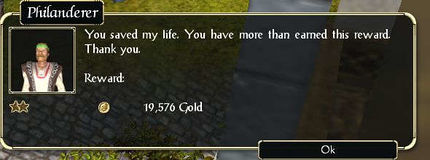
The guy quickly pays you the promised sum of gold, while giving thanks one time and another... You should better take the gold and look for that inn before things get ugly here!! |
| |||||||||||||||||||
Quest Enemies
There are no enemies in this quest.
Hirelings and Escorts
There are no hirelings or escorts in this quest.
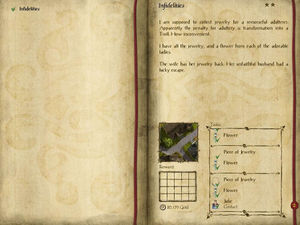
Logbook Entry
| |||||||||
