Difference between revisions of "Sacred 2:Missing Women"
(New page: {{subst:Quest}}) |
|||
| Line 1: | Line 1: | ||
| − | |||
| − | |||
| − | |||
<div class="plainlinks"> | <div class="plainlinks"> | ||
{|WIDTH="100%" | {|WIDTH="100%" | ||
|WIDTH="15%" VALIGN="TOP"|__TOC__ | |WIDTH="15%" VALIGN="TOP"|__TOC__ | ||
|WIDTH="35%" VALIGN="TOP"| | |WIDTH="35%" VALIGN="TOP"| | ||
| − | * '''Quest Objective:''' | + | * '''Quest Objective:''' Find out what happened to the missing Dryads |
| − | * '''Quest Difficulty:''' | + | * '''Quest Difficulty:''' 2 Stars |
| − | * '''Quest Giver:''' | + | * '''Quest Giver:''' [[Sacred 2:Guard Garu'gha|Guard Garu'gha]] |
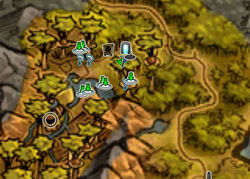
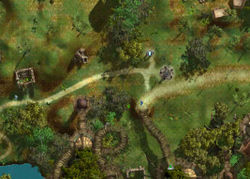
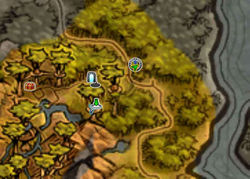
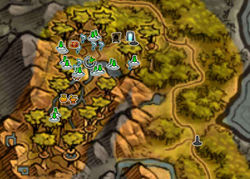
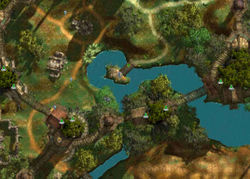
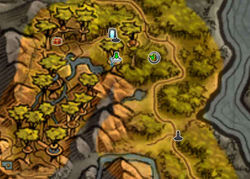
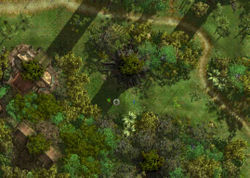
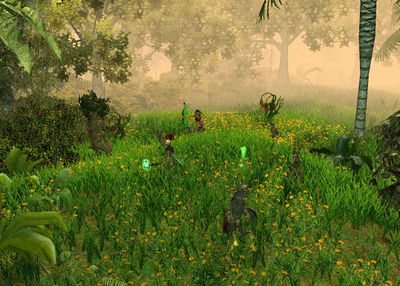
| − | * '''Location(s):''' | + | * '''Location(s):''' [[Sacred 2:Dyr Lain|Dyr Lain]] region, in [[Sacred 2:Dyr-Laigh|Dyr-Laigh]] |
| − | + | * '''Reward:''' [[Sacred 2:Experience|Experience]] | |
| − | + | |WIDTH="50%" VALIGN="TOP"| | |
| − | * '''Reward:''' | ||
| − | |WIDTH="50%" VALIGN="TOP"| | ||
| − | {{S2frame|[[Image: | + | {{S2frame|[[Image:garughamap.jpg|250px]][[Image:garughatab.jpg|250px]]|right|'''[[Sacred 2:Map of Ancaria|View the Ancaria Interactive Map]]'''}} |
|} | |} | ||
{|WIDTH="100%" | {|WIDTH="100%" | ||
|WIDTH="60%" VALIGN="TOP"| | |WIDTH="60%" VALIGN="TOP"| | ||
== Quick Walkthrough == | == Quick Walkthrough == | ||
| − | + | ||
| − | * | + | * Talk to [[Sacred 2:Guard Garu'gha|Guard Garu'gha]] |
| − | * | + | * Defeat [[Sacred 2:Unknown Man|Unknown Man]] and get necklace |
| − | * | + | * Talk to Garu'gha |
| − | |WIDTH="40%" VALIGN="TOP"|{{S2frame|[[Image: | + | * Talk to [[Sacred 2:Chronicler Ralghar|Chronicler Ralghar]] |
| + | * Talk to Garu'gha and escort | ||
| + | * Talk to [[Sacred 2:Priest Krabagh|Priest Krabagh]] and escort | ||
| + | * Defeat [[Sacred 2:Kulghar|Kughar]] and his minions | ||
| + | * Talk to [[Sacred 2:Dead Woman's Ghost|Dead Woman's Ghost]] | ||
| + | * Talk to Garu'gha | ||
| + | |||
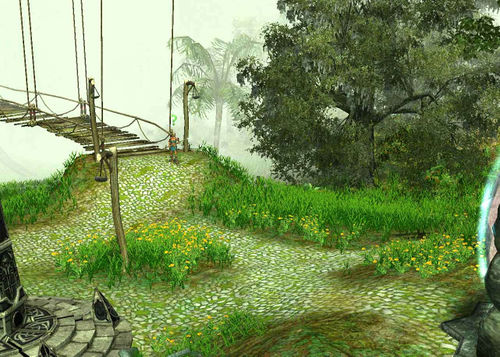
| + | |WIDTH="40%" VALIGN="TOP"|{{S2frame|[[Image:garughaloc.jpg|500px]]}} | ||
|} | |} | ||
== Detailed Walkthrough == | == Detailed Walkthrough == | ||
| − | |||
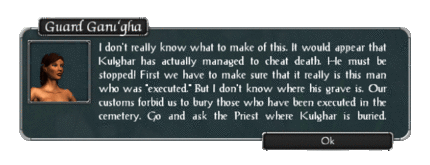
| − | + | Your travels have taken you far from home for an extended amount of time. When you head back to the capital, you run into [[Sacred 2:Guard Garu'gha|Guard Garu'gha]]. She says a lot has happened since you left. Looters, brigands and other unsavory characters having been moving in lately. And now several of your fellow Dryads have gone missing. Gura'gha is sure the 2 are connected. The spot where the sisters went missing is close by. You agree to look around and see if you can uncover anything. | |
| + | [[Image:garughachat.gif|430px]] | ||
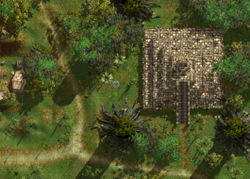
| − | + | You head a short walk east near an old pyramid when you hear something in the bushes. As you get closer you realize it's a man. He comes out from his hiding spot sure that he has an easy victim. Well he picked the wrong girl here. You could have easily killed him but you need information. So you knock him done and try to talk with him. He manages to escape your grasp but loses his necklace in the process. The amulet on the necklace looks to have a clan or family symbol on it but you've never seen it before. | |
| − | {{S2frame|[[Image: | + | {{S2frame|[[Image:unkmanmap.jpg|250px]][[Image:unkmantab.jpg|250px]]|left]]}} |
<br clear="both" /> | <br clear="both" /> | ||
| + | {{S2frame|[[Image:unkmanloc.jpg|400px]]|left}} | ||
| + | <br clear="both" /> | ||
| + | |||
| + | [[Image:unkmanchat.gif|430px]] | ||
| + | |||
| + | So you knock him done and try to talk with him. He manages to escape your grasp but loses his necklace in the process. The amulet on the necklace looks to have a clan or family symbol on it but you've never seen it before. | ||
| + | |||
| + | [[Image:unkmanchat2.gif|430px]] | ||
| + | |||
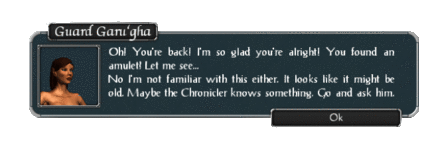
| + | You head back to show it to Garu'gha. She doesn't recognize it either so she sends you to [[Sacred 2:Chronicler Ralghar|Chronicler Ralghar]]. If anyone knows what the symbol means it will be him. | ||
| − | {{S2frame|[[Image: | + | [[Image:garughachat2.gif|430px]] |
| + | |||
| + | You show him the amulet and he scans it over for a moment. he remembers the symbol, but it's for a family that died out more than 50 years ago. The last patriarch was named [[Sacred 2:Kulghar|Kughar]] but he was found guilty of a felony and executed. Shortly before he was executed he vowed to return. Surely he wasn't able to do that? There must be another explanation. | ||
| + | |||
| + | |||
| + | {{S2frame|[[Image:ralgharmap.jpg|250px]][[Image:ralghartab.jpg|250px]]|left]]}} | ||
<br clear="both" /> | <br clear="both" /> | ||
| − | + | ||
| − | {{S2frame|[[Image: | + | {{S2frame|[[Image:ralgharloc.jpg|400px]]|left}} |
<br clear="both" /> | <br clear="both" /> | ||
| + | [[Image:ralgharchat2.gif|430px]] | ||
| − | |||
| − | [[ | + | You return to Gara'gha and she thinks it might have been possible for him to cheat death. Checking his grave would prove that one way or the other. But Dryad customs forbid the burying of criminals in the cemetery. So the only person who would know where he was buried would be the [[Sacred 2:Priest Krabagh|Priest Krabagh]]. |
| − | + | [[Image:garughachat3.gif|430px]] | |
| − | {{S2frame|[[Image: | + | You and Garu'gha head over and talk to the priest. She know where they buried him and offers to show you where. |
| + | |||
| + | |||
| + | {{S2frame|[[Image:krabaghmap.jpg|250px]][[Image:krabaghtab.jpg|250px]]|left]]}} | ||
<br clear="both" /> | <br clear="both" /> | ||
| + | |||
| + | |||
| + | {{S2frame|[[Image:krabaghloc.jpg|400px]]|left}} | ||
| + | <br clear="both" /> | ||
| + | |||
| + | [[Image:krabaghchat.gif|430px]] | ||
| + | |||
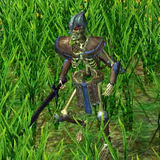
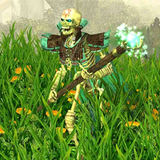
| + | The 3 of you head over to the burial spot and when get close to where he is buried, Kulghar and his minions appear out of nowhere. Kulghar shouts that you won't escape him this time and they attack. | ||
| + | |||
| + | {{S2frame|[[Image:kulvictimmap.jpg|250px]][[Image:kulvictimtab.jpg|250px]]|left]]}} | ||
| + | <br clear="both" /> | ||
| + | |||
| + | |||
| + | {{S2frame|[[Image:kulvictimloc.jpg|400px]]|left}} | ||
| + | <br clear="both" /> | ||
| + | |||
| + | [[Image:kulgharchat.gif|430px]] | ||
| + | |||
| + | |||
| + | After killing off all the undead, you see an apparition appear. The [[Sacred 2:Dead Woman's Ghost|Dead Woman's Ghost]] thanks you for finally eliminating Kulghar and therefore releasing her soul and the others. She promises to speak well of you and when it's your time to cross over to the realm of the dead you will be warmly received. Garu'gha will also thank you for your help. The curse is broken and Dyr-Laigh is a little bit safer than it was before. | ||
| + | |||
| + | [[Image:deadwomanghostchat.gif|430px]] | ||
| + | |||
| + | |||
| + | [[Image:garughachat4.gif|430px]] | ||
== Quest Enemies == | == Quest Enemies == | ||
| − | |||
| − | === [[Sacred 2: | + | == [[Sacred 2:Kulghar|Kulghar]] == |
| − | {{:Sacred 2: | + | {{:Sacred 2:Kulghar}} |
| + | |||
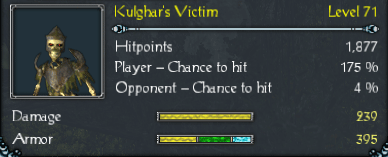
| + | == [[Sacred 2:Kulghar's Victim|Kulghar's Victim]] == | ||
| + | {{:Sacred 2:Kulghar's Victim}} | ||
== Hirelings and Escorts == | == Hirelings and Escorts == | ||
| − | |||
| − | * [[Sacred 2: | + | * [[Sacred 2:Guard Garu'gha|Guard Garu'gha]] |
| − | * [[Sacred 2: | + | * [[Sacred 2:Priest Krabagh|Priest Krabagh]] |
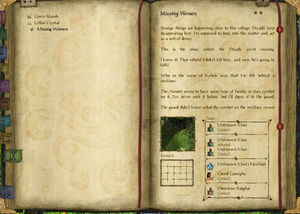
== Logbook Entry == | == Logbook Entry == | ||
| − | + | ||
{| | {| | ||
| − | |{{S2frame|[[Image: | + | |{{S2frame|[[Image:missingwomenlog1.jpg|300px]]|left}} |
| − | |{{S2frame|[[Image: | + | |{{S2frame|[[Image:missingwomenlog2.jpg|300px]]|left}} |
| + | |{{S2frame|[[Image:missingwomenlog3.jpg|300px]]|left}} | ||
|} | |} | ||
== Notes == | == Notes == | ||
| − | |||
| + | </div> | ||
| − | |||
| − | |||
[[Category:Sacred 2 Quest|{{PAGENAME}}]] | [[Category:Sacred 2 Quest|{{PAGENAME}}]] | ||
[[Category:Sacred 2 Side Quest|{{PAGENAME}}]] | [[Category:Sacred 2 Side Quest|{{PAGENAME}}]] | ||
| − | |||
[[Category:Sacred 2 Class Quest|{{PAGENAME}}]] | [[Category:Sacred 2 Class Quest|{{PAGENAME}}]] | ||
| − | [[Category:Sacred 2 | + | [[Category:Sacred 2 Dyr Lain Quest|{{SUBPAGENAME}}]] |
| − | |||
| − | |||
| − | |||
| − | |||
Latest revision as of 23:35, 9 January 2012
|
| ||||||||||
Quick Walkthrough
|
| |||||||||
Detailed Walkthrough
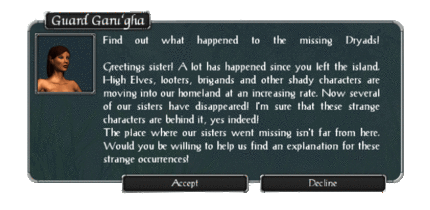
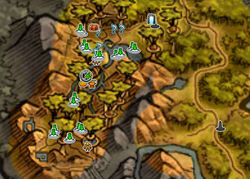
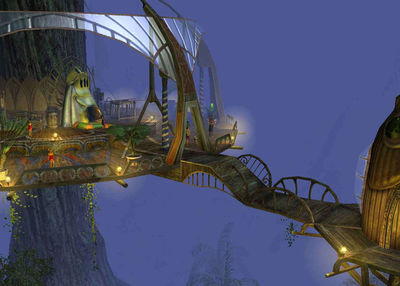
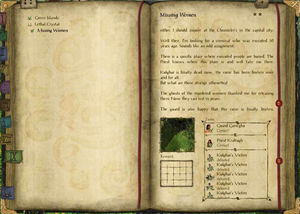
Your travels have taken you far from home for an extended amount of time. When you head back to the capital, you run into Guard Garu'gha. She says a lot has happened since you left. Looters, brigands and other unsavory characters having been moving in lately. And now several of your fellow Dryads have gone missing. Gura'gha is sure the 2 are connected. The spot where the sisters went missing is close by. You agree to look around and see if you can uncover anything.
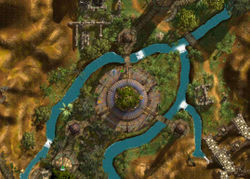
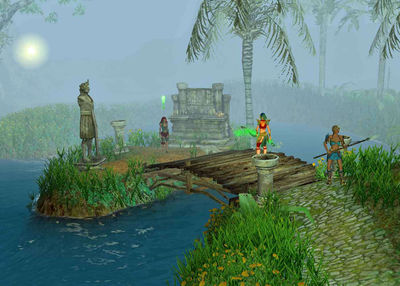
You head a short walk east near an old pyramid when you hear something in the bushes. As you get closer you realize it's a man. He comes out from his hiding spot sure that he has an easy victim. Well he picked the wrong girl here. You could have easily killed him but you need information. So you knock him done and try to talk with him. He manages to escape your grasp but loses his necklace in the process. The amulet on the necklace looks to have a clan or family symbol on it but you've never seen it before.
|
| ||
|
| ||
So you knock him done and try to talk with him. He manages to escape your grasp but loses his necklace in the process. The amulet on the necklace looks to have a clan or family symbol on it but you've never seen it before.
You head back to show it to Garu'gha. She doesn't recognize it either so she sends you to Chronicler Ralghar. If anyone knows what the symbol means it will be him.
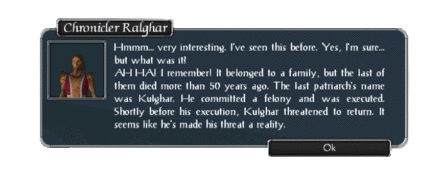
You show him the amulet and he scans it over for a moment. he remembers the symbol, but it's for a family that died out more than 50 years ago. The last patriarch was named Kughar but he was found guilty of a felony and executed. Shortly before he was executed he vowed to return. Surely he wasn't able to do that? There must be another explanation.
|
| ||
|
| ||
You return to Gara'gha and she thinks it might have been possible for him to cheat death. Checking his grave would prove that one way or the other. But Dryad customs forbid the burying of criminals in the cemetery. So the only person who would know where he was buried would be the Priest Krabagh.
You and Garu'gha head over and talk to the priest. She know where they buried him and offers to show you where.
|
| ||
|
| ||
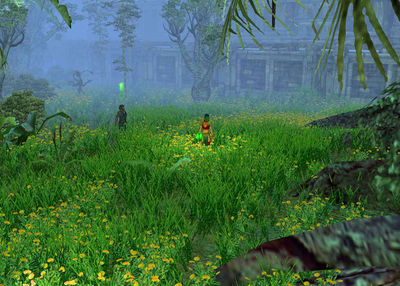
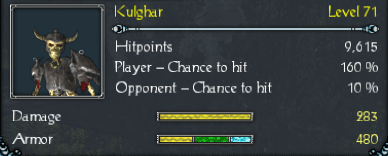
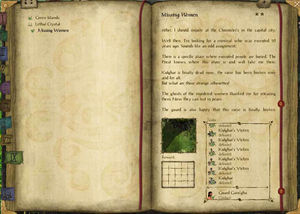
The 3 of you head over to the burial spot and when get close to where he is buried, Kulghar and his minions appear out of nowhere. Kulghar shouts that you won't escape him this time and they attack.
|
| ||
|
| ||
After killing off all the undead, you see an apparition appear. The Dead Woman's Ghost thanks you for finally eliminating Kulghar and therefore releasing her soul and the others. She promises to speak well of you and when it's your time to cross over to the realm of the dead you will be warmly received. Garu'gha will also thank you for your help. The curse is broken and Dyr-Laigh is a little bit safer than it was before.
Quest Enemies
Kulghar
|
|
Damage Types: Weakest Against: Quest:Missing Women | ||||||||||||||||||
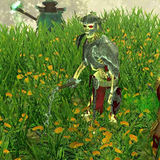
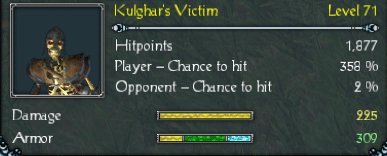
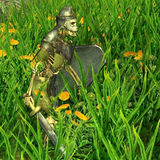
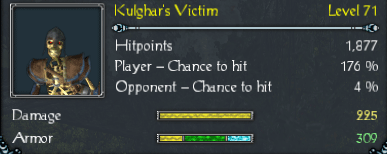
Kulghar's Victim
|
|
Damage Types: Weakest Against: Quest:Missing Women | ||||||||||||||||||
|
|
Damage Types: Weakest Against: Quest:Missing Women | ||||||||||||||||||
|
|
Damage Types: Weakest Against: Quest:Missing Women | ||||||||||||||||||
Hirelings and Escorts
Logbook Entry
|
|
| |||||||||||||||||||||||||||
