Difference between revisions of "Sacred 2:Turan's Findings"
(New page: {{subst:Quest}}) |
|||
| Line 1: | Line 1: | ||
| − | |||
| − | |||
| − | |||
<div class="plainlinks"> | <div class="plainlinks"> | ||
{|WIDTH="100%" | {|WIDTH="100%" | ||
|WIDTH="15%" VALIGN="TOP"|__TOC__ | |WIDTH="15%" VALIGN="TOP"|__TOC__ | ||
|WIDTH="35%" VALIGN="TOP"| | |WIDTH="35%" VALIGN="TOP"| | ||
| − | * '''Quest Objective:''' | + | * '''Quest Objective:''' Defeat marauders and bring thread rush back to apothecary |
| − | * '''Quest Difficulty:''' | + | * '''Quest Difficulty:''' 4 Stars |
| − | * '''Quest Giver:''' | + | * '''Quest Giver:''' [[Sacred 2:Scout Turan|Scout Turan]] |
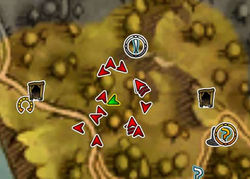
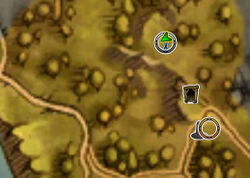
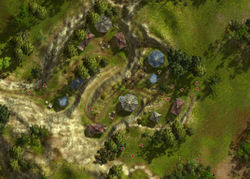
| − | * '''Location(s):''' | + | * '''Location(s):''' [[Sacred 2:Artamark|Artamark]] Region, north of [[Sacred 2:Valeview|Valeview]] |
| − | * '''Prerequisite Quest:''' | + | * '''Prerequisite Quest:''' [[Sacred 2:Bitter Medicine-Thread Rush|Bitter Medicine]] |
| − | * '''Next Quest:''' | + | * '''Next Quest:''' None |
| − | * '''Reward:''' | + | * '''Reward:''' [[Sacred 2:Gold|Gold]] [[Sacred 2:Experience|Experience]] |
| − | |WIDTH="50%" VALIGN="TOP"| | + | |WIDTH="50%" VALIGN="TOP"| |
| − | {{S2frame|[[Image: | + | {{S2frame|[[Image:Turan's-findings-turan-map.jpg|250px]][[Image:Turan's-findings-turan-tab.jpg|250px]]|right|'''[[Sacred 2:Map of Ancaria|View the Ancaria Interactive Map]]'''}} |
|} | |} | ||
{|WIDTH="100%" | {|WIDTH="100%" | ||
|WIDTH="60%" VALIGN="TOP"| | |WIDTH="60%" VALIGN="TOP"| | ||
== Quick Walkthrough == | == Quick Walkthrough == | ||
| − | + | ||
| − | * | + | * Talk to [[Sacred 2:Scout Turan|Scout Turan]] |
| − | * | + | * Kill all the marauders |
| − | * | + | * Rescue [[Sacred 2:Nephew Adrien|Nephew Adrien]] |
| − | |WIDTH="40%" VALIGN="TOP"|{{S2frame|[[Image: | + | * Bring the thread rush back to the [[Sacred 2:Apothecary|Apothecary]] |
| + | *Talk to the [[Sacred 2:Officer|Officer]] | ||
| + | |WIDTH="40%" VALIGN="TOP"|{{S2frame|[[Image:Bitter-medicine-marauder.jpg|500px]]}} | ||
|} | |} | ||
== Detailed Walkthrough == | == Detailed Walkthrough == | ||
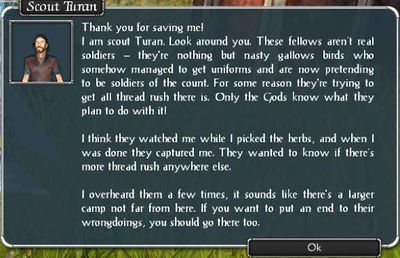
| − | + | After you free Scout Turan, he'll confirm that those fellows were not soldiers. Just some mercenaries who were able to get some army uniforms. Turan believes they watched him gather the thread rush and then captured him. They were trying to find out were they could get more. It appears that they're trying to control the supply of thread rush in the area and with it the only known cure for the epidemic currently rampaging thru the surrounding country, they'll be able to sell at ridiculous costs. He mentions that these 'soldiers' have a larger camp not far off and if I want to put them out of business I should head over to it. | |
| − | + | {{S2frame|[[Image:Turan's-findings-turan-chat.jpg|400px]]|left}} | |
| + | <br clear="both" /> | ||
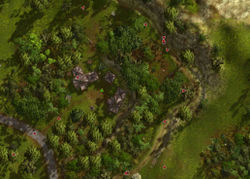
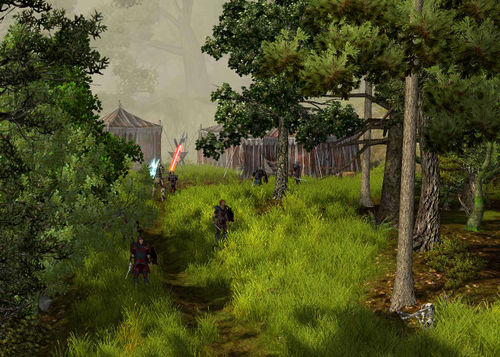
| + | As you approach the 2nd camp a guard will try and stop you. He tries to impersonate an actual soldier but it's clear quite quickly that he's just a mercenary. | ||
| − | |||
| − | {{S2frame|[[Image: | + | {{S2frame|[[Image:Turan's-find-adrien-map.jpg|250px]][[Image:Turan's-findings-adrien-tab.jpg|250px]]|left]]}} |
<br clear="both" /> | <br clear="both" /> | ||
| + | {{S2frame|[[Image:Turan's-marauder-guard-loc1.jpg|400px]]|left}} | ||
| + | <br clear="both" /> | ||
| − | {{S2frame|[[Image: | + | {{S2frame|[[Image:Turan's-findings-marauder-g.jpg|400px]]|left}} |
<br clear="both" /> | <br clear="both" /> | ||
| − | + | He also realizes you aren't buying his story and attacks you. Bad move for him as he's pushing up daisies now. | |
| − | {{S2frame|[[Image: | + | |
| + | {{S2frame|[[Image:Turan's-find-marauder-guard.jpg|400px]]|left}} | ||
| + | |||
<br clear="both" /> | <br clear="both" /> | ||
| + | |||
| + | Continue up the path into camp, dispatching mercenaries along the trail. | ||
| − | + | {{S2frame|[[Image:Turan's-find-guard-loc2.jpg|400px]]|left}} | |
| + | <br clear="both" /> | ||
| − | [[ | + | Once you have defeated all of them, [[Sacred 2:Nephew Adrien|Nephew Adrien]] will appear out from a tent. These marauders planned on keeping him hostage. Presumably to force his uncle, the apothecary, to prepare the thread rush as medicine and then sell it for inflated prices. You explain what brought you to him and he quickly agrees to give you most of the thread rush to bring back to his uncle while he heads over to [[Sacred 2:Lena|Lena's]] house and administers some of it to her sick husband. |
| − | |||
| − | {{S2frame|[[Image: | + | {{S2frame|[[Image:Turan's-findings-nephew-adr.jpg|300px]]|left}} |
<br clear="both" /> | <br clear="both" /> | ||
| + | |||
| + | |||
| + | {{S2frame|[[Image:Quest_Name_camera1.jpg|400px]]|left}} | ||
| + | <br clear="both" /> | ||
| + | |||
| + | You deliver the thread rush to the apothecary and relate the good news that his nephew has been found safe. He can't believe the story about the fake soldiers trying to get all of the plant for themselves and urges you to talk to the local authority. You head over to the military side of Griffinborough and tell your story to the [[Sacred 2:Officer|Officer]]. He assures you that he will send out a unit to take care of the problem...permanently. | ||
| + | |||
| + | {{S2frame|[[Image:Turan's-findings-officer-lo.jpg|400px]]|left}} | ||
| + | <br clear="both" /> | ||
| + | |||
| + | {{S2frame|[[Image:Turan's-findings-officer-ch.jpg|400px]]|left}} | ||
| + | <br clear="both" /> | ||
| + | |||
| + | |||
| + | |||
== Quest Enemies == | == Quest Enemies == | ||
| − | + | ||
=== [[Sacred 2:Sample Enemy|Sample Enemy]] === | === [[Sacred 2:Sample Enemy|Sample Enemy]] === | ||
{{:Sacred 2:Sample Enemy}} | {{:Sacred 2:Sample Enemy}} | ||
| − | |||
| − | |||
| − | |||
| − | |||
== Logbook Entry == | == Logbook Entry == | ||
| − | + | ||
{| | {| | ||
|{{S2frame|[[Image:Quest Name log1.jpg|300px]]|left}} | |{{S2frame|[[Image:Quest Name log1.jpg|300px]]|left}} | ||
| Line 78: | Line 95: | ||
== Notes == | == Notes == | ||
| − | + | ||
| Line 85: | Line 102: | ||
DECIDE WHICH OF THE FOLLOWING CATEGORY('S) APPLY TO THIS QUEST (LEAVE IN THE SACRED 2 QUEST CATEGORY) AND DELETE THOSE THAT DO NOT APPLY(AS WELL AS THIS COMMENT): | DECIDE WHICH OF THE FOLLOWING CATEGORY('S) APPLY TO THIS QUEST (LEAVE IN THE SACRED 2 QUEST CATEGORY) AND DELETE THOSE THAT DO NOT APPLY(AS WELL AS THIS COMMENT): | ||
[[Category:Sacred 2 Quest|{{PAGENAME}}]] | [[Category:Sacred 2 Quest|{{PAGENAME}}]] | ||
| − | + | ||
[[Category:Sacred 2 Chain Quest]|{{PAGENAME}}]] | [[Category:Sacred 2 Chain Quest]|{{PAGENAME}}]] | ||
| − | |||
| − | |||
| − | |||
| − | |||
| − | |||
| − | |||
Revision as of 23:38, 15 December 2011
|
| ||||||||||
Quick Walkthrough
|
| |||||||||
Detailed Walkthrough
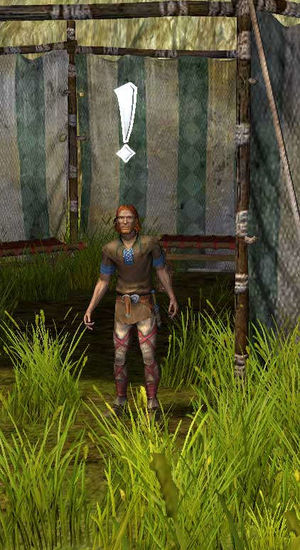
After you free Scout Turan, he'll confirm that those fellows were not soldiers. Just some mercenaries who were able to get some army uniforms. Turan believes they watched him gather the thread rush and then captured him. They were trying to find out were they could get more. It appears that they're trying to control the supply of thread rush in the area and with it the only known cure for the epidemic currently rampaging thru the surrounding country, they'll be able to sell at ridiculous costs. He mentions that these 'soldiers' have a larger camp not far off and if I want to put them out of business I should head over to it.
|
| ||
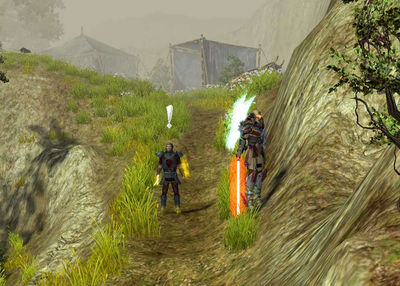
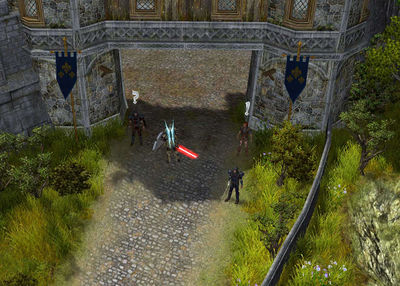
As you approach the 2nd camp a guard will try and stop you. He tries to impersonate an actual soldier but it's clear quite quickly that he's just a mercenary.
|
| ||
|
| ||
|
| ||
He also realizes you aren't buying his story and attacks you. Bad move for him as he's pushing up daisies now.
|
| ||
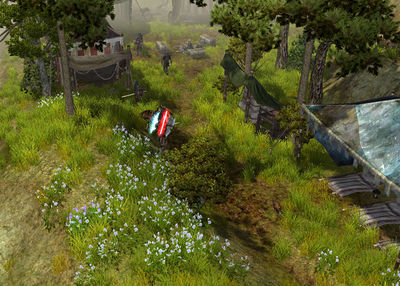
Continue up the path into camp, dispatching mercenaries along the trail.
|
| ||
Once you have defeated all of them, Nephew Adrien will appear out from a tent. These marauders planned on keeping him hostage. Presumably to force his uncle, the apothecary, to prepare the thread rush as medicine and then sell it for inflated prices. You explain what brought you to him and he quickly agrees to give you most of the thread rush to bring back to his uncle while he heads over to Lena's house and administers some of it to her sick husband.
|
| ||
|
| ||
You deliver the thread rush to the apothecary and relate the good news that his nephew has been found safe. He can't believe the story about the fake soldiers trying to get all of the plant for themselves and urges you to talk to the local authority. You head over to the military side of Griffinborough and tell your story to the Officer. He assures you that he will send out a unit to take care of the problem...permanently.
|
| ||
|
| ||
Quest Enemies
Sample Enemy
|
|
Damage Types: Weakest Against: Quest:Sample Quest Quest Location: Place Name in Region Name | ||||||||||||||||||
Logbook Entry
|
| ||||||||||||||||||
Notes
DECIDE WHICH OF THE FOLLOWING CATEGORY('S) APPLY TO THIS QUEST (LEAVE IN THE SACRED 2 QUEST CATEGORY) AND DELETE THOSE THAT DO NOT APPLY(AS WELL AS THIS COMMENT):
[[Category:Sacred 2 Chain Quest]|Turan's Findings]]
