Difference between revisions of "Sacred 2:Better Yields"
Jump to navigation
Jump to search
(New page: {{subst:Quest}}) |
|||
| Line 1: | Line 1: | ||
| − | |||
| − | |||
| − | |||
<div class="plainlinks"> | <div class="plainlinks"> | ||
{|WIDTH="100%" | {|WIDTH="100%" | ||
|WIDTH="15%" VALIGN="TOP"|__TOC__ | |WIDTH="15%" VALIGN="TOP"|__TOC__ | ||
|WIDTH="35%" VALIGN="TOP"| | |WIDTH="35%" VALIGN="TOP"| | ||
| − | * '''Quest Objective:''' | + | * '''Quest Objective:''' Test some new seeds |
| − | * '''Quest Difficulty:''' | + | * '''Quest Difficulty:''' 2 stars |
| − | * '''Quest Giver:''' | + | * '''Quest Giver:''' [[Sacred 2:Seraphim Florentina|Seraphim Florentina]] |
| − | * '''Location(s):''' | + | * '''Location(s):''' [[Sacred 2:Seraphim Island|Seraphim Island]] and [[Sacred 2:Skook's Corner|Skook's Corner]] |
| − | * '''Prerequisite Quest:''' | + | * '''Prerequisite Quest:''' None |
| − | * '''Next Quest:''' | + | * '''Next Quest:''' None |
| − | * '''Reward:''' | + | * '''Reward:''' [[Sacred 2:Gold|Gold]] [[Sacred 2:Experience|Experience]] |
| − | |WIDTH="50%" VALIGN="TOP"| | + | |WIDTH="50%" VALIGN="TOP"| |
| − | + | {{S2frame|[[Image:BetterYields_FlorentinaMap.jpg|250px]][[Image:BetterYields_FlorentinaTabMap.jpg|250px]]|right|'''[[Sacred 2:Map of Ancaria|View the Ancaria Interactive Map]]'''}} | |
| − | {{S2frame|[[Image: | ||
|} | |} | ||
{|WIDTH="100%" | {|WIDTH="100%" | ||
|WIDTH="60%" VALIGN="TOP"| | |WIDTH="60%" VALIGN="TOP"| | ||
== Quick Walkthrough == | == Quick Walkthrough == | ||
| − | + | * Talk to Seraphim Florentina | |
| − | * | + | * Test her new seeds |
| − | * | + | * Return to Seraphim Florentina to collect your reward |
| − | * | + | |WIDTH="40%" VALIGN="TOP"|{{S2frame|[[Image:BetterYields_FlorentinaCamera.jpg|500px]]}} |
| − | |WIDTH="40%" VALIGN="TOP"|{{S2frame|[[Image: | ||
|} | |} | ||
== Detailed Walkthrough == | == Detailed Walkthrough == | ||
| − | + | You will find Seraphim Florentina in a building just east of the Small Portal near the southern end of Seraphim Island. She will tell you that she has been working on a new, magically-altered seed and asks you to test it for her. | |
| + | {{S2frame|[[Image:BetterYields_Florentina1Dialog.jpg|430px]]|left}} | ||
| + | <br clear="both" /> | ||
| − | + | When you agree, she will teleport you to a small garden just north of Skook's Corner. | |
| − | + | {{S2frame|[[Image:BetterYields_MirjaMap.jpg|250px]][[Image:BetterYields_MirjaTabMap.jpg|250px]]|left]]}} | |
| − | + | <br clear="both" /> | |
| − | + | {{S2frame|[[Image:BetterYields_Mirja1Camera.jpg|400px]]|left}} | |
| − | |||
| − | {{S2frame|[[Image: | ||
<br clear="both" /> | <br clear="both" /> | ||
| − | + | Activate the pumpkin to begin the experiment, and then talk to [[Sacred 2:Mirja|Mirja]] who is standing nearby. | |
| − | {{S2frame|[[Image: | + | {{S2frame|[[Image:BetterYields_MirjaDialog.jpg|430px]]|left}} |
<br clear="both" /> | <br clear="both" /> | ||
| − | + | With that, unfortunately, Mirja explodes and you are teleported back to Seraphim Florentina. | |
| − | {{S2frame|[[Image: | + | {{S2frame|[[Image:BetterYields_Mirja2Camera.jpg|400px]]|left}} |
<br clear="both" /> | <br clear="both" /> | ||
| − | + | Seraphim Florentina is horrified that experiment failed and mildly disturbed about the exploding humans. Your quest is now complete. | |
| − | + | {{S2frame|[[Image:BetterYields_Florentina2Dialog.jpg|400px]]|left}} | |
| − | |||
| − | |||
| − | |||
| − | |||
| − | |||
| − | {{S2frame|[[Image: | ||
<br clear="both" /> | <br clear="both" /> | ||
| − | |||
| − | |||
| − | |||
| − | |||
| − | |||
| − | |||
| − | |||
| − | |||
| − | |||
| − | |||
| − | |||
| − | |||
== Logbook Entry == | == Logbook Entry == | ||
| − | |||
{| | {| | ||
| − | |{{S2frame|[[Image: | + | |{{S2frame|[[Image:BetterYields_Logbook.jpg|300px]]|left}} |
| − | |||
|} | |} | ||
== Notes == | == Notes == | ||
| − | + | ||
</div> | </div> | ||
| − | |||
[[Category:Sacred 2 Quest|{{PAGENAME}}]] | [[Category:Sacred 2 Quest|{{PAGENAME}}]] | ||
[[Category:Sacred 2 Side Quest|{{PAGENAME}}]] | [[Category:Sacred 2 Side Quest|{{PAGENAME}}]] | ||
| − | |||
| − | |||
| − | |||
| − | |||
| − | |||
| − | |||
| − | |||
Revision as of 00:34, 16 March 2011
|
| ||||||||||
Quick Walkthrough
|
| |||||||||
Detailed Walkthrough
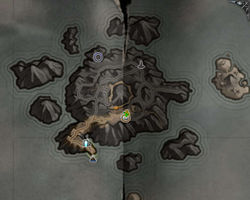
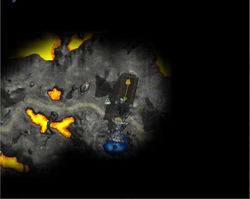
You will find Seraphim Florentina in a building just east of the Small Portal near the southern end of Seraphim Island. She will tell you that she has been working on a new, magically-altered seed and asks you to test it for her.
|
| ||
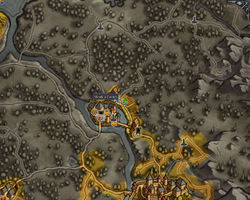
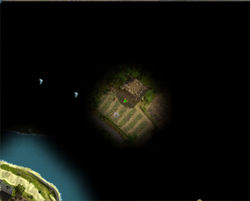
When you agree, she will teleport you to a small garden just north of Skook's Corner.
|
| ||
|
| ||
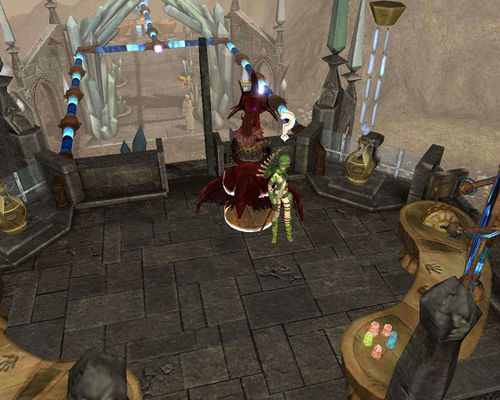
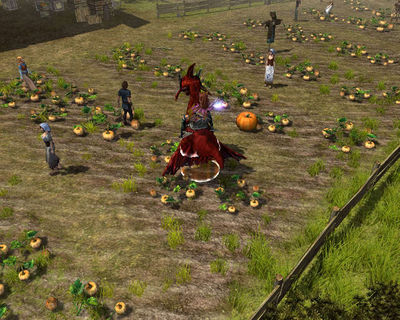
Activate the pumpkin to begin the experiment, and then talk to Mirja who is standing nearby.
|
| ||
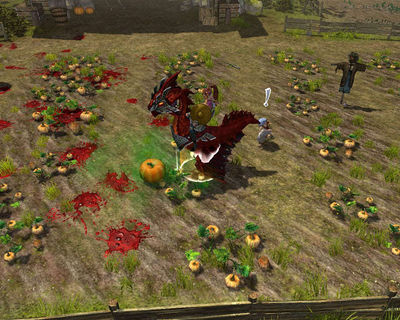
With that, unfortunately, Mirja explodes and you are teleported back to Seraphim Florentina.
|
| ||
Seraphim Florentina is horrified that experiment failed and mildly disturbed about the exploding humans. Your quest is now complete.
|
| ||
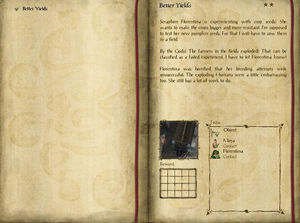
Logbook Entry
| |||||||||
