Difference between revisions of "Sacred 2:Jade Collier"
Jump to navigation
Jump to search
(New page: {{subst:Quest}}) |
|||
| Line 1: | Line 1: | ||
| − | |||
| − | |||
| − | |||
<div class="plainlinks"> | <div class="plainlinks"> | ||
{|WIDTH="100%" | {|WIDTH="100%" | ||
|WIDTH="15%" VALIGN="TOP"|__TOC__ | |WIDTH="15%" VALIGN="TOP"|__TOC__ | ||
|WIDTH="35%" VALIGN="TOP"| | |WIDTH="35%" VALIGN="TOP"| | ||
| − | * '''Quest Objective:''' | + | * '''Quest Objective:''' Obtain jade for the jeweler |
| − | * '''Quest Difficulty:''' | + | * '''Quest Difficulty:''' 3 stars |
| − | * '''Quest Giver:''' | + | * '''Quest Giver:''' [[Sacred 2:Jeweler_Finebond|Jeweler Finebond]] |
| − | * '''Location(s):''' | + | * '''Location(s):''' [[Sacred 2:Griffinborough|Griffinborough]] in southeast [[Sacred 2:Artamark|Artamark]] |
| − | * '''Prerequisite Quest:''' | + | * '''Prerequisite Quest:''' None |
| − | * '''Next Quest:''' | + | * '''Next Quest:''' None |
| − | * '''Reward:''' | + | * '''Reward:''' [[Sacred 2:Experience|Experience]] |
| − | |WIDTH="50%" VALIGN="TOP"| | + | |WIDTH="50%" VALIGN="TOP"| |
| − | + | {{S2frame|[[Image:JadeCollier_FinebondMap.jpg|250px]][[Image:JadeCollier_FinebondTabMap.jpg|250px]]|right|'''[[Sacred 2:Map of Ancaria|View the Ancaria Interactive Map]]'''}} | |
| − | {{S2frame|[[Image: | ||
|} | |} | ||
{|WIDTH="100%" | {|WIDTH="100%" | ||
|WIDTH="60%" VALIGN="TOP"| | |WIDTH="60%" VALIGN="TOP"| | ||
== Quick Walkthrough == | == Quick Walkthrough == | ||
| − | + | * Talk to Jeweler Finebond | |
| − | * | + | * Travel into the mountains and buy the jade from outlaws |
| − | * | + | * Return to Jeweler Finebond to collect your reward |
| − | * | + | |WIDTH="40%" VALIGN="TOP"|{{S2frame|[[Image:JadeCollier_FinebondCamera.jpg|500px]]}} |
| − | |WIDTH="40%" VALIGN="TOP"|{{S2frame|[[Image: | ||
|} | |} | ||
== Detailed Walkthrough == | == Detailed Walkthrough == | ||
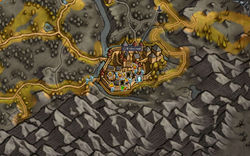
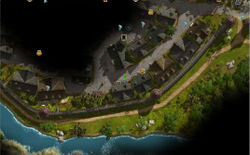
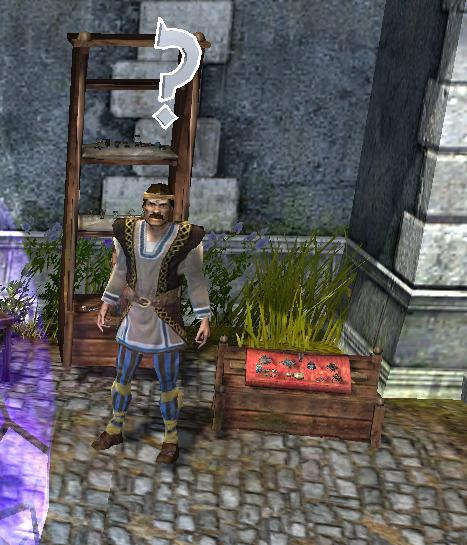
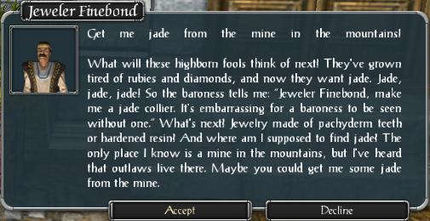
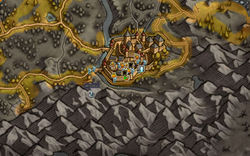
| − | + | You will find Jeweler Finebond near the southern wall of Griffinborough, just west of the blacksmith's forge. He needs jade and wants you to get him some. | |
| + | {{S2frame|[[Image:JadeCollier_Finebond1Dialog.jpg|430px]]|left}} | ||
| + | <br clear="both" /> | ||
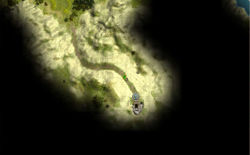
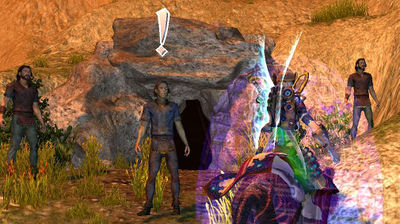
| − | + | You will have to travel into the mountains to get the jade. Head west out of Griffinborough and turn south at the Temple of the Gods. Follow the road into the mountains, and it will dead-end into a cave. Talk (twice) to the [[Sacred 2:Outlaw_Guard|Outlaw Guard]] guarding the cave. He will direct you into the cave to speak with [[Sacred 2:Kurt_the_Cunning|Kurt the Cunning]]. | |
| − | + | {{S2frame|[[Image:JadeCollier_OutlawGuardMap.jpg|250px]][[Image:JadeCollier_OutlawGuardTabMap.jpg|250px]]|left]]}} | |
| − | + | <br clear="both" /> | |
| − | + | {{S2frame|[[Image:JadeCollier_OutlawGuardCamera.jpg|400px]]|left}} | |
| − | + | <br clear="both" /> | |
| − | {{S2frame|[[Image: | + | {{S2frame|[[Image:JadeCollier_OutlawGuard1Dialog.jpg|430px]]|left}} |
| + | <br clear="both" /> | ||
| + | {{S2frame|[[Image:JadeCollier_OutlawGuard2Dialog.jpg|430px]]|left}} | ||
<br clear="both" /> | <br clear="both" /> | ||
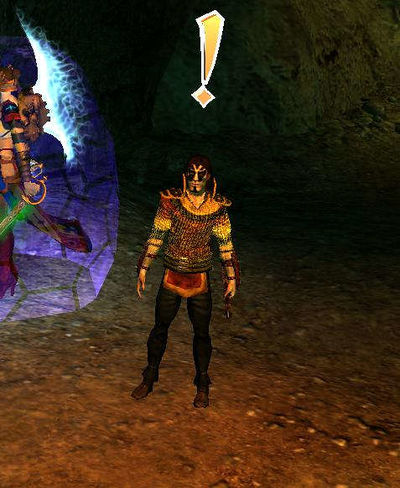
| − | + | In the back of the cave, you will find Kurt the Cunning. He will sell you the jade with no fuss (where is the fun in that!?!). | |
| − | {{S2frame|[[Image: | + | {{S2frame|[[Image:JadeCollier_KurtCamera.jpg|400px]]|left}} |
<br clear="both" /> | <br clear="both" /> | ||
| − | + | {{S2frame|[[Image:JadeCollier_KurtDialog.jpg|430px]]|left}} | |
| − | |||
| − | {{S2frame|[[Image: | ||
<br clear="both" /> | <br clear="both" /> | ||
| − | + | Now, it is a simple matter of returning the Griffinborough and talking to Jeweler Finebond in order to complete the quest. | |
| − | + | {{S2frame|[[Image:JadeCollier_Finebond2Dialog.jpg|430px]]|left}} | |
| − | |||
| − | |||
| − | |||
| − | |||
| − | |||
| − | {{S2frame|[[Image: | ||
<br clear="both" /> | <br clear="both" /> | ||
| − | |||
| − | |||
| − | |||
| − | |||
| − | |||
| − | |||
| − | |||
| − | |||
| − | |||
| − | |||
| − | |||
| − | |||
== Logbook Entry == | == Logbook Entry == | ||
| − | |||
{| | {| | ||
| − | |{{S2frame|[[Image: | + | |{{S2frame|[[Image:JadeCollier_Logbook.jpg|300px]]|left}} |
| − | |||
|} | |} | ||
== Notes == | == Notes == | ||
| − | |||
</div> | </div> | ||
| − | |||
[[Category:Sacred 2 Quest|{{PAGENAME}}]] | [[Category:Sacred 2 Quest|{{PAGENAME}}]] | ||
[[Category:Sacred 2 Side Quest|{{PAGENAME}}]] | [[Category:Sacred 2 Side Quest|{{PAGENAME}}]] | ||
| − | |||
| − | |||
| − | |||
| − | |||
| − | |||
| − | |||
| − | |||
Revision as of 01:57, 17 March 2011
|
| ||||||||||
Quick Walkthrough
|
| |||||||||
Detailed Walkthrough
You will find Jeweler Finebond near the southern wall of Griffinborough, just west of the blacksmith's forge. He needs jade and wants you to get him some.
|
| ||
You will have to travel into the mountains to get the jade. Head west out of Griffinborough and turn south at the Temple of the Gods. Follow the road into the mountains, and it will dead-end into a cave. Talk (twice) to the Outlaw Guard guarding the cave. He will direct you into the cave to speak with Kurt the Cunning.
|
| ||
|
| ||
|
| ||
|
| ||
In the back of the cave, you will find Kurt the Cunning. He will sell you the jade with no fuss (where is the fun in that!?!).
|
| ||
|
| ||
Now, it is a simple matter of returning the Griffinborough and talking to Jeweler Finebond in order to complete the quest.
|
| ||
Logbook Entry
| |||||||||
