Difference between revisions of "Sacred 2:Renders"
Jump to navigation
Jump to search
(→Logos: added god symbols) |
Gogoblender (talk | contribs) |
||
| (5 intermediate revisions by one other user not shown) | |||
| Line 1: | Line 1: | ||
{{Languages}} | {{Languages}} | ||
| − | *'''Note:''' As a free gift to fans of Sacred 2: Fallen Angel, cdv Software Entertainment USA and Ascaron Entertainment have made available an e-book of the game's "Art and Vision". This lushly illustrated e-book showcases hand-drawn character designs, renders and other artistic creations from the game's diverse universe, while also showcasing the progression of Sacred 2: Fallen Angel from an imaginative vision to an incredibly compelling RPG for next-generation consoles and PC. [ | + | *'''Note:''' As a free gift to fans of Sacred 2: Fallen Angel, cdv Software Entertainment USA and Ascaron Entertainment have made available an e-book of the game's "Art and Vision". This lushly illustrated e-book showcases hand-drawn character designs, renders and other artistic creations from the game's diverse universe, while also showcasing the progression of Sacred 2: Fallen Angel from an imaginative vision to an incredibly compelling RPG for next-generation consoles and PC. [https://darkmatters.org/forums/index.php?/files/file/309-art-and-vision-e-book/ Download the "Art and Vision" e-book] |
=='''Fallen Angel Renders'''== | =='''Fallen Angel Renders'''== | ||
===[[Sacred 2:Character Class|Character]] Backdrop Screens=== | ===[[Sacred 2:Character Class|Character]] Backdrop Screens=== | ||
| Line 183: | Line 183: | ||
|width="180px"|Seraphim Battle Armor | |width="180px"|Seraphim Battle Armor | ||
<center>{{S2frame|[[File:Seraphim Battle Armor.jpg|x160px]]|none}}</center> | <center>{{S2frame|[[File:Seraphim Battle Armor.jpg|x160px]]|none}}</center> | ||
| + | |||
| + | |width="180px"|Seraphim Battle Armor 2 | ||
| + | <center>{{S2frame|[[File:SACRED2 renderings background seraphim1.jpg|x160px]]|none}}</center> | ||
|width="180px"|Seraphim Black | |width="180px"|Seraphim Black | ||
| Line 190: | Line 193: | ||
<center>{{S2frame|[[File:Renderings seraphim gradient.jpg|x160px]]|none}}</center> | <center>{{S2frame|[[File:Renderings seraphim gradient.jpg|x160px]]|none}}</center> | ||
| + | |||
| + | |-valign="top" | ||
|width="180px"|Seraphim Logo | |width="180px"|Seraphim Logo | ||
<center>{{S2frame|[[File:Renderings seraphim 4.jpg|x160px]]|none}}</center> | <center>{{S2frame|[[File:Renderings seraphim 4.jpg|x160px]]|none}}</center> | ||
| − | |||
| − | |||
| − | |||
|width="180px"|Seraphim Victory | |width="180px"|Seraphim Victory | ||
| Line 208: | Line 210: | ||
<center>{{S2frame|[[File:Renderings SWdark black02.jpg|x160px]]|none}}</center> | <center>{{S2frame|[[File:Renderings SWdark black02.jpg|x160px]]|none}}</center> | ||
| + | |||
| + | |||
| + | |-valign="top" | ||
|width="180px"|Shadow Warrior Black 3 | |width="180px"|Shadow Warrior Black 3 | ||
<center>{{S2frame|[[File:Renderings SWdark black03.jpg|x160px]]|none}}</center> | <center>{{S2frame|[[File:Renderings SWdark black03.jpg|x160px]]|none}}</center> | ||
| − | |||
| − | |||
|width="180px"|Shadow Warrior Kill | |width="180px"|Shadow Warrior Kill | ||
<center>{{S2frame|[[File:Renderings SWdark black04.jpg|x160px]]|none}}</center> | <center>{{S2frame|[[File:Renderings SWdark black04.jpg|x160px]]|none}}</center> | ||
| Line 225: | Line 228: | ||
<center>{{S2frame|[[File:Temple Guardian Early.jpg|x160px]]|none}}</center> | <center>{{S2frame|[[File:Temple Guardian Early.jpg|x160px]]|none}}</center> | ||
| − | |||
| − | |||
|-valign="top" | |-valign="top" | ||
| + | |width="180px"|Temple Guardian Dungeon | ||
| + | <center>{{S2frame|[[File:SACRED2 renderings background TGdark.jpg|x160px]]|none}}</center> | ||
|width="180px"|Temple Guardian Flamethrower | |width="180px"|Temple Guardian Flamethrower | ||
| Line 253: | Line 256: | ||
|width="180px"|Dragon 2 | |width="180px"|Dragon 2 | ||
| − | <center>{{S2frame|[ | + | <center>{{S2frame|[https://www.sacredwiki.org/images/Sacred_2/Bestiary/dragon.jpg https://www.sacredwiki.org/images/Sacred_2/Bestiary/th_dragon.jpg]|}}</center> |
|width="180px"|[[Sacred 2:Dryads|Dryad]] Female | |width="180px"|[[Sacred 2:Dryads|Dryad]] Female | ||
| Line 281: | Line 284: | ||
|-valign="top" | |-valign="top" | ||
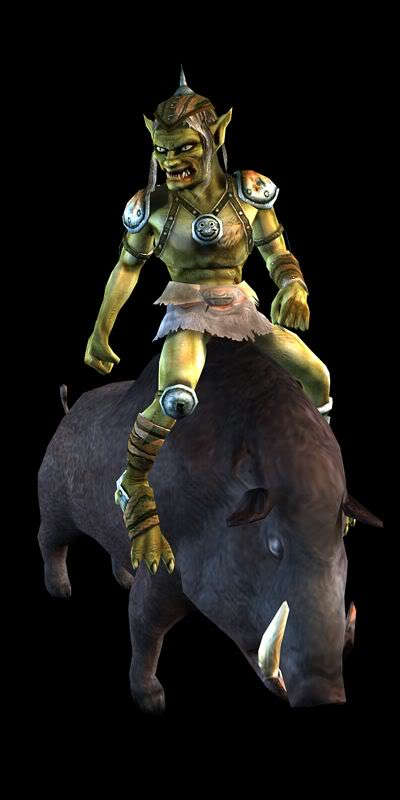
|width="180px"|[[Sacred 2:Goblin Boar Rider|Goblin Rider]] | |width="180px"|[[Sacred 2:Goblin Boar Rider|Goblin Rider]] | ||
| − | <center>{{S2frame|[ | + | <center>{{S2frame|[https://www.sacredwiki.org/images/Sacred_2/Bestiary/gob2.jpg https://www.sacredwiki.org/images/Sacred_2/Bestiary/th_gob2.jpg]|}}</center> |
|width="180px"|[[Sacred 2:Goblin Shaman|Goblin Shaman]] 1 | |width="180px"|[[Sacred 2:Goblin Shaman|Goblin Shaman]] 1 | ||
| Line 307: | Line 310: | ||
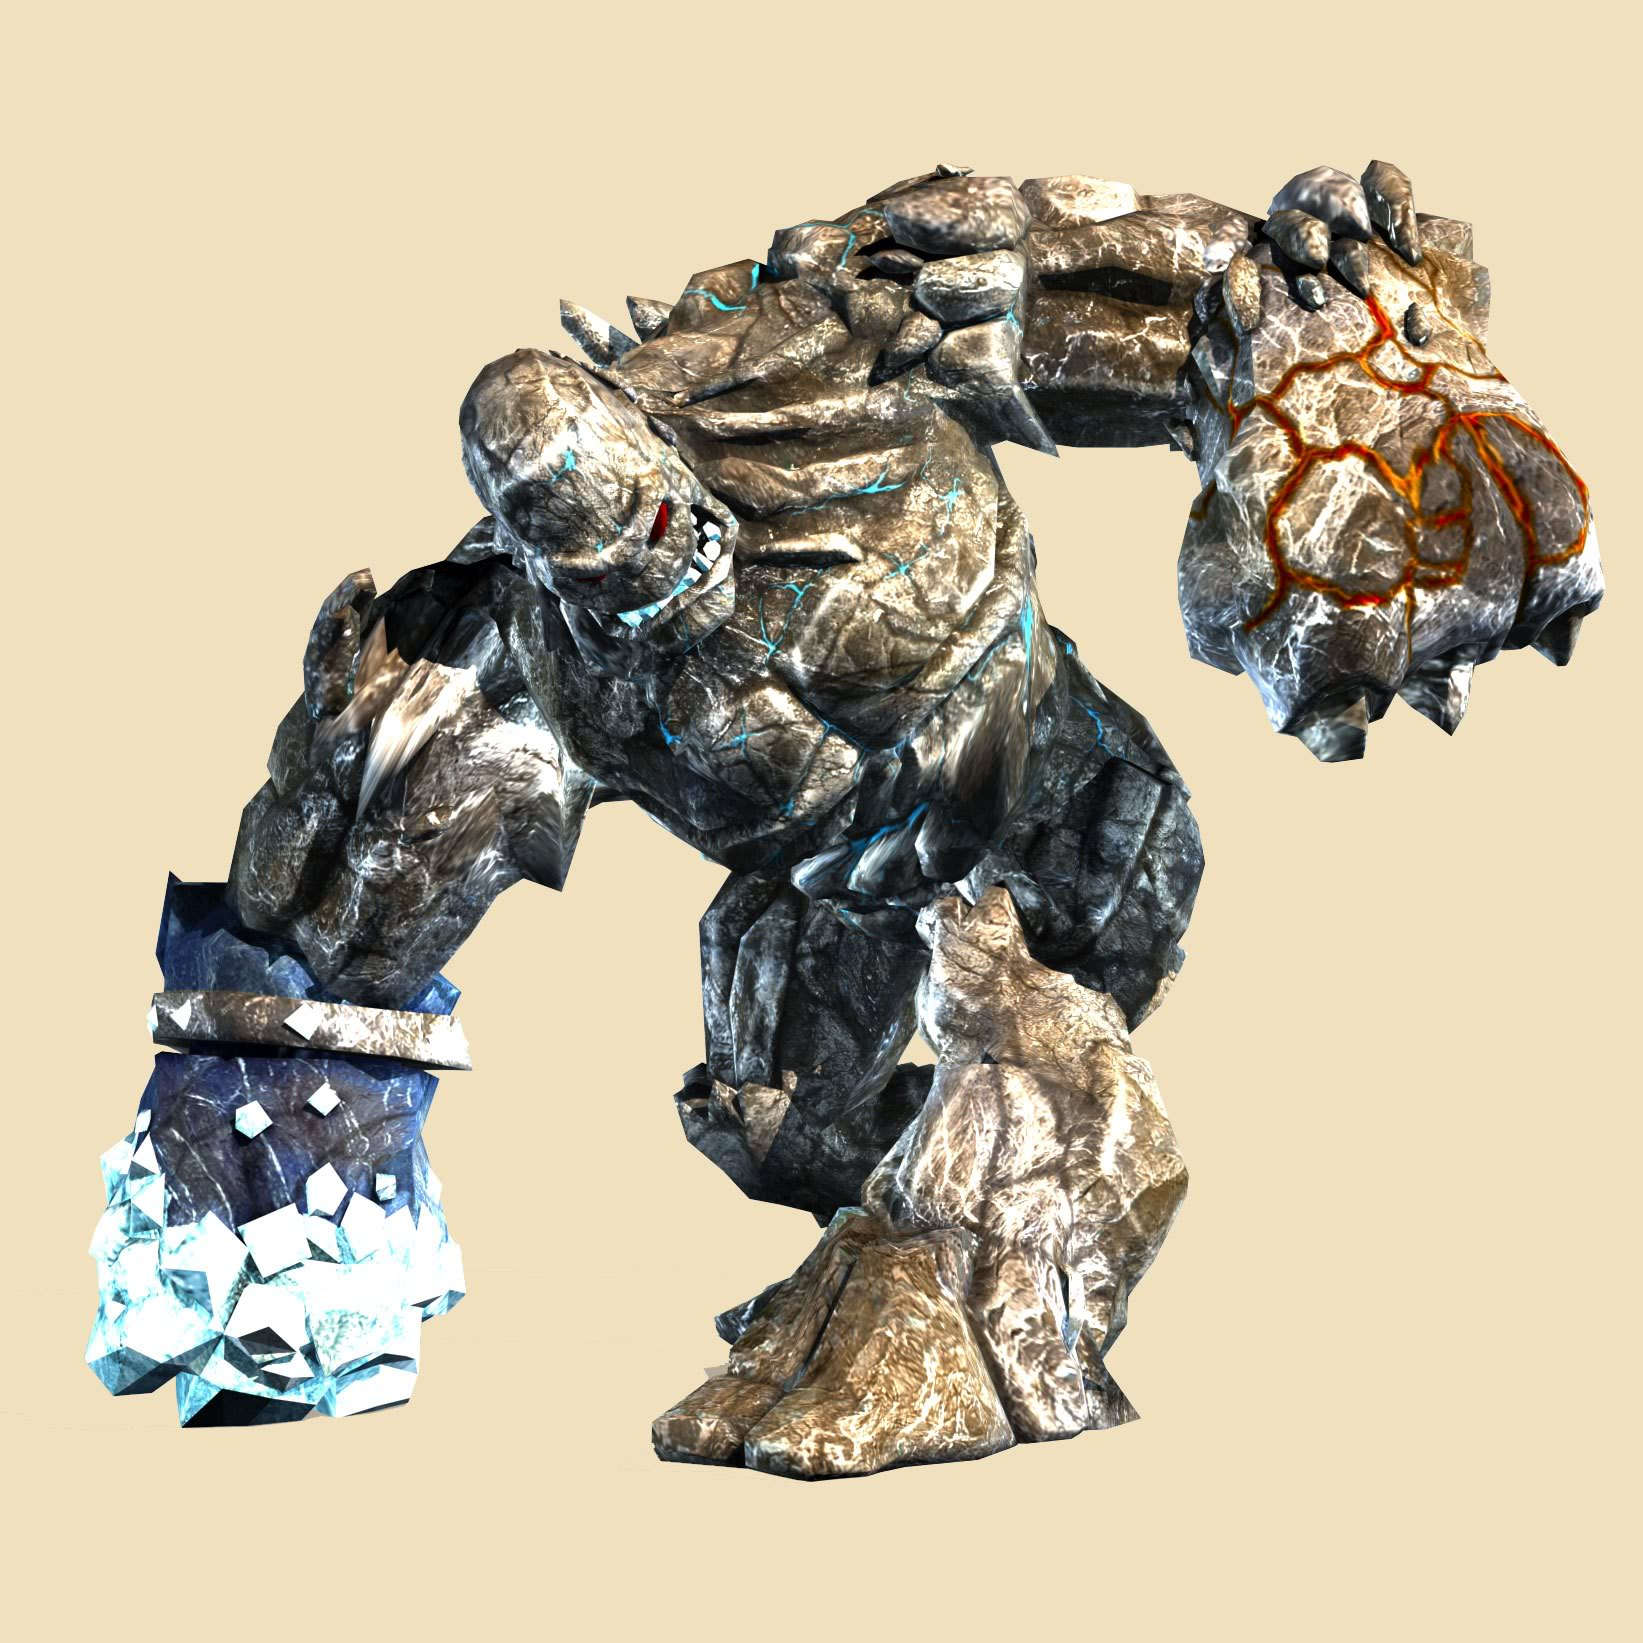
|width="180px"|Golem 3 | |width="180px"|Golem 3 | ||
| − | <center>{{S2frame|[ | + | <center>{{S2frame|[https://www.sacredwiki.org/images/Sacred_2/Bestiary/Golem.jpg https://www.sacredwiki.org/images/Sacred_2/Bestiary/th_Golem.jpg]|}}</center> |
|width="180px"|[[Sacred 2:Harpy|Harpy]] 1 | |width="180px"|[[Sacred 2:Harpy|Harpy]] 1 | ||
| Line 319: | Line 322: | ||
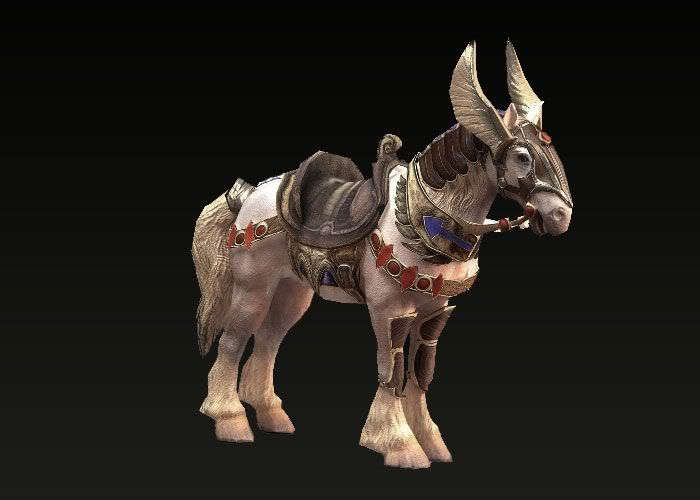
|width="180px"|[[Sacred 2:Horse|Horse]] | |width="180px"|[[Sacred 2:Horse|Horse]] | ||
| − | <center>{{S2frame|[ | + | <center>{{S2frame|[https://www.sacredwiki.org/images/Sacred_2/pony.jpg https://www.sacredwiki.org/images/Sacred_2/th_pony.jpg]|}}</center> |
|width="180px"|[[Sacred 2:Hell Hound|Hellhound]] | |width="180px"|[[Sacred 2:Hell Hound|Hellhound]] | ||
| Line 334: | Line 337: | ||
|-valign="top" | |-valign="top" | ||
|width="180px"|Kobold Chief 2 | |width="180px"|Kobold Chief 2 | ||
| − | <center>{{S2frame|[ | + | <center>{{S2frame|[https://www.sacredwiki.org/images/Sacred_2/Bestiary/koboldleader.jpg https://www.sacredwiki.org/images/Sacred_2/Bestiary/th_koboldleader.jpg]|}}</center> |
|width="180px"|[[Sacred 2:Kobold Archer|Kobold Hunter]] | |width="180px"|[[Sacred 2:Kobold Archer|Kobold Hunter]] | ||
| − | <center>{{S2frame|[ | + | <center>{{S2frame|[https://www.sacredwiki.org/images/Sacred_2/Bestiary/koboldhunter.jpg https://www.sacredwiki.org/images/Sacred_2/Bestiary/th_koboldhunter.jpg]|}}</center> |
|width="180px"|[[Sacred 2:Kobold Shaman|Kobold Mage]] | |width="180px"|[[Sacred 2:Kobold Shaman|Kobold Mage]] | ||
| Line 352: | Line 355: | ||
|-valign="top" | |-valign="top" | ||
|width="180px"|Lich 2 | |width="180px"|Lich 2 | ||
| − | <center>{{S2frame|[ | + | <center>{{S2frame|[https://www.sacredwiki.org/images/Sacred_2/Bestiary/Lichking2.jpg https://www.sacredwiki.org/images/Sacred_2/Bestiary/th_Lichking2.jpg]|}}</center> |
|width="180px"|[[Sacred 2:Lizardman Hunter|Lizardman Hunter]] | |width="180px"|[[Sacred 2:Lizardman Hunter|Lizardman Hunter]] | ||
| Line 358: | Line 361: | ||
|width="180px"|Lizardman Hunter 2 | |width="180px"|Lizardman Hunter 2 | ||
| − | <center>{{S2frame|[ | + | <center>{{S2frame|[https://www.sacredwiki.org/images/Sacred_2/Bestiary/Lizardmenhunter2.jpg https://www.sacredwiki.org/images/Sacred_2/Bestiary/th_Lizardmenhunter2.jpg]|}}</center> |
|width="180px"|[[Sacred 2:Mummy|Mummy]] 1 | |width="180px"|[[Sacred 2:Mummy|Mummy]] 1 | ||
| Line 364: | Line 367: | ||
|width="180px"|Mummy 2 | |width="180px"|Mummy 2 | ||
| − | <center>{{S2frame|[ | + | <center>{{S2frame|[https://www.sacredwiki.org/images/Sacred_2/Bestiary/Mummie1_.jpg https://www.sacredwiki.org/images/Sacred_2/Bestiary/th_Mummie1_.jpg]|}}</center> |
| Line 372: | Line 375: | ||
|width="180px"|Mummy 4 | |width="180px"|Mummy 4 | ||
| − | <center>{{S2frame|[ | + | <center>{{S2frame|[https://www.sacredwiki.org/images/Sacred_2/Bestiary/Mumie2.jpg https://www.sacredwiki.org/images/Sacred_2/Bestiary/th_Mumie2.jpg]|}}</center> |
|width="180px"|[[Sacred 2:Ogre Champion|Ogre Champion]] | |width="180px"|[[Sacred 2:Ogre Champion|Ogre Champion]] | ||
| Line 378: | Line 381: | ||
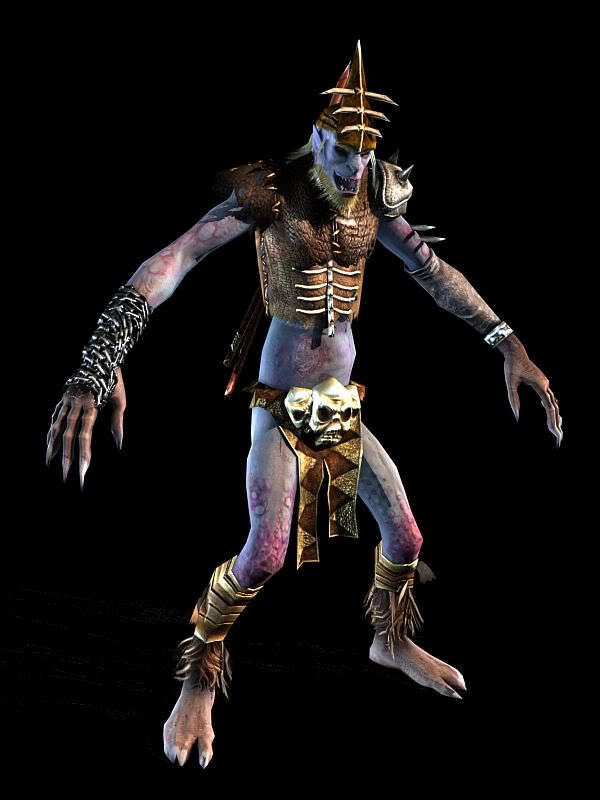
|width="180px"|[[Sacred 2:Orc Champion|Orc Officer]] | |width="180px"|[[Sacred 2:Orc Champion|Orc Officer]] | ||
| − | <center>{{S2frame|[ | + | <center>{{S2frame|[https://www.sacredwiki.org/images/Sacred_2/Bestiary/Orc_officer.jpg https://www.sacredwiki.org/images/Sacred_2/Bestiary/th_Orc_officer.jpg]|}}</center> |
|width="180px"|[[Sacred 2:Orc Shaman|Orc Shaman]] | |width="180px"|[[Sacred 2:Orc Shaman|Orc Shaman]] | ||
| Line 386: | Line 389: | ||
|-valign="top" | |-valign="top" | ||
|width="180px"|[[Sacred 2:Orc Warrior|Orc Warrior]] | |width="180px"|[[Sacred 2:Orc Warrior|Orc Warrior]] | ||
| − | <center>{{S2frame|[ | + | <center>{{S2frame|[https://www.sacredwiki.org/images/Sacred_2/Bestiary/Orc_warrior.jpg https://www.sacredwiki.org/images/Sacred_2/Bestiary/th_Orc_warrior.jpg]|}}</center> |
|width="180px"|[[Sacred 2:Armed Orc Warrior|Orc Elite Warrior]] | |width="180px"|[[Sacred 2:Armed Orc Warrior|Orc Elite Warrior]] | ||
| Line 392: | Line 395: | ||
|width="180px"|Orc Elite Warrior 2 | |width="180px"|Orc Elite Warrior 2 | ||
| − | <center>{{S2frame|[ | + | <center>{{S2frame|[https://www.sacredwiki.org/images/Sacred_2/Bestiary/Orc_armored_warrior.jpg https://www.sacredwiki.org/images/Sacred_2/Bestiary/th_Orc_armored_warrior.jpg]|}}</center> |
|width="180px"|[[Sacred 2:Undead Centurion|Skeleton Champion]] | |width="180px"|[[Sacred 2:Undead Centurion|Skeleton Champion]] | ||
| Line 398: | Line 401: | ||
|width="180px"|Skeleton Champion 2 | |width="180px"|Skeleton Champion 2 | ||
| − | <center>{{S2frame|[ | + | <center>{{S2frame|[https://www.sacredwiki.org/images/Sacred_2/Bestiary/Skeleton_Champion.jpg https://www.sacredwiki.org/images/Sacred_2/Bestiary/th_Skeleton_Champion.jpg]|}}</center> |
| Line 406: | Line 409: | ||
|width="180px"|Skeleton Mage 2 | |width="180px"|Skeleton Mage 2 | ||
| − | <center>{{S2frame|[ | + | <center>{{S2frame|[https://www.sacredwiki.org/images/Sacred_2/Bestiary/Skeleton_Mage.jpg https://www.sacredwiki.org/images/Sacred_2/Bestiary/th_Skeleton_Mage.jpg]|}}</center> |
|width="180px"|[[Sacred 2:Scorpion|Scorpion]] | |width="180px"|[[Sacred 2:Scorpion|Scorpion]] | ||
| Line 415: | Line 418: | ||
|width="180px"|Troll 2 | |width="180px"|Troll 2 | ||
| − | <center>{{S2frame|[ | + | <center>{{S2frame|[https://www.sacredwiki.org/images/Sacred_2/Bestiary/Troll1.jpg http://www.sacredwiki.org/images/Sacred_2/Bestiary/th_Troll1.jpg]|}}</center> |
| Line 423: | Line 426: | ||
|width="180px"|Troll 4 | |width="180px"|Troll 4 | ||
| − | <center>{{S2frame|[ | + | <center>{{S2frame|[https://www.sacredwiki.org/images/Sacred_2/Bestiary/Troll2.jpg https://www.sacredwiki.org/images/Sacred_2/Bestiary/th_Troll2.jpg]|}}</center> |
|width="180px"|Troll 5 | |width="180px"|Troll 5 | ||
| − | <center>{{S2frame|[ | + | <center>{{S2frame|[https://www.sacredwiki.org/images/Sacred_2/Bestiary/trolls2.jpg https://www.sacredwiki.org/images/Sacred_2/Bestiary/th_trolls2.jpg]|}}</center> |
|width="180px"|[[Sacred 2:Mountain Troll Chieftain|Troll Chieftain]] | |width="180px"|[[Sacred 2:Mountain Troll Chieftain|Troll Chieftain]] | ||
| − | <center>{{S2frame|[ | + | <center>{{S2frame|[https://www.sacredwiki.org/images/Sacred_2/Bestiary/trolls3.jpg https://www.sacredwiki.org/images/Sacred_2/Bestiary/th_trolls3.jpg]|}}</center> |
|width="180px"|[[Sacred 2:Mountain Troll Archer|Troll Archer]] | |width="180px"|[[Sacred 2:Mountain Troll Archer|Troll Archer]] | ||
| − | <center>{{S2frame|[ | + | <center>{{S2frame|[https://www.sacredwiki.org/images/Sacred_2/Bestiary/trolls4.jpg https://www.sacredwiki.org/images/Sacred_2/Bestiary/th_trolls4.jpg]|}}</center> |
| Line 440: | Line 443: | ||
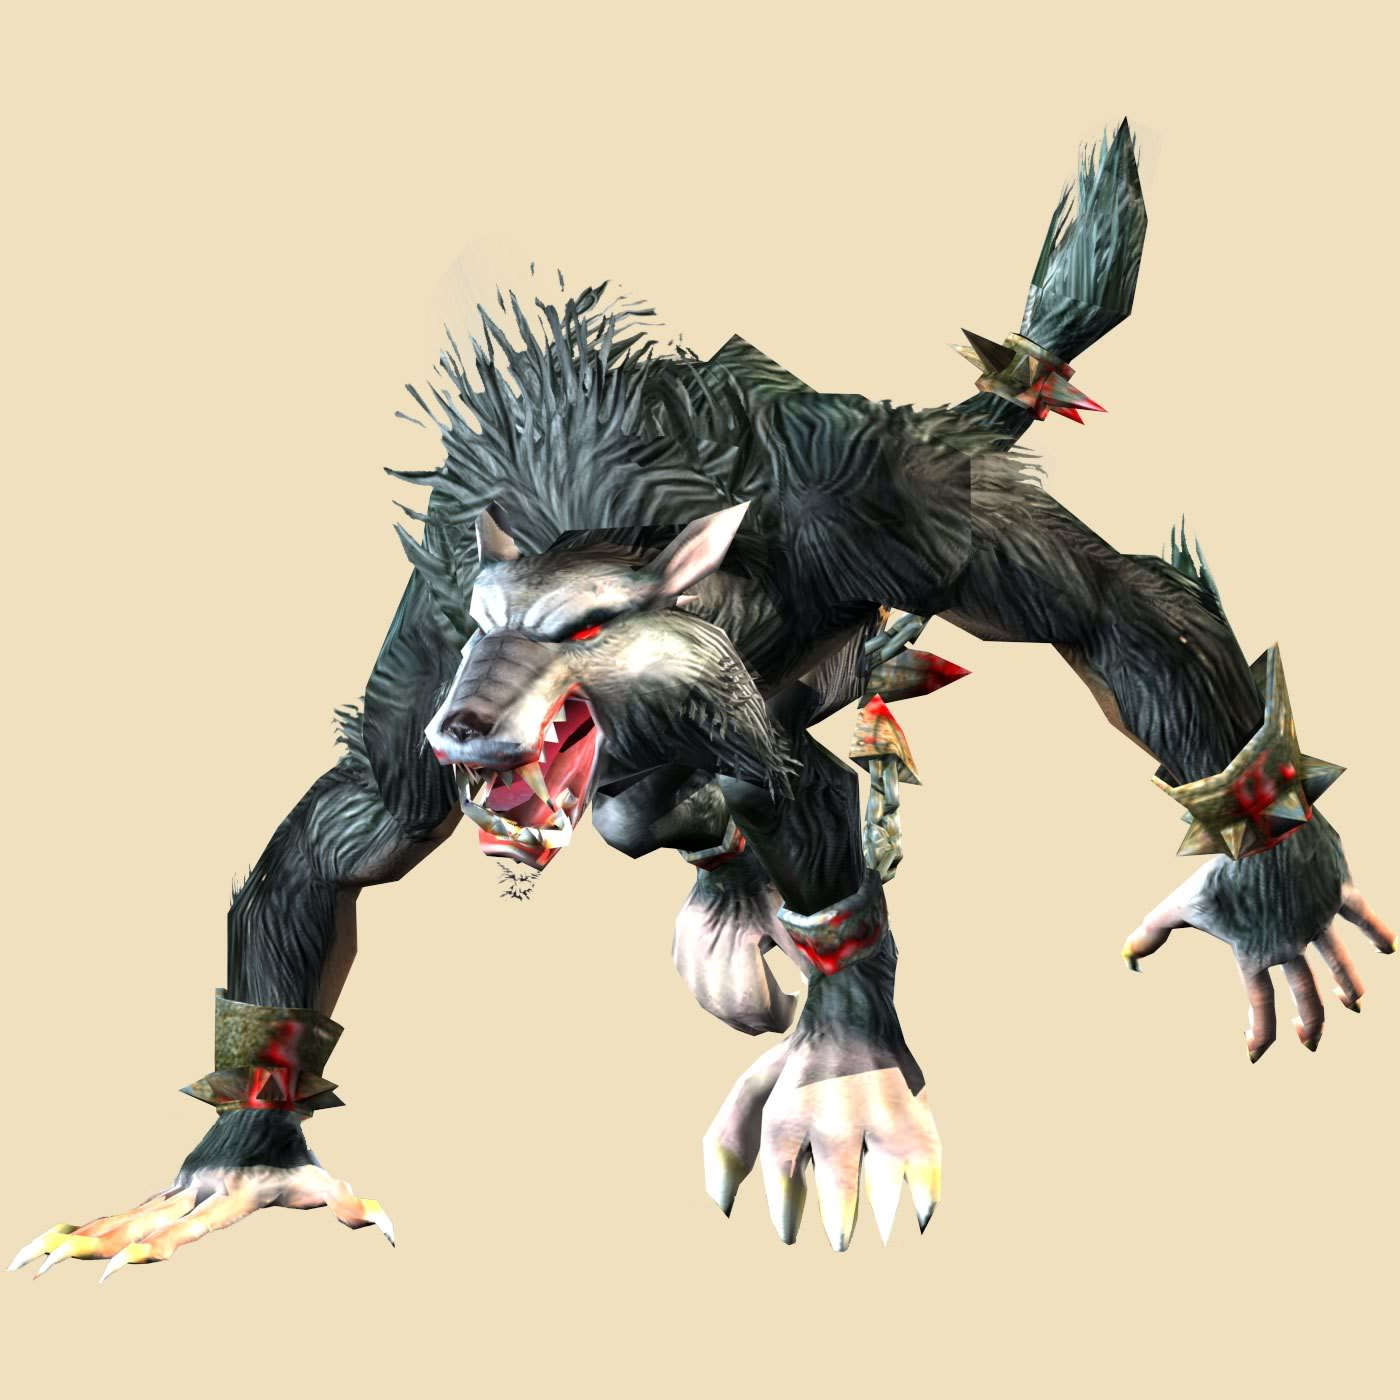
|width="180px"|Werewolf 2 | |width="180px"|Werewolf 2 | ||
| − | <center>{{S2frame|[ | + | <center>{{S2frame|[https://www.sacredwiki.org/images/Sacred_2/Bestiary/Werewolf.jpg https://www.sacredwiki.org/images/Sacred_2/Bestiary/th_Werewolf.jpg]|}}</center> |
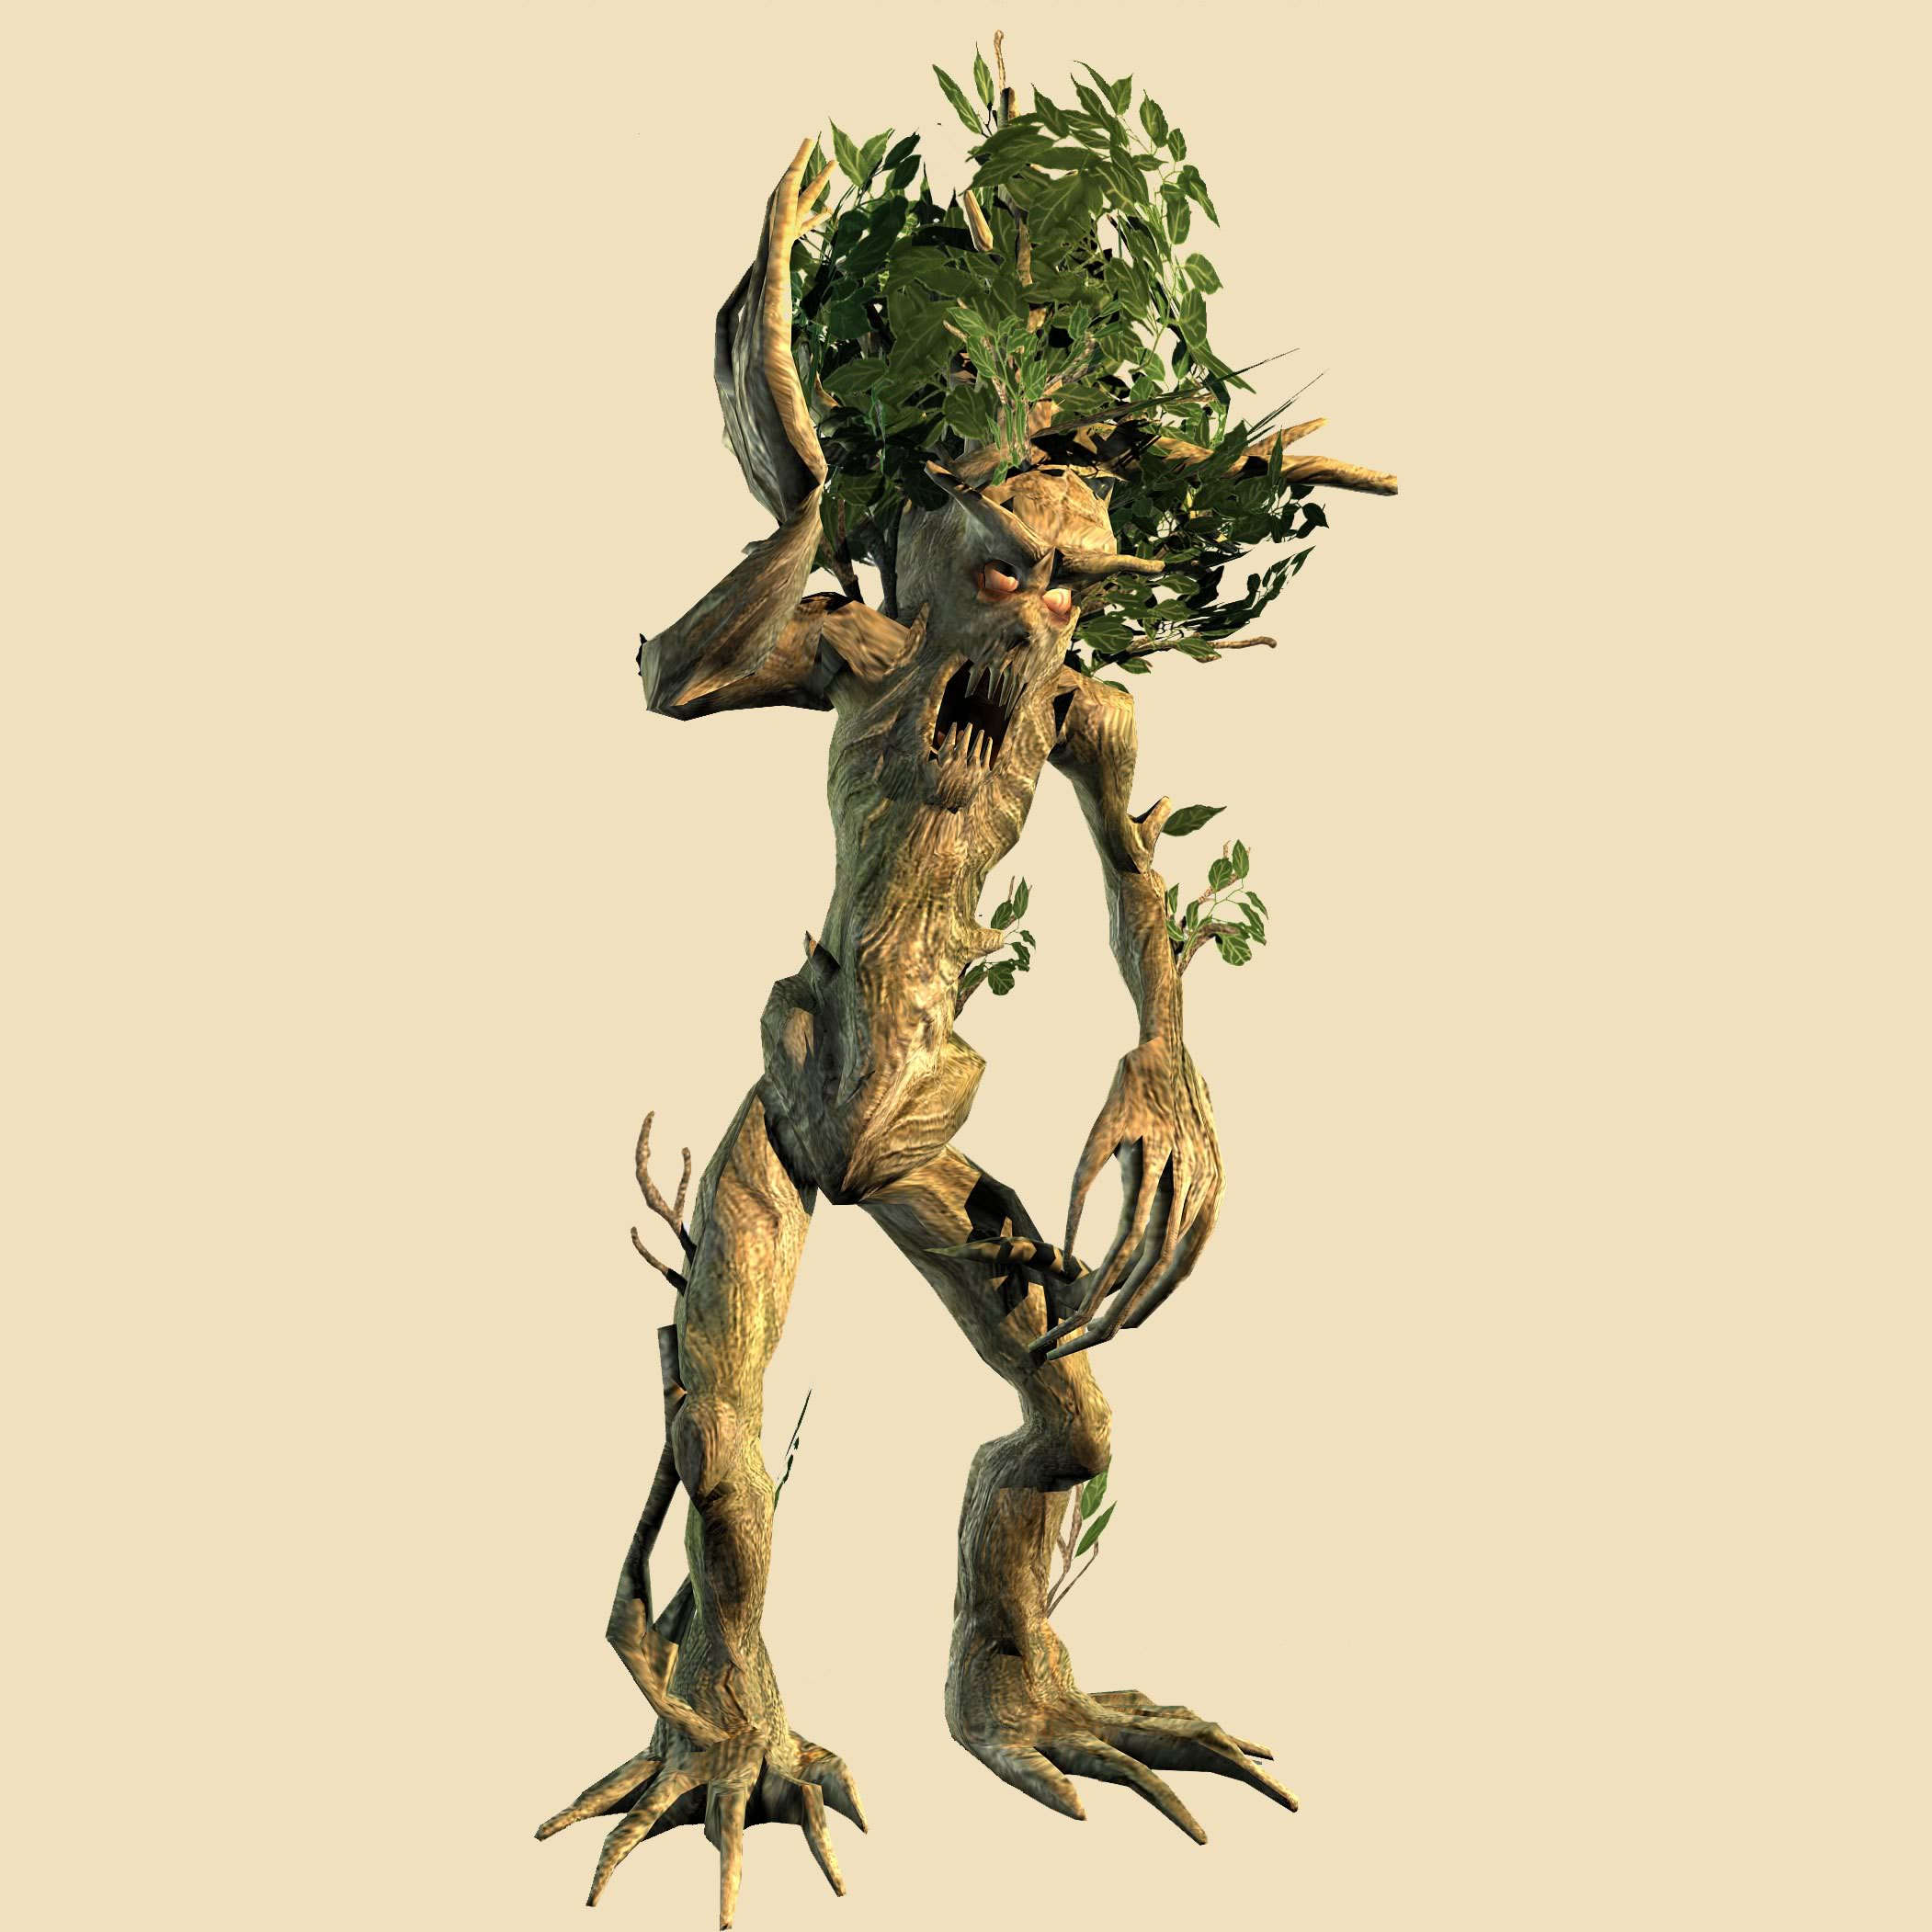
|width="180px"|[[Sacred 2:Tree Spirit|Wood Creature]] | |width="180px"|[[Sacred 2:Tree Spirit|Wood Creature]] | ||
| Line 446: | Line 449: | ||
|width="180px"|Wood Creature 2 | |width="180px"|Wood Creature 2 | ||
| − | <center>{{S2frame|[ | + | <center>{{S2frame|[https://www.sacredwiki.org/images/Sacred_2/Bestiary/Woodcreature.jpg https://www.sacredwiki.org/images/Sacred_2/Bestiary/th_Woodcreature.jpg]|}}</center> |
| + | |||
| + | |width="180px"|[[Sacred 2:Garganthropod|Garganthropod]] | ||
| + | <center>{{S2frame|[[File:Garganthropod official render.jpg|x160px]]|none}}</center> | ||
|} | |} | ||
| Line 468: | Line 474: | ||
|-valign="top" | |-valign="top" | ||
| − | |width="180px"|[[Sacred 2:Bows|Bows]] | + | |width="180px"|[[Sacred 2:Long Bows|Bows]] |
<center>{{S2frame|[[File:Sacred2 Bows.jpg|x140px]]|none}}</center> | <center>{{S2frame|[[File:Sacred2 Bows.jpg|x140px]]|none}}</center> | ||
| Line 675: | Line 681: | ||
<center>{{S2frame|[[File:Dmfull.jpg|x160px]]|none}}</center> | <center>{{S2frame|[[File:Dmfull.jpg|x160px]]|none}}</center> | ||
| − | |width="180px"|Dragon | + | |width="180px"|Dragon Berserk |
| − | <center>{{S2frame|[[File: | + | <center>{{S2frame|[[ File:Dm dberserk.jpg|x160px]]|none}}</center> |
|width="180px"|Dragon Mage Backdrop | |width="180px"|Dragon Mage Backdrop | ||
<center>{{S2frame|[[File:DM Loading Screen.jpg|x160px]]|none}}</center> | <center>{{S2frame|[[File:DM Loading Screen.jpg|x160px]]|none}}</center> | ||
| + | |width="180px"|Dragon Logo | ||
| + | <center>{{S2frame|[[File:Artwork dragon mage icon.jpg|x160px]]|none}}</center> | ||
| + | |} | ||
| + | {|valign="top" width="100%" padding="10px" style="font-size:1em;font-weight:bold;text-align:center" | ||
|-valign="top" | |-valign="top" | ||
|width="180px"|Dragon Mage on [[Sacred 2:Draconicon|Draconicon]] | |width="180px"|Dragon Mage on [[Sacred 2:Draconicon|Draconicon]] | ||
<center>{{S2frame|[[File:Dragon Mage Mounted.jpg|x160px]]|none}}</center> | <center>{{S2frame|[[File:Dragon Mage Mounted.jpg|x160px]]|none}}</center> | ||
| − | |||
| − | |||
| − | |||
|width="180px"|[[Sacred 2:Carrier Imp|Carrier Imp]] | |width="180px"|[[Sacred 2:Carrier Imp|Carrier Imp]] | ||
<center>{{S2frame|[[File:Addon imp.jpg|x160px]]|none}}</center> | <center>{{S2frame|[[File:Addon imp.jpg|x160px]]|none}}</center> | ||
| − | |width="180px"|Dragon | + | |width="180px"|Dragon Mage in the [[Sacred 2:Cursed Forest|Blood Forest]] |
| − | <center>{{S2frame|[[ File: | + | <center>{{S2frame|[[File:Dragonmage bloodforest.jpg|x160px]]|none}}</center> |
| + | |||
| + | |width="180px"|Demon Flyer | ||
| + | <center>{{S2frame|[[File:Demon Flyer Render.jpg|x160px]]|none}}</center> | ||
|} | |} | ||
| Line 785: | Line 795: | ||
|width="180px"|[[Sacred 2:Kybele|Kybele]] | |width="180px"|[[Sacred 2:Kybele|Kybele]] | ||
| − | <center>{{S2frame|[ | + | <center>{{S2frame|[[File:KybeleBook.jpg|x180px]]|none}}</center> |
|width="180px"|[[Sacred 2:Testa|Testa]] | |width="180px"|[[Sacred 2:Testa|Testa]] | ||
| − | <center>{{S2frame|[ | + | <center>{{S2frame|[[File:TestaBook.jpg|x180px]]|none}}</center> |
|width="180px"|[[Sacred 2:Kuan|Kuan]] | |width="180px"|[[Sacred 2:Kuan|Kuan]] | ||
| − | <center>{{S2frame|[ | + | <center>{{S2frame|[[File:KuanBook.jpg|x180px]]|none}}</center> |
|width="180px"|[[Sacred 2:Forens|Forens]] | |width="180px"|[[Sacred 2:Forens|Forens]] | ||
| − | <center>{{S2frame|[ | + | <center>{{S2frame|[[File:ForensBook.jpg|x180px]]|none}}</center> |
|width="180px"|[[Sacred 2:Lumen|Lumen]] | |width="180px"|[[Sacred 2:Lumen|Lumen]] | ||
| − | <center>{{S2frame|[[File:Lumen book pic.jpg| | + | <center>{{S2frame|[[File:Lumen book pic.jpg|x180px]]|none}}</center> |
|width="180px"|[[Sacred 2:Ker|Ker]] | |width="180px"|[[Sacred 2:Ker|Ker]] | ||
| − | <center>{{S2frame|[[File:Ker book pic.jpg| | + | <center>{{S2frame|[[File:Ker book pic.jpg|x180px]]|none}}</center> |
|} | |} | ||
Latest revision as of 19:26, 23 April 2023
- Note: As a free gift to fans of Sacred 2: Fallen Angel, cdv Software Entertainment USA and Ascaron Entertainment have made available an e-book of the game's "Art and Vision". This lushly illustrated e-book showcases hand-drawn character designs, renders and other artistic creations from the game's diverse universe, while also showcasing the progression of Sacred 2: Fallen Angel from an imaginative vision to an incredibly compelling RPG for next-generation consoles and PC. Download the "Art and Vision" e-book
Fallen Angel Renders
Character Backdrop Screens
Dryad Backdrop
|
Dryad Backdrop 2
|
High Elf Backdrop 1
|
High Elf Backdrop 2
| ||||||||||||||||||||||||||||||||||||


Inquisitor Backdrop
|
Seraphim Backdrop
|
Shadow Warrior Backdrop
|
Temple Guardian Backdrop 1
| ||||||||||||||||||||||||||||||||||||


Temple Guardian Backdrop 2
| |||||||||

Character "Paths" Portraits
Dryad Light
|
Dryad Shadow
|
High Elf Light
|
High Elf Shadow
|
Inquisitor
| |||||||||||||||||||||||||||||||||||||||||||||


Seraphim
|
Shadow Warrior Light
|
Shadow Warrior Shadow
|
Temple Guardian Light
|
Temple Guardian Shadow
| |||||||||||||||||||||||||||||||||||||||||||||


Character "Cartoon" Renders
 |
 |
 |
 |
 |
 |
High Resolution Character Portraits
Dryad
|
High Elf
|
Inquisitor
|
Seraphim
|
Shadow Warrior
|
Temple Guardian
| ||||||||||||||||||||||||||||||||||||||||||||||||||||||


Various Character Renders
Dryad Dungeon
|
Dryad Dungeon 2
|
High Elf Logo
|
High Elf Light Logo
|
High Elf Background 1
| |||||||||||||||||||||||||||||||||||||||||||||
High Elf Background 2
|
High Elf Background 3
|
High Elf Black
|
Inquisitor Black
|
Inquisitor Lightning
| |||||||||||||||||||||||||||||||||||||||||||||
Seraphim Battle
|
Seraphim Battle Armor
|
Seraphim Battle Armor 2
|
Seraphim Black
|
Seraphim Gradient
| |||||||||||||||||||||||||||||||||||||||||||||
Seraphim Logo
|
Seraphim Victory
|
Shadow Warrior Logo
|
Shadow Warrior Black 1
|
Shadow Warrior Black 2
| |||||||||||||||||||||||||||||||||||||||||||||
Shadow Warrior Black 3
|
Shadow Warrior Kill
|
Shadow Warrior Crypt
|
Shadow Warrior Dungeon
|
Temple Guardian
| |||||||||||||||||||||||||||||||||||||||||||||
Temple Guardian Dungeon
|
Temple Guardian Flamethrower
|
Temple Guardian Black
|
Temple Guardian Rust
| ||||||||||||||||||||||||||||||||||||||||||||||


Creatures
Blood Dryad
|
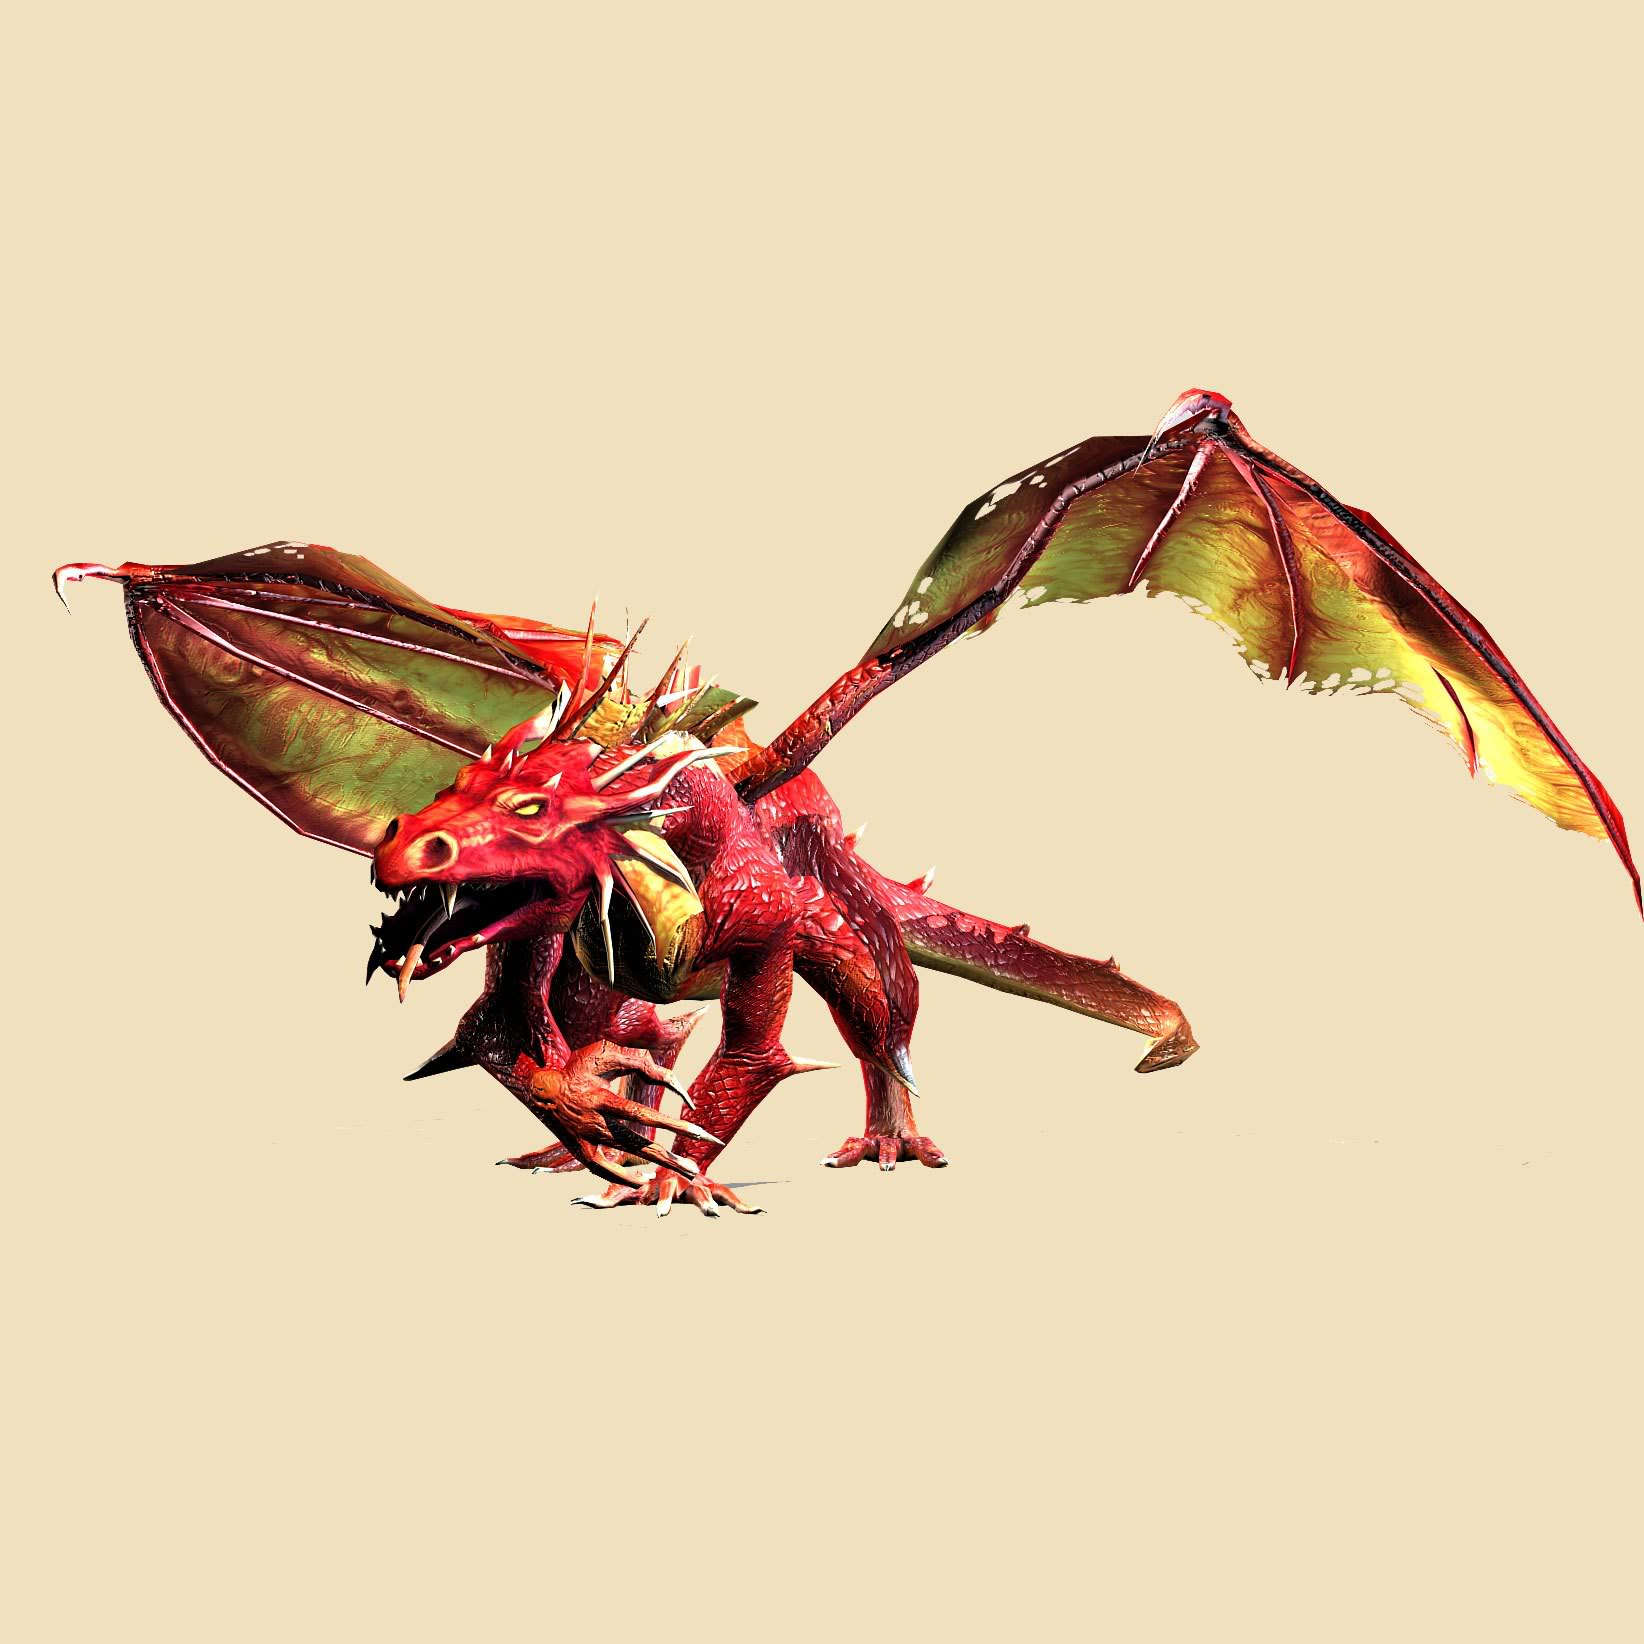
Dragon
|
Dragon 2
|
Dryad Female
|
Dryad Female Models
| |||||||||||||||||||||||||||||||||||||||||||||
Ghost
|
Goblin Hunter 1
|
Goblin Hunter 2
|
Goblin Officer 1
|
Goblin Officer 2
| |||||||||||||||||||||||||||||||||||||||||||||
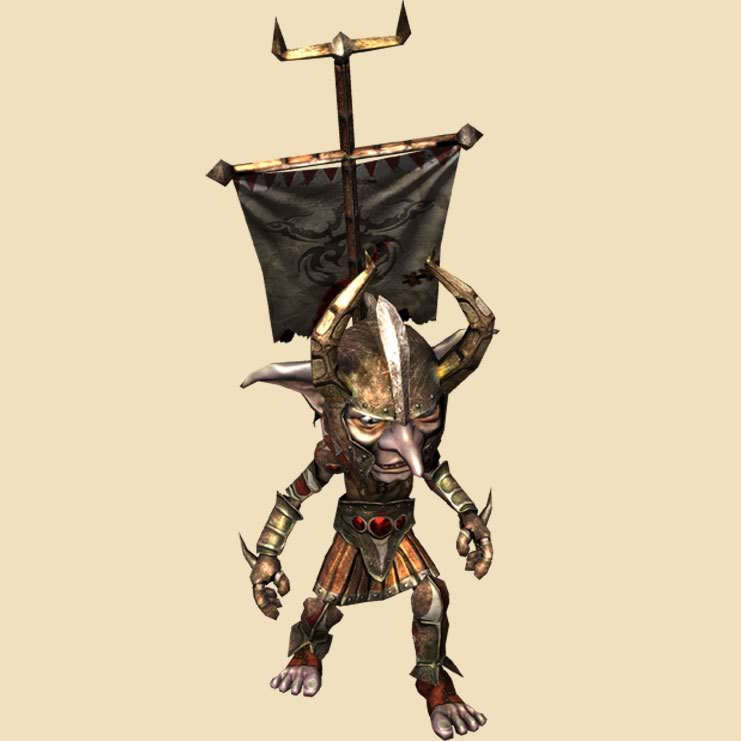
Goblin Rider
|
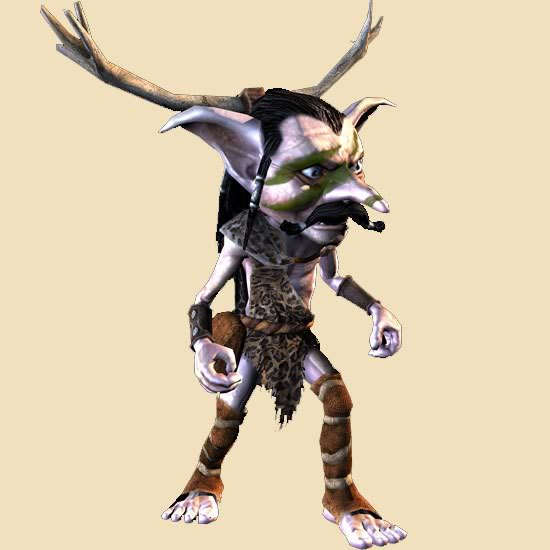
Goblin Shaman 1
|
Goblin Shaman 2
|
Goblin Warrior 1
|
Goblin Warrior 2
| |||||||||||||||||||||||||||||||||||||||||||||
Goblin Warrior 3
|
Golem 1
|
Golem 2
|
Golem 3
|
Harpy 1
| |||||||||||||||||||||||||||||||||||||||||||||
Harpy 2
|
Horse
|
Hellhound
|
Kobold
|
Kobold Chief
| |||||||||||||||||||||||||||||||||||||||||||||
Kobold Chief 2
|
Kobold Hunter
|
Kobold Mage
|
Kobold Warrior
|
Lich
| |||||||||||||||||||||||||||||||||||||||||||||
Lich 2
|
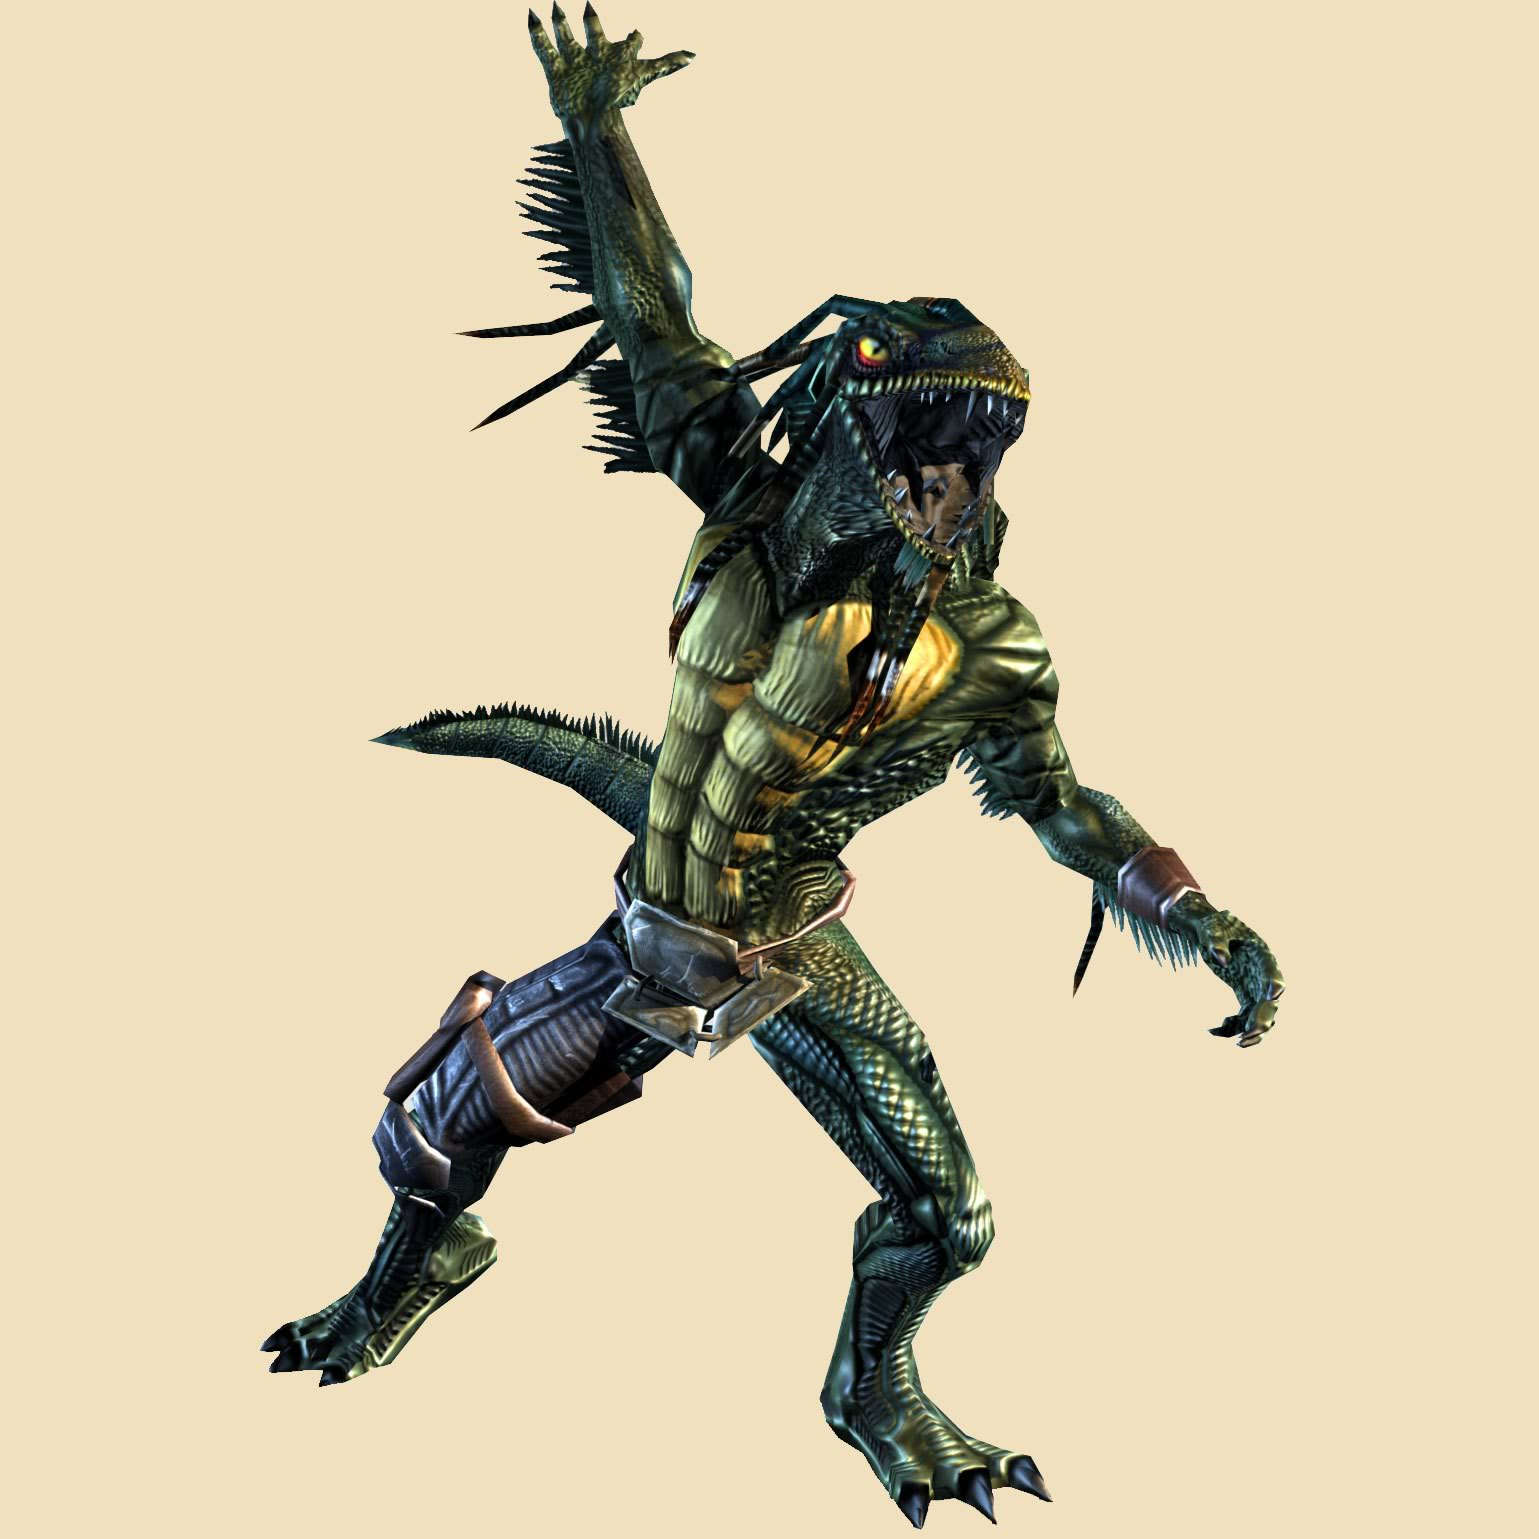
Lizardman Hunter
|
Lizardman Hunter 2
|
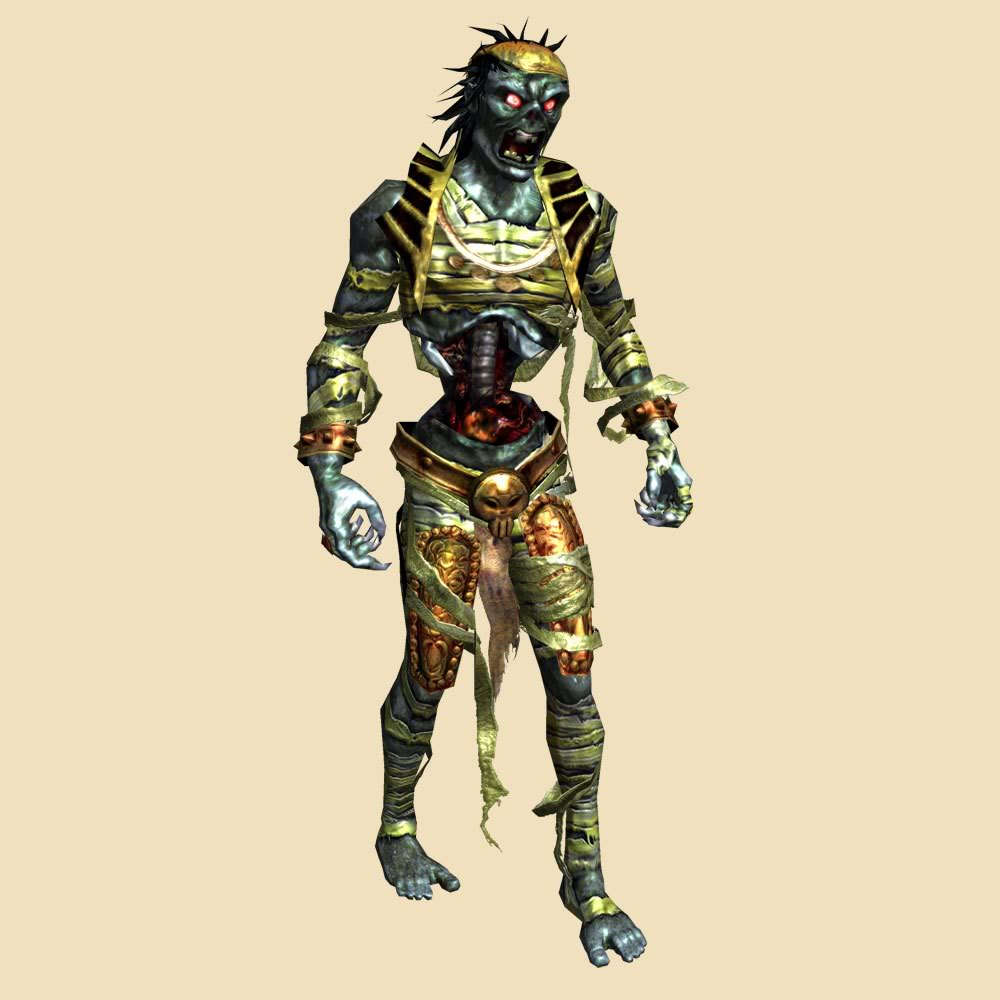
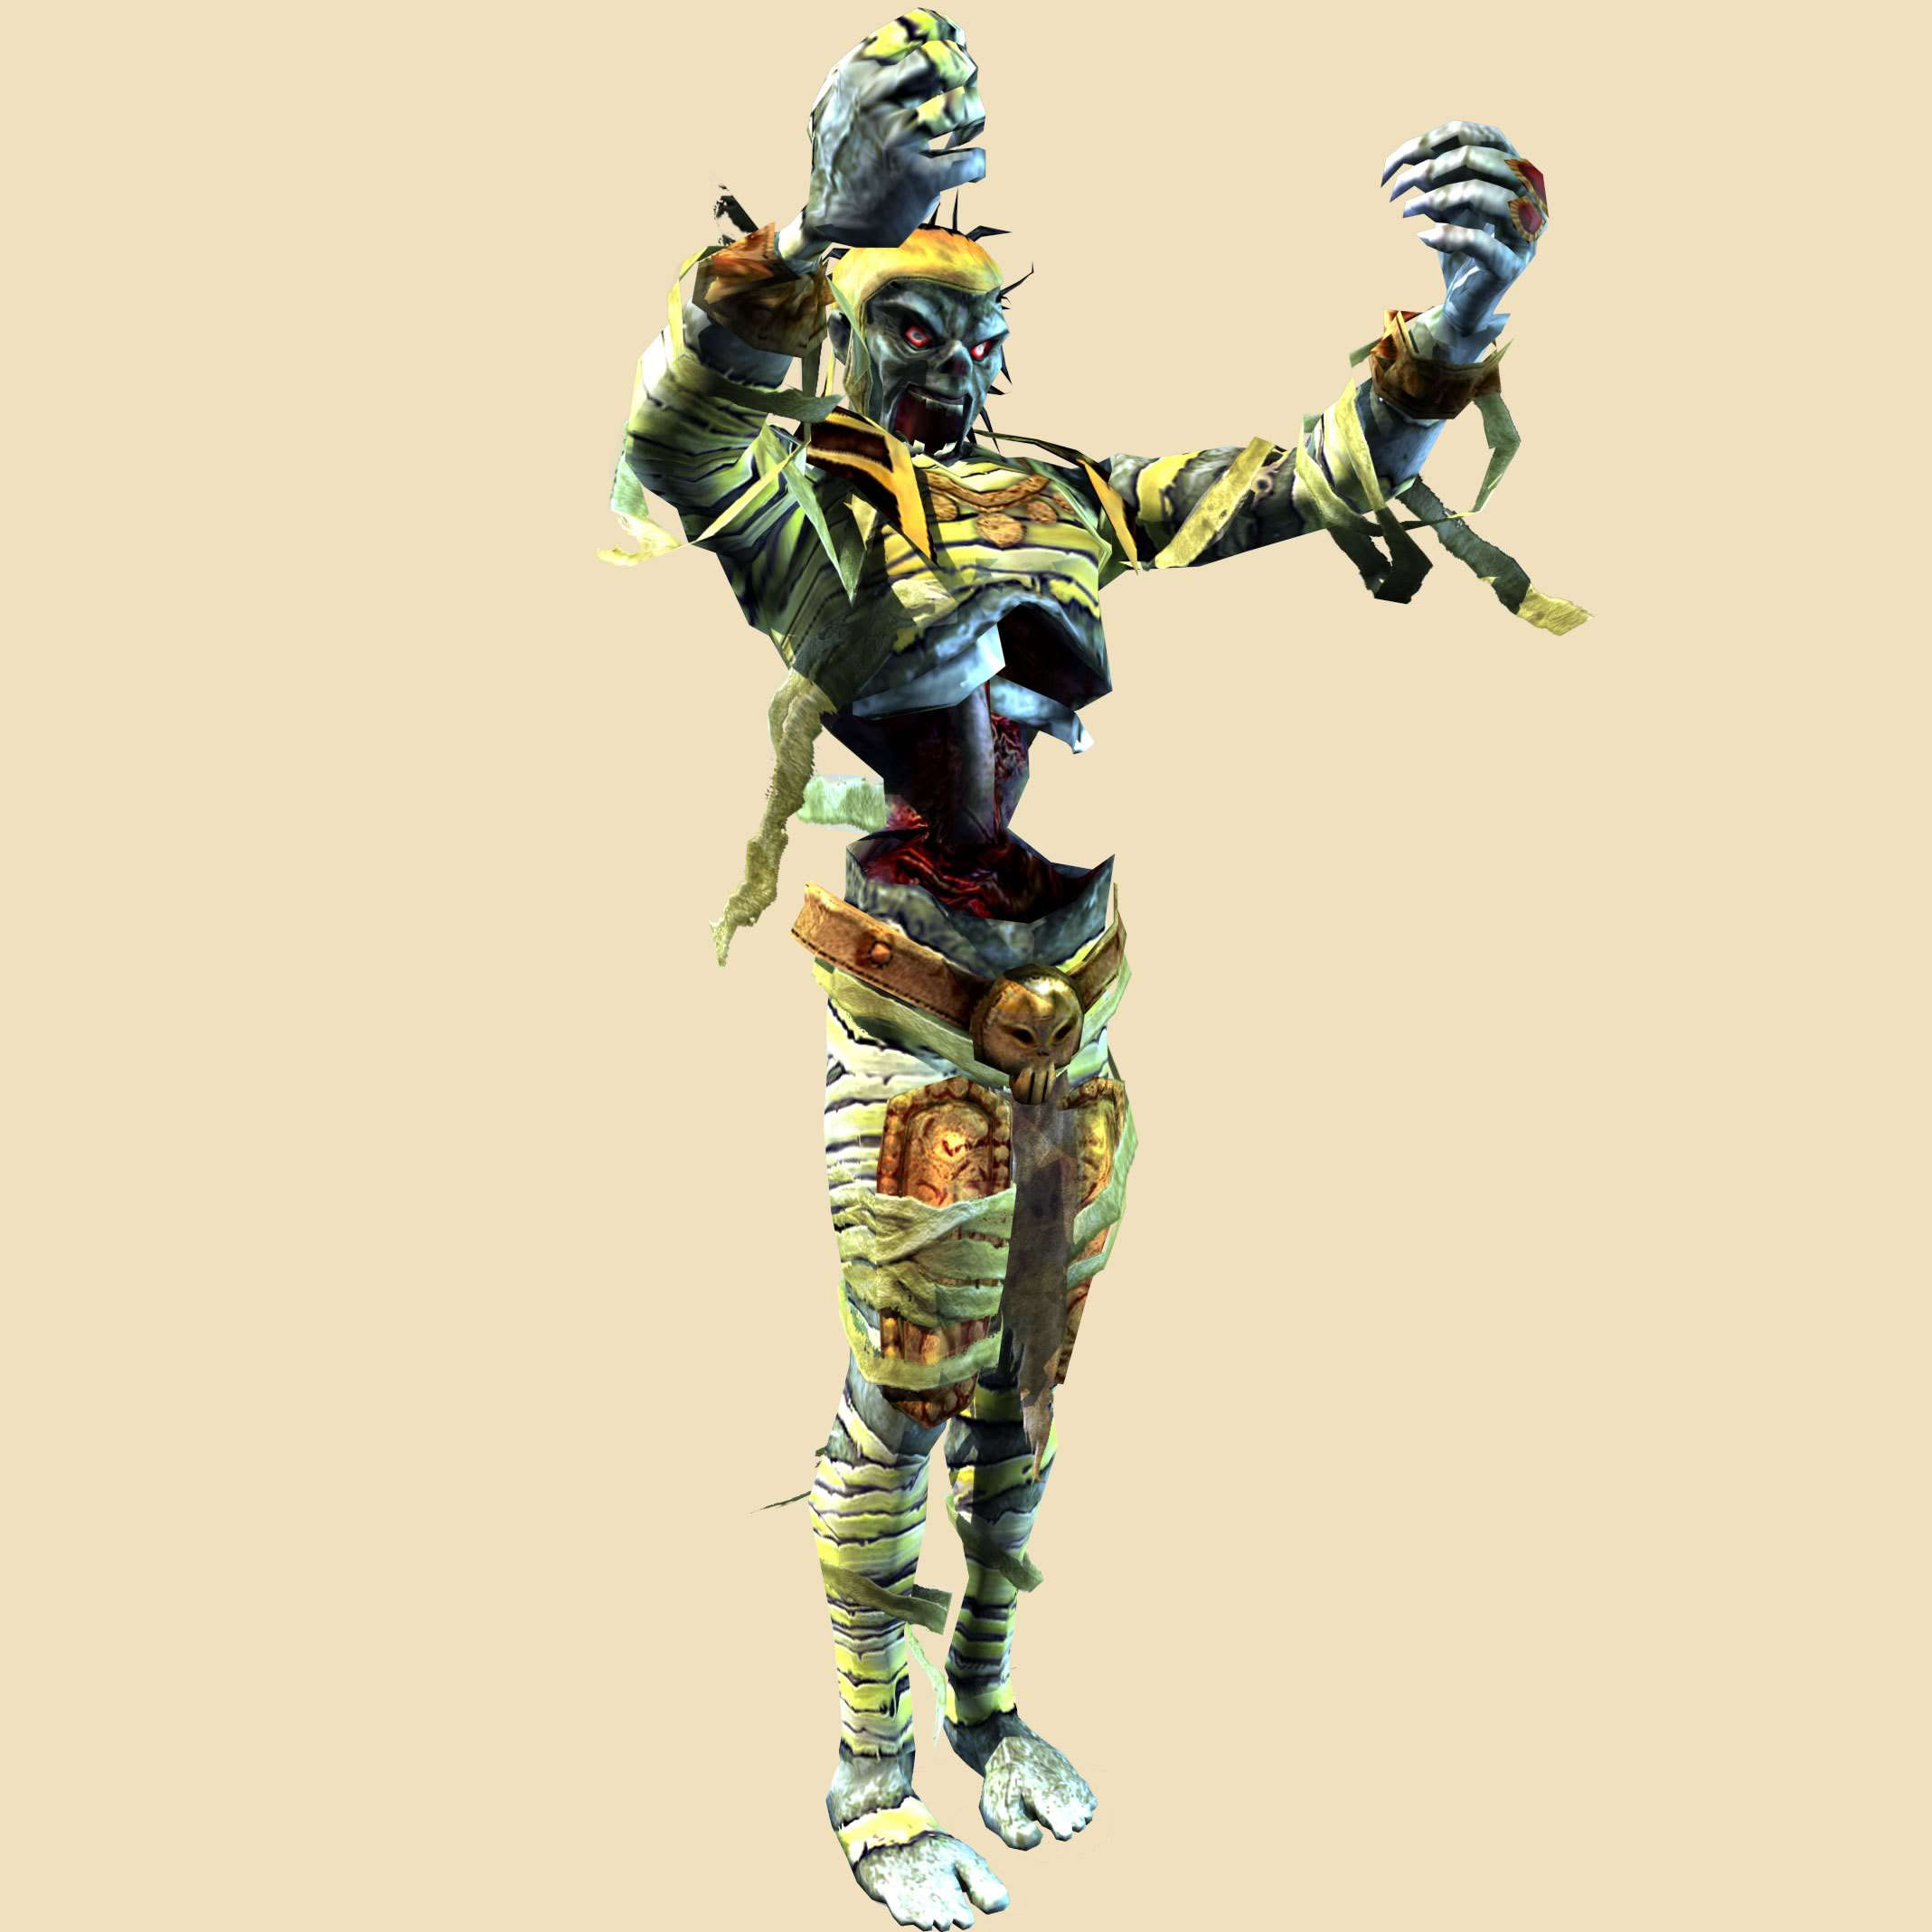
Mummy 1
|
Mummy 2
| |||||||||||||||||||||||||||||||||||||||||||||
Mummy 3
|
Mummy 4
|
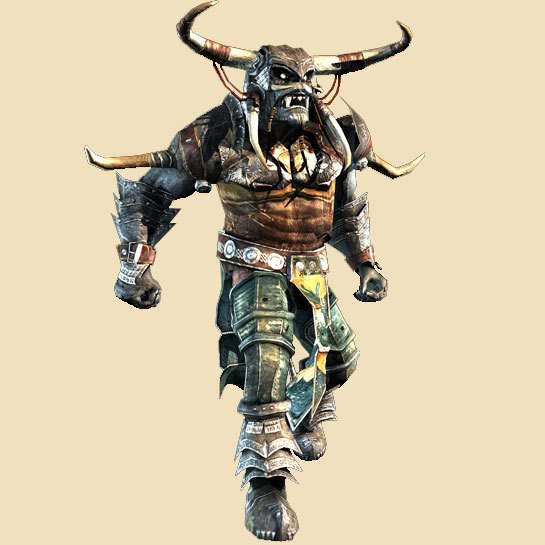
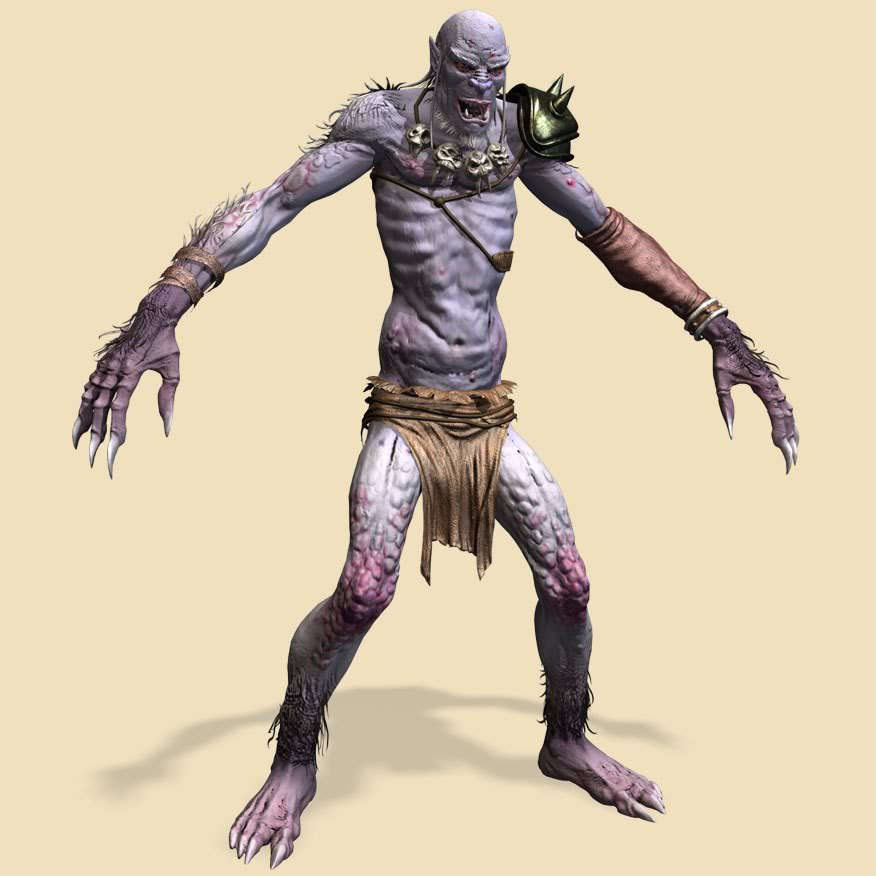
Ogre Champion
|
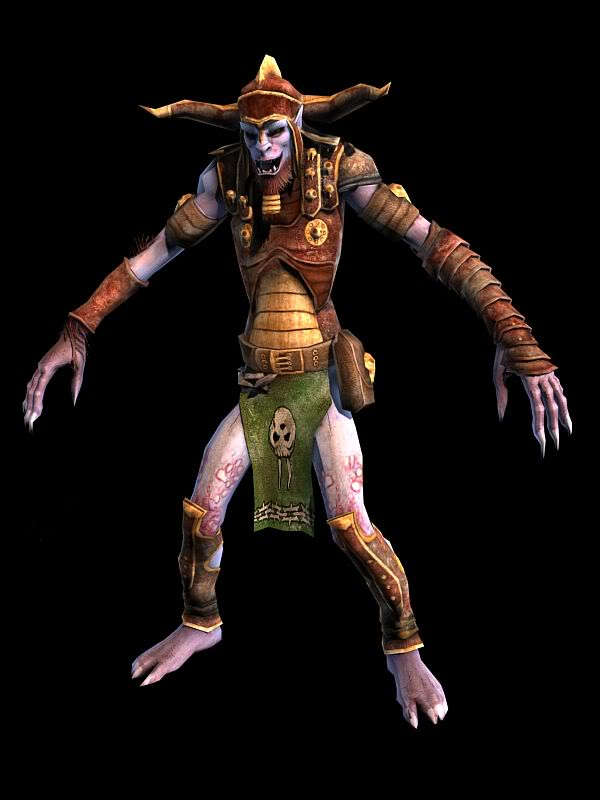
Orc Officer
|
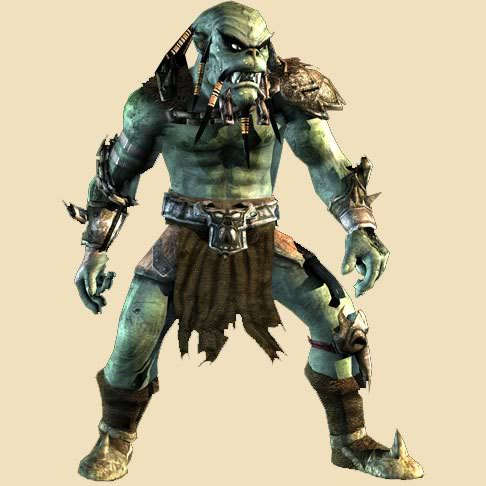
Orc Shaman
| |||||||||||||||||||||||||||||||||||||||||||||
Orc Warrior
|
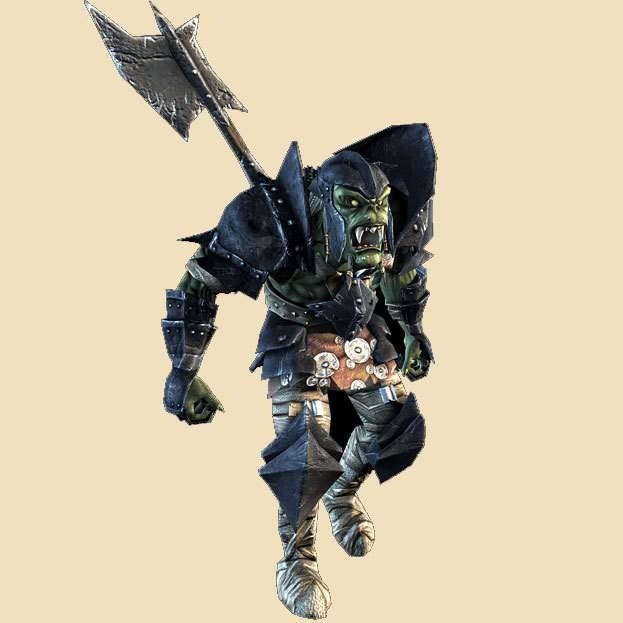
Orc Elite Warrior
|
Orc Elite Warrior 2
|
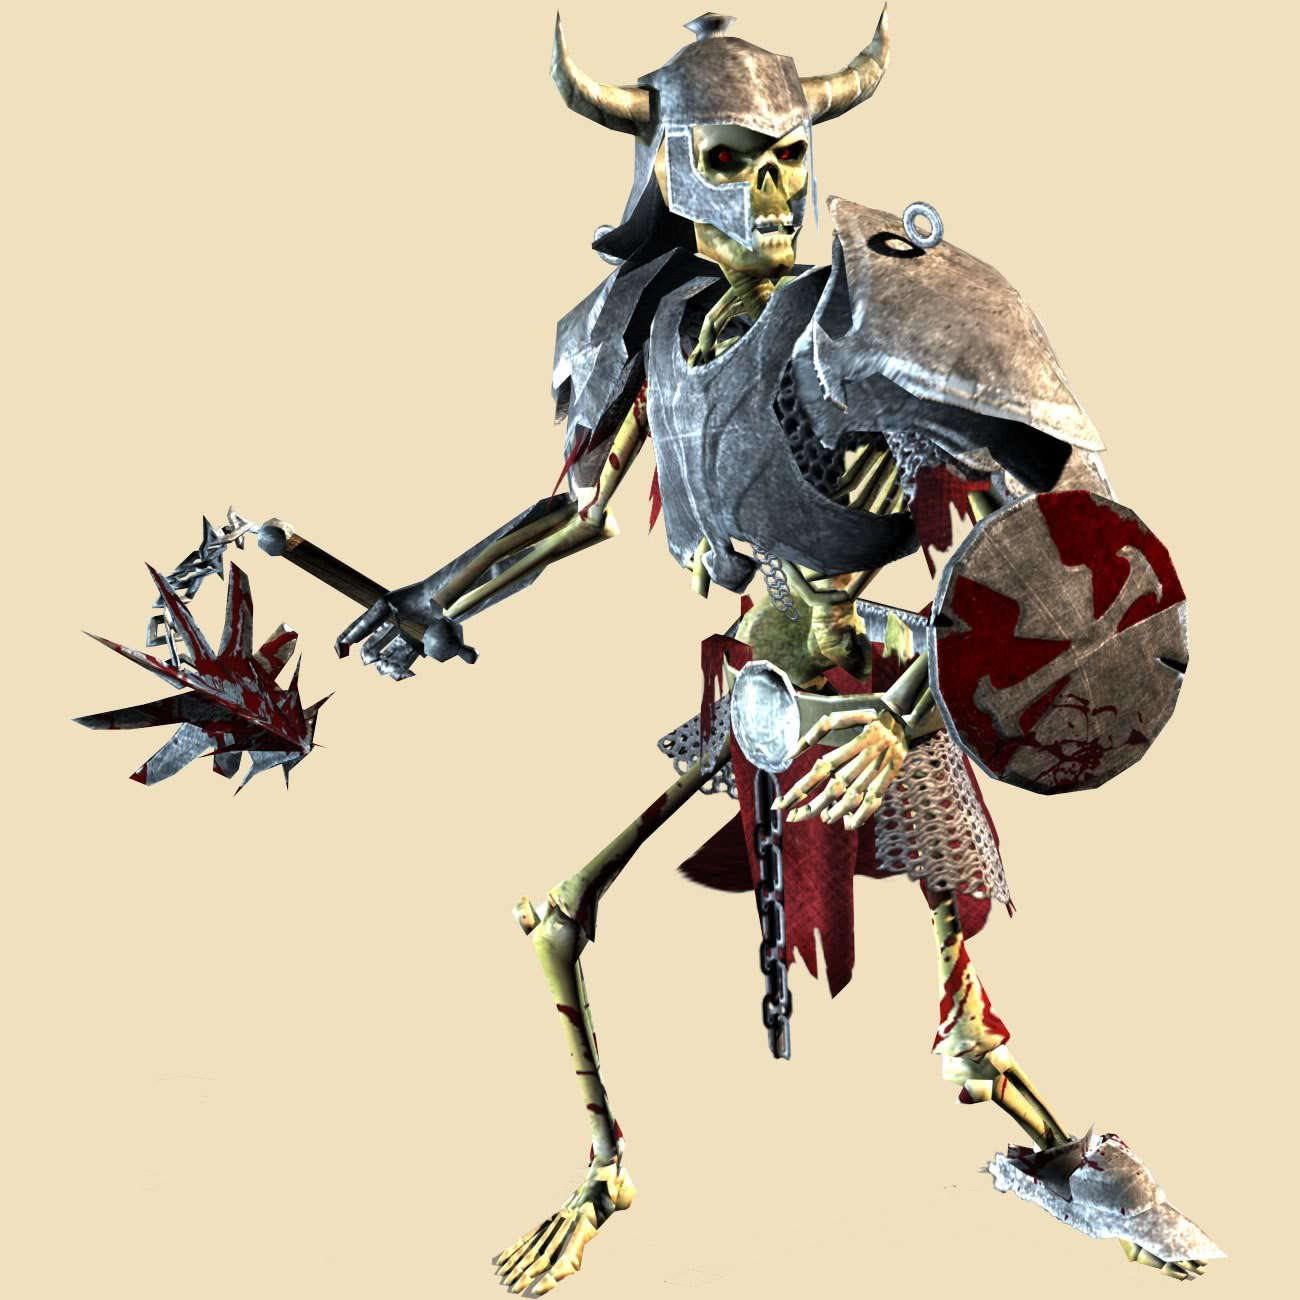
Skeleton Champion
|
Skeleton Champion 2
| |||||||||||||||||||||||||||||||||||||||||||||
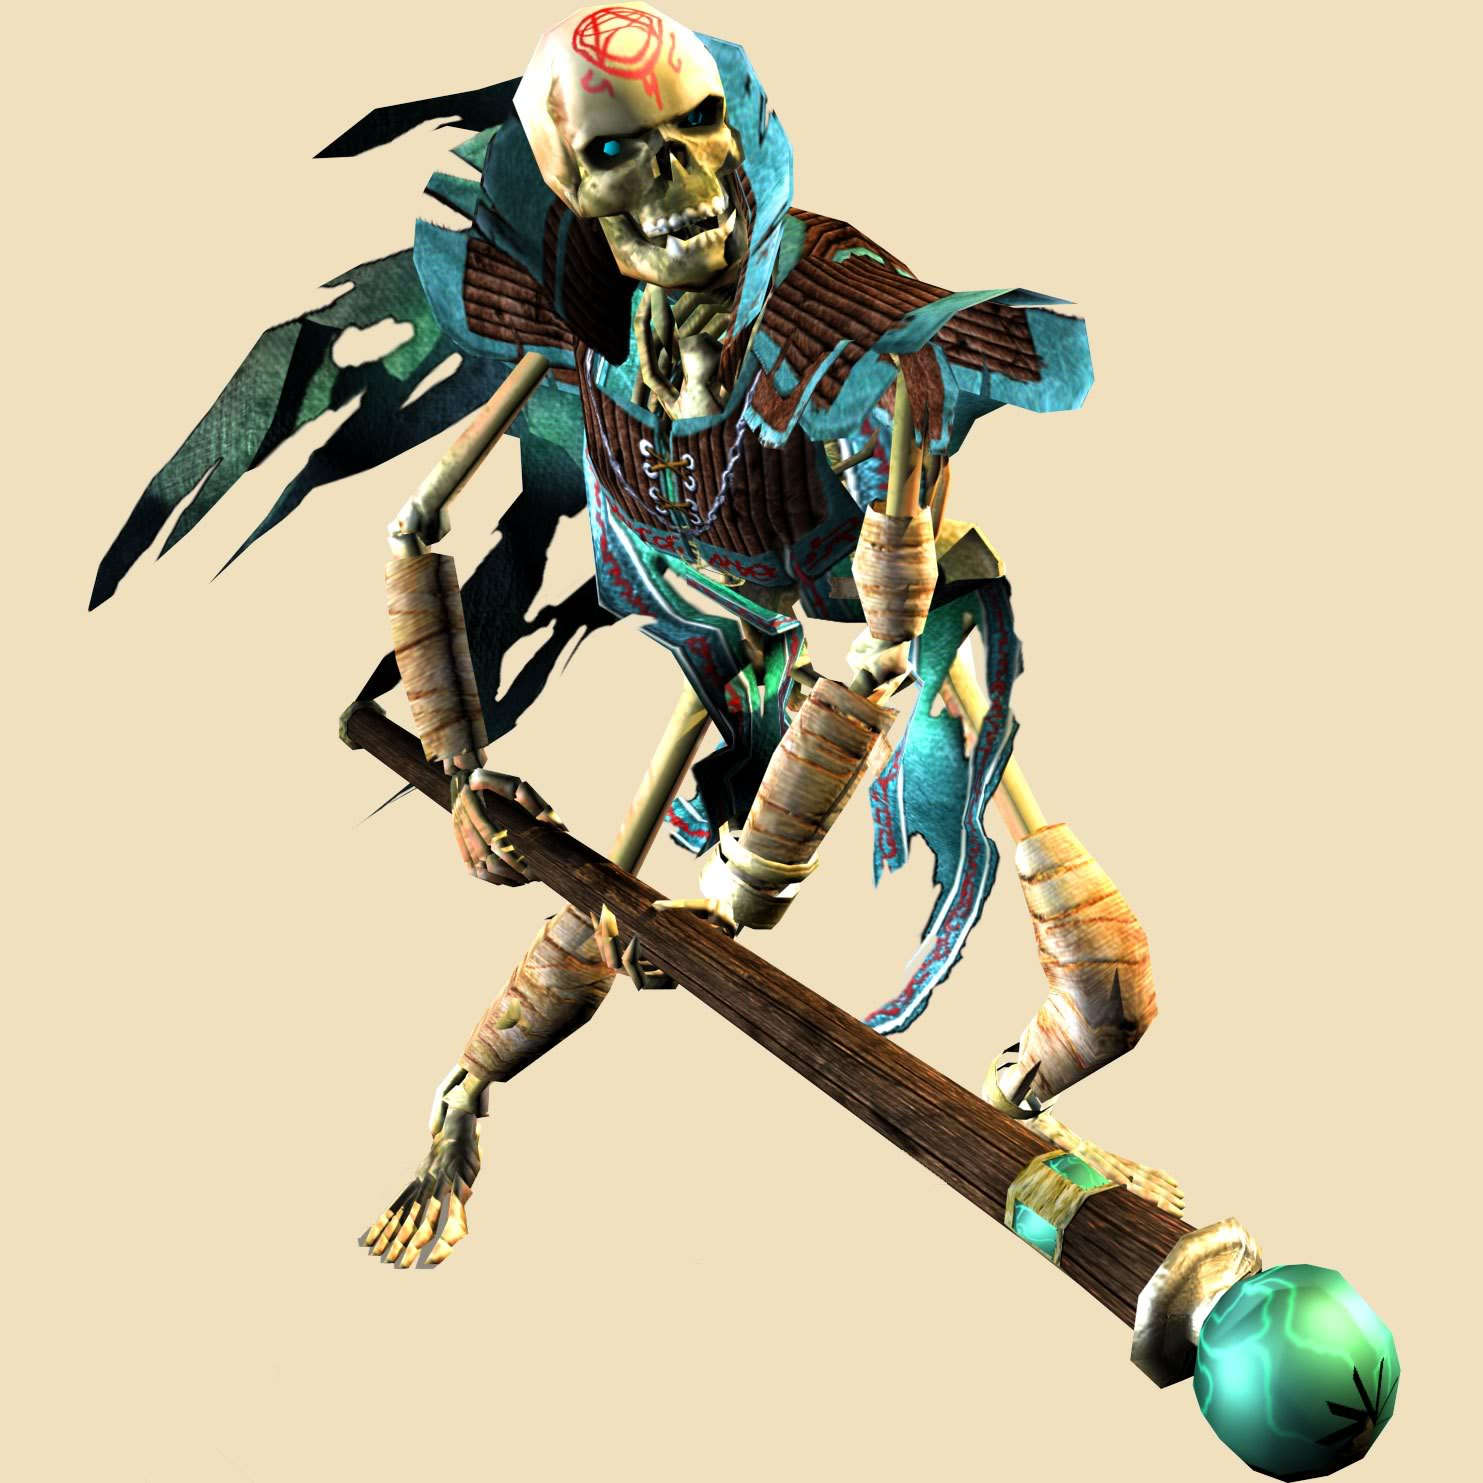
Skeleton Mage
|
Skeleton Mage 2
|
Scorpion
|
Troll
|
Troll 2
| |||||||||||||||||||||||||||||||||||||||||||||
Troll 3
|
Troll 4
|
Troll 5
|
Troll Chieftain
|
Troll Archer
| |||||||||||||||||||||||||||||||||||||||||||||
Werewolf
|
Werewolf 2
|
Wood Creature
|
Wood Creature 2
|
Garganthropod
| |||||||||||||||||||||||||||||||||||||||||||||


Blind Guardian: Andre
|
Blind Guardian: Frederick
|
Blind Guardian: Markus
| |||||||||||||||||||||||||||


Equipment
Bows
|
Special Bow
|
Bone Bow
|
Shrunken Heads
| ||||||||||||||||||||||||||||||||||||
Demon Shield
|
Guitars
|
Drums
|
Drums 2
| ||||||||||||||||||||||||||||||||||||


Environment
Alchemy Workbench
|
Ancient Gate Archway
|
Ancient Ruins
|
Blacksmith Tools
| ||||||||||||||||||||||||||||||||||||
Campsite
|
Catacombs
|
Chapel Entrance
|
Columns
| ||||||||||||||||||||||||||||||||||||
Crypt
|
Dungeon Entrance
|
High Elf Villa 1
|
High Elf Villa 2
| ||||||||||||||||||||||||||||||||||||
High Elf Villa 3
|
House
|
House 2
|
Lava Rock
| ||||||||||||||||||||||||||||||||||||
Machine Gun Trap
|
Orc House
|
Plants
|
Gas Trap
| ||||||||||||||||||||||||||||||||||||
Statue
|
Statue 2
|
Tent
| |||||||||||||||||||||||||||||||||||||


Ice and Blood Renders
Wire-to-Finish Renders
Ice Phoenix
|
Phoenix Wire-to-Finish
|
Dragon
|
Dragon Wire-to-Finish
| ||||||||||||||||||||||||||||||||||||
Dragon 2
|
Dragon 2 Wire-to-Finish
|
Berserk Wire-to-Finish 1
|
Berserk Wire-to-Finish 2
| ||||||||||||||||||||||||||||||||||||
Berserk Wire-to-Finish 3
|
Dragon Mage Wire-to-Finish 1
|
Dragon Mage Wire-to-Finish 2
|
Dragon Mage Wire-to-Finish 3
| ||||||||||||||||||||||||||||||||||||
Dragon Magic Armor Wire-to-Finish 1
|
Dragon Magic Armor Wire-to-Finish 2
|
Dragon Magic Armor Wire-to-Finish 3
|
DM Special Armor Wire-to-Finish 1
| ||||||||||||||||||||||||||||||||||||
DM Special Armor Wire-to-Finish 2
|
DM Special Armor Wire-to-Finish 3
| ||||||||||||||||||||||||||||||||||||||


Various Ice and Blood Renders
Dragon Mage 1
|
Dragon Mage 2
|
Dragon Berserk
|
Dragon Mage Backdrop
|
Dragon Logo
| |||||||||||||||||||||||||||||||||||||||||||||


Dragon Mage on Draconicon
|
Carrier Imp
|
Dragon Mage in the Blood Forest
|
Demon Flyer
| ||||||||||||||||||||||||||||||||||||


Special Mount Renders
Hellhound
|
Battle Monitor
|
Shroud Spider
|
Saber-Toothed Tiger
| ||||||||||||||||||||||||||||||||||||


Wind Serpent
|
Mobiculum
|
Draconicon
| |||||||||||||||||||||||||||


Logos
Fallen Angel Red
|
Fallen Angel Blue
|
Fallen Angel Dark
|
Ice and Blood
| ||||||||||||||||||||||||||||||||||||

Character Logos
| Dragon Mage
|
Dryad
|
High Elf
|
Inquisitor
|
| Seraphim
|
Shadow Warrior
|
Temple Guardian
|
God Symbols
Kybele
|
Testa
|
Kuan
|
Forens
|
Lumen
|
Ker
| ||||||||||||||||||||||||||||||||||||||||||||||||||||||


