Difference between revisions of "Sacred 2:Raiders"
| Line 1: | Line 1: | ||
| − | |||
<div class="plainlinks"> | <div class="plainlinks"> | ||
{|WIDTH="100%" | {|WIDTH="100%" | ||
| Line 5: | Line 4: | ||
|WIDTH="35%" VALIGN="TOP"| | |WIDTH="35%" VALIGN="TOP"| | ||
* '''Quest Objective:''' Stop a gang of marauders | * '''Quest Objective:''' Stop a gang of marauders | ||
| − | * '''Quest Difficulty:''' 3 | + | * '''Quest Difficulty:''' 3 stars |
* '''Quest Giver:''' [[Sacred 2:Commander Elsurion|Commander Elsurion]] | * '''Quest Giver:''' [[Sacred 2:Commander Elsurion|Commander Elsurion]] | ||
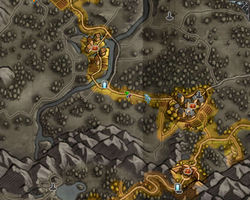
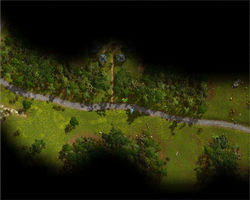
* '''Location(s):''' West of [[Sacred 2:Black Oaks|Black Oaks]] within [[Sacred 2:Artamark|Artamark]] | * '''Location(s):''' West of [[Sacred 2:Black Oaks|Black Oaks]] within [[Sacred 2:Artamark|Artamark]] | ||
| Line 11: | Line 10: | ||
* '''Next Quest:''' None | * '''Next Quest:''' None | ||
* '''Reward:''' [[Sacred 2:Gold|Gold]] & [[Sacred 2:Experience|Experience]] | * '''Reward:''' [[Sacred 2:Gold|Gold]] & [[Sacred 2:Experience|Experience]] | ||
| − | |WIDTH="50%" VALIGN="TOP"| | + | |WIDTH="50%" VALIGN="TOP"| |
| − | {{S2frame|[[Image: | + | {{S2frame|[[Image:Raiders_ElsurionMap.jpg|250px]][[Image:Raiders_ElsurionTabMap.jpg|250px]]|right|'''[[Sacred 2:Map of Ancaria|View the Ancaria Interactive Map]]'''}} |
|} | |} | ||
{|WIDTH="100%" | {|WIDTH="100%" | ||
| Line 23: | Line 22: | ||
* Travel to [[Sacred 2:West-Skookemchuck|West-Skookemchuck]] and defeat the marauders in their camp. | * Travel to [[Sacred 2:West-Skookemchuck|West-Skookemchuck]] and defeat the marauders in their camp. | ||
* Return to Commander Elsurion to complete the quest | * Return to Commander Elsurion to complete the quest | ||
| − | |WIDTH="40%" VALIGN="TOP"|{{S2frame|[[Image: | + | |WIDTH="40%" VALIGN="TOP"|{{S2frame|[[Image:Raiders_ElsurionCamera.jpg|500px]]}} |
|} | |} | ||
== Detailed Walkthrough == | == Detailed Walkthrough == | ||
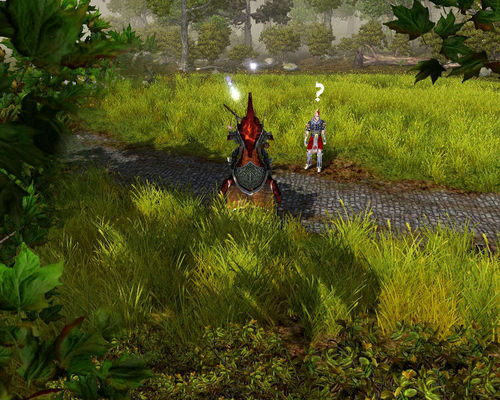
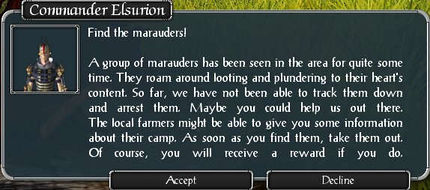
After giving Commander Elsurion the package to complete A Long Journey, talk to him again and he will tell you about a gang of marauders who have been plundering the area. You agree to help. | After giving Commander Elsurion the package to complete A Long Journey, talk to him again and he will tell you about a gang of marauders who have been plundering the area. You agree to help. | ||
| + | {{S2frame|[[Image:Raiders_ElsurionDialog1.jpg|430px]]|left}} | ||
| + | <br clear="both" /> | ||
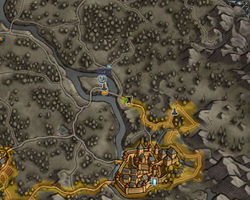
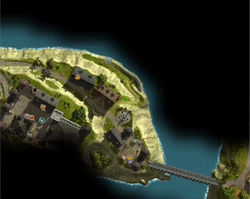
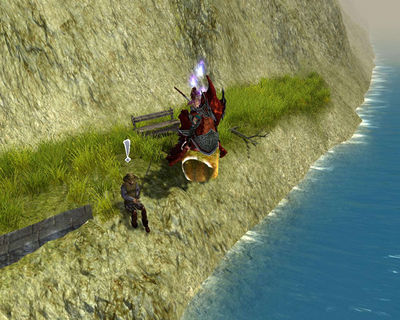
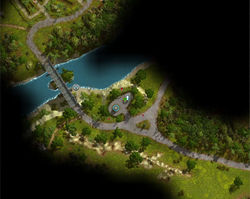
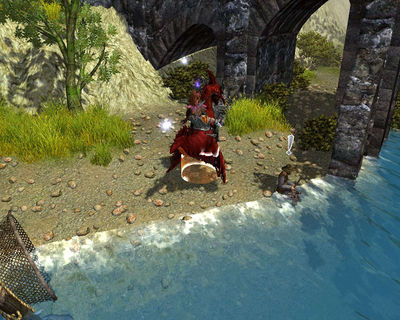
Your first stop will be Skook's Corner. On the river there, you will find a fisherman named Arduval. He will tell you that the marauders have moved on and suggests that you go talk another fisherman. | Your first stop will be Skook's Corner. On the river there, you will find a fisherman named Arduval. He will tell you that the marauders have moved on and suggests that you go talk another fisherman. | ||
| + | {{S2frame|[[Image:Raiders_ArduvalMap.jpg|250px]][[Image:Raiders_ArduvalTabMap.jpg|250px]]|left]]}} | ||
| + | <br clear="both" /> | ||
| + | {{S2frame|[[Image:Raiders_ArduvalCamera.jpg|400px]]|left}} | ||
| + | <br clear="both" /> | ||
| + | {{S2frame|[[Image:Raiders_ArduvalDialog.jpg|430px]]|left}} | ||
| + | <br clear="both" /> | ||
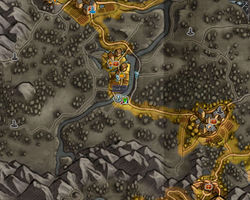
This second fisherman is Meltinir and you will find him on the river (fishing, of course) near the Wargfels portal. Again you are too late. He will direct you north along the river. | This second fisherman is Meltinir and you will find him on the river (fishing, of course) near the Wargfels portal. Again you are too late. He will direct you north along the river. | ||
| − | + | {{S2frame|[[Image:Raiders_MeltinirMap.jpg|250px]][[Image:Raiders_MeltinirTabMap.jpg|250px]]|left]]}} | |
| − | + | <br clear="both" /> | |
| − | + | {{S2frame|[[Image:Raiders_MeltinirCamera.jpg|400px]]|left}} | |
| − | |||
| − | |||
| − | |||
| − | |||
| − | |||
| − | |||
| − | |||
| − | |||
| − | {{S2frame|[[Image: | ||
<br clear="both" /> | <br clear="both" /> | ||
| − | + | {{S2frame|[[Image:Raiders_MeltinirDialog.jpg|430px]]|left}} | |
| − | |||
| − | {{S2frame|[[Image: | ||
<br clear="both" /> | <br clear="both" /> | ||
| − | + | In West-Skookemchuck, you finally catch up with the marauders in their camp. There are quite a few of them, but it should not be a difficult fight. | |
| − | {{S2frame|[[Image: | + | {{S2frame|[[Image:Raiders_MaraudersMap.jpg|250px]][[Image:Raiders_MaraudersTabMap.jpg|250px]]|left]]}} |
<br clear="both" /> | <br clear="both" /> | ||
| − | + | After defeating the marauders, return to Commander Elsurion for your reward. | |
| − | + | {{S2frame|[[Image:Raiders_ElsurionDialog2.jpg|430px]]|left}} | |
| − | |||
| − | |||
| − | |||
| − | |||
| − | |||
| − | {{S2frame|[[Image: | ||
<br clear="both" /> | <br clear="both" /> | ||
| − | |||
| − | |||
| − | |||
| − | |||
| − | |||
| − | |||
== Logbook Entry == | == Logbook Entry == | ||
| − | |||
{| | {| | ||
| − | |{{S2frame|[[Image: | + | |{{S2frame|[[Image:Raiders_Logbook.jpg|300px]]|left}} |
| − | |||
|} | |} | ||
| Line 86: | Line 68: | ||
[[Category:Sacred 2 Quest|{{PAGENAME}}]] | [[Category:Sacred 2 Quest|{{PAGENAME}}]] | ||
[[Category:Sacred 2 Side Quest|{{PAGENAME}}]] | [[Category:Sacred 2 Side Quest|{{PAGENAME}}]] | ||
| − | [[Category:Sacred 2 Chain Quest | + | [[Category:Sacred 2 Chain Quest|{{PAGENAME}}]] |
[[Category:Sacred 2 Light Path Quest|{{PAGENAME}}]] | [[Category:Sacred 2 Light Path Quest|{{PAGENAME}}]] | ||
Revision as of 15:17, 5 March 2011
|
| ||||||||||
Quick Walkthrough
|
| |||||||||
Detailed Walkthrough
After giving Commander Elsurion the package to complete A Long Journey, talk to him again and he will tell you about a gang of marauders who have been plundering the area. You agree to help.
|
| ||
Your first stop will be Skook's Corner. On the river there, you will find a fisherman named Arduval. He will tell you that the marauders have moved on and suggests that you go talk another fisherman.
|
| ||
|
| ||
|
| ||
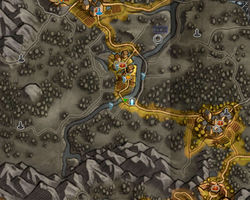
This second fisherman is Meltinir and you will find him on the river (fishing, of course) near the Wargfels portal. Again you are too late. He will direct you north along the river.
|
| ||
|
| ||
|
| ||
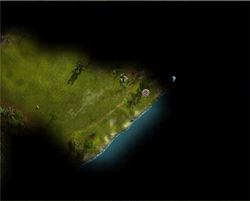
In West-Skookemchuck, you finally catch up with the marauders in their camp. There are quite a few of them, but it should not be a difficult fight.
|
| ||
After defeating the marauders, return to Commander Elsurion for your reward.
|
| ||
Logbook Entry
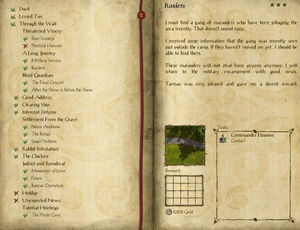
| |||||||||
