Difference between revisions of "Sacred 2:Verification"
(→Notes) |
(Initial commit) |
||
| Line 1: | Line 1: | ||
| − | {{ | + | <div class="plainlinks"> |
| + | {|WIDTH="100%" | ||
| + | |WIDTH="15%" VALIGN="TOP"|__TOC__ | ||
| + | |WIDTH="35%" VALIGN="TOP"| | ||
| + | * '''Quest Objective:''' Continue searching into your past to recover your memory | ||
| + | * '''Quest Difficulty:''' None | ||
| + | * '''Quest Giver:''' Automatic upon completing prerequistie quest | ||
| + | * '''Location(s):''' Farmstead off road north of [[Sacred 2:Clearview|Clearview]] within [[Sacred 2:Tyr Lysia|Tyr Lysia]] | ||
| + | * '''Prerequisite Quest:''' [[Sacred 2:Unpack|Unpack]] | ||
| + | * '''Next Quest:''' [[Sacred 2:The Authorization Key|The Authorization Key]] | ||
| + | * '''Reward:''' [[Sacred 2:Experience|Experience]] | ||
| + | |WIDTH="50%" VALIGN="TOP"| | ||
| + | {{S2frame|[[Image:Verification_StartMap.jpg|250px]][[Image:Verification_StartTabMap.jpg|250px]]|right|'''[[Sacred 2:Map of Ancaria|View the Ancaria Interactive Map]]'''}} | ||
| + | |} | ||
| + | {|WIDTH="100%" | ||
| + | |WIDTH="60%" VALIGN="TOP"| | ||
| + | == Quick Walkthrough == | ||
| + | * Locate the terminal west of [[Sacred 2:Dragonmaw Pass|Dragonmaw Pass]] | ||
| + | * Locate the terminal near [[Sacred 2:Whisperwood|Whisperwood]] | ||
| + | * Defeat the 6 [[Sacred 2:A-thousand-years-old Bonsai Dragon|A-thousand-years-old Bonsai Dragons]] | ||
| + | * Locate the Temple Guardian signal near [[Sacred 2:Orcish Byway|Orcish Byway]] | ||
| + | * Defeat the [[Sacred 2:Ancient Giant Spider|Ancient Giant Spider]] | ||
| + | * Defeat the the Temple Guardian, [[Sacred 2:TW-1395 Hunter Deluxe|TW-1395 Hunter Deluxe]] | ||
| + | |WIDTH="40%" VALIGN="TOP"|{{S2frame|[[Image:Verification_StartCamera.jpg|500px]]}} | ||
| + | |} | ||
| + | |||
| + | == Detailed Walkthrough == | ||
| + | You just finished Unpack. [[Sacred 2:TyBosso DeElfici|TyBosso]] deceived you into helping him escape [[Sacred 2:Thylysium|Thylysium]], a treachery he paid for with his life. Time to continue on your journey. | ||
| + | |||
| + | |||
| + | You need to find a terminal to analyze the data you have collected so far. Fortunately, there is one not far. Head east towards [[Sacred 2:Dragonmaw Pass|Dragonmaw Pass]], and you will find the terminal inside a cave. | ||
| + | {{S2frame|[[Image:Verification_Terminal1Map.jpg|375px]][[Image:Verification_Terminal1TabMap.jpg|375px]]|left]]}}<br | ||
| + | clear="both" /> | ||
| + | Activate the terminal to conduct the analysis. | ||
| + | {{S2frame|[[Image:Verification_Terminal1Dialog.jpg]]|left}}<br clear="both" /> | ||
| + | Exit the cave and continue heading towards Dragonmaw Pass. You will meet [[Sacred 2:Hologram|Hologram]] just outside. You learn that Hologram is actually you. | ||
| + | {{S2frame|[[Image:Verification_Hologram1Map.jpg|375px]][[Image:Verification_Hologram1TabMap.jpg|375px]]|left]]}}<br | ||
| + | clear="both" /> | ||
| + | {{S2frame|[[Image:Verification_Hologram1Camera.jpg|750px]]|left}}<br clear="both" /> | ||
| + | {{S2frame|[[Image:Verification_Hologram1Dialog.jpg]]|left}}<br clear="both" /> | ||
| + | Your next stop is near [[Sacred 2:Whisperwood|Whisperwood]] in [[Sacred 2:Artamark|Artamark]]. | ||
| + | {{S2frame|[[Image:Verification_Terminal2Map.jpg|375px]][[Image:Verification_Terminal2TabMap.jpg|375px]]|left]]}}<br | ||
| + | clear="both" /> | ||
| + | {{S2frame|[[Image:Verification_Terminal2Camera.jpg|750px]]|left}}<br clear="both" /> | ||
| + | {{S2frame|[[Image:Verification_Terminal2ADialog.jpg]]|left}}<br clear="both" /> | ||
| + | {{S2frame|[[Image:Verification_Terminal2BDialog.jpg]]|left}}<br clear="both" /> | ||
| − | + | Talk to Hologram for more information. | |
| − | {| | + | {{S2frame|[[Image:Verification_Hologram2Dialog.jpg]]|left}}<br clear="both" /> |
| − | | | + | |
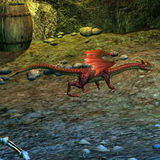
| − | + | Dragons? Serum?? That does not sound good. You will find 6 [[Sacred 2:A-thousand-years-old Bonsai Dragon|A-thousand-years-old Bonsai Dragons]] farther back in the cave. | |
| − | + | {{S2frame|[[Image:Verification_SerumDragonTabMap.jpg|375px]]|left]]}}<br clear="both" /> | |
| − | |||
| − | |||
| − | |||
| − | |||
| − | |||
| − | |||
| − | | | ||
| − | <br /> | ||
| − | |||
| − | |||
| − | = | + | After defeating the dragons, you will find Hologram again right outside the cave. |
| − | + | {{S2frame|[[Image:Verification_Hologram3Dialog.jpg]]|left}}<br clear="both" /> | |
| + | He tells you that he has picked up the signal of another [[Sacred 2:Temple Guardian|Temple Guardian]] near [[Sacred 2:Trolloven|Trolloven]]. You will find this cave about halfway between [[Sacred 2:Orcish Byway|Orcish Byway]] and [[Sacred 2:Urthak's Moxie|Urthak's Moxie]]. | ||
| + | {{S2frame|[[Image:Verification_TrollovenMap.jpg|375px]][[Image:Verification_TrollovenTabMap.jpg|375px]]|left]]}}<br | ||
| + | clear="both" /> | ||
| + | Does not exactly look very friendly, best be on guard. | ||
| + | {{S2frame|[[Image:Verification_TrollovenCamera.jpg|750px]]|left}}<br clear="both" /> | ||
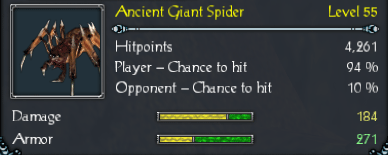
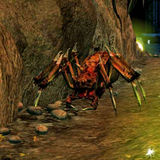
| − | + | Farther back, you encounter [[Sacred 2:Ancient Giant Spider|Ancient Giant Spider]]. Keep going and you will come to a small library. | |
| − | + | {{S2frame|[[Image:Verification_LibraryCamera.jpg|750px]]|left}}<br clear="both" /> | |
| − | |||
| − | |||
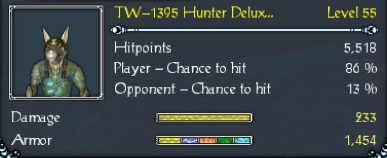
| + | On your way out, you meet the other Temple Guardian, [[Sacred 2:TW-1395 Hunter Deluxe|TW-1395 Hunter Deluxe]] just before the statue of [[Sacred 2:Lumen|Lumen]]. He is armed, and seems to pointing the weapon in your general direction. | ||
| + | {{S2frame|[[Image:Verification_Hologram2Camera.jpg|750px]]|left}}<br clear="both" /> | ||
| + | {{S2frame|[[Image:Verification_Hologram4Dialog.jpg]]|left}}<br clear="both" /> | ||
| + | He attacks...the audacity!!! | ||
| + | This quest is complete. | ||
| − | |||
| − | |||
| + | == Quest Enemies == | ||
| + | === [[Sacred 2:A-thousand-years-old Bonsai Dragon|A-thousand-years-old Bonsai Dragon]] === | ||
| + | {{:Sacred 2:A-thousand-years-old Bonsai Dragon}} | ||
| + | === [[Sacred 2:Ancient Giant Spider|Ancient Giant Spider]] === | ||
| + | {{:Sacred 2:Ancient Giant Spider}} | ||
| − | == | + | === [[Sacred 2:TW-1395 Hunter Deluxe|TW-1395 Hunter Deluxe]] === |
| − | + | {{:Sacred 2:TW-1395 Hunter Deluxe}} | |
| + | == Logbook Entry == | ||
| + | {| | ||
| + | |{{S2frame|[[Image:Verification_Logbook1.jpg|375px]]|left}} | ||
| + | |{{S2frame|[[Image:Verification_Logbook2.jpg|375px]]|left}} | ||
| + | |} | ||
| + | {| | ||
| + | |{{S2frame|[[Image:Verification_Logbook3.jpg|375px]]|left}} | ||
| + | |} | ||
| − | |||
| − | + | == Notes == | |
| − | [[Category:Sacred 2 Quest|{{ | + | </div> |
| + | [[Category:Sacred 2 Quest|{{PAGENAME}}]] | ||
Revision as of 00:26, 23 September 2011
|
| ||||||||||
Quick Walkthrough
|
| |||||||||
Detailed Walkthrough
You just finished Unpack. TyBosso deceived you into helping him escape Thylysium, a treachery he paid for with his life. Time to continue on your journey.
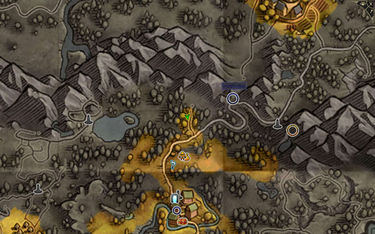
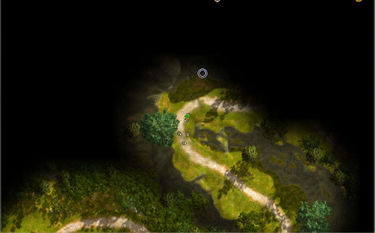
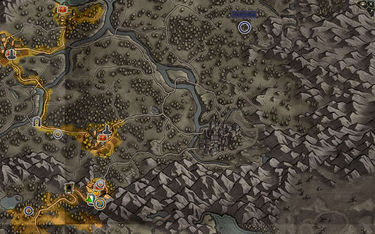
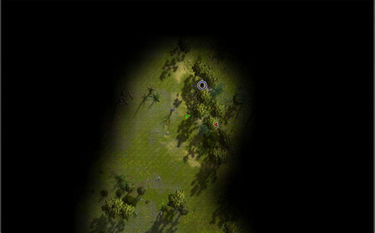
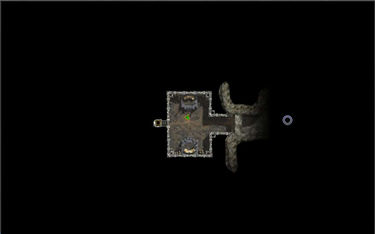
You need to find a terminal to analyze the data you have collected so far. Fortunately, there is one not far. Head east towards Dragonmaw Pass, and you will find the terminal inside a cave.
|
| ||
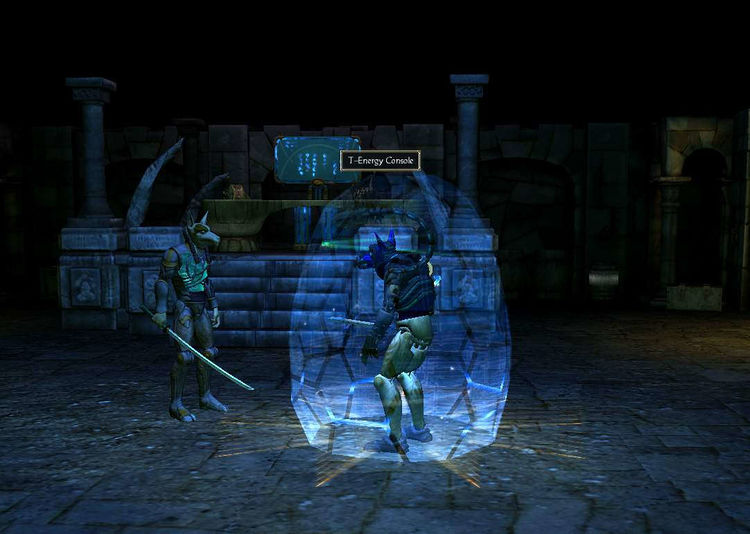
Activate the terminal to conduct the analysis.
|
| ||
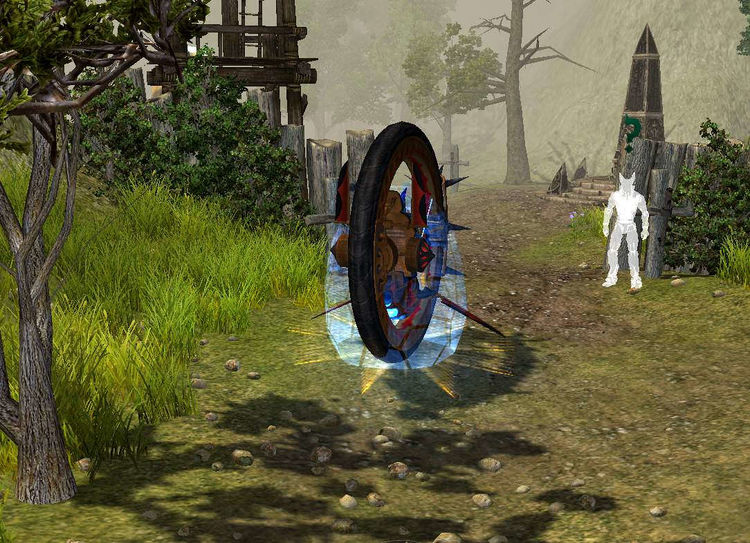
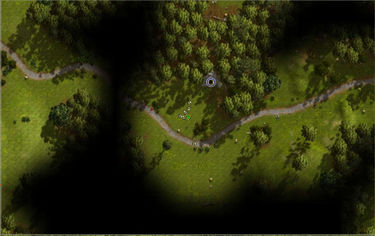
Exit the cave and continue heading towards Dragonmaw Pass. You will meet Hologram just outside. You learn that Hologram is actually you.
|
| ||
|
| ||
|
| ||
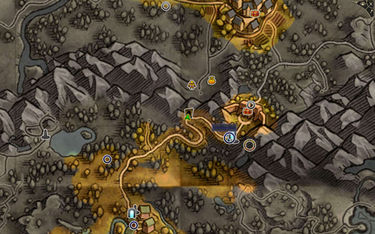
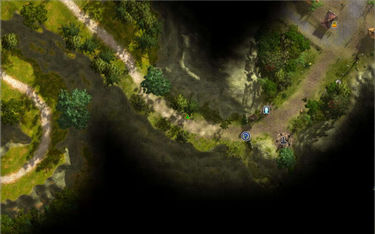
Your next stop is near Whisperwood in Artamark.
|
| ||
|
| ||
|
| ||
|
| ||
Talk to Hologram for more information.
|
| ||
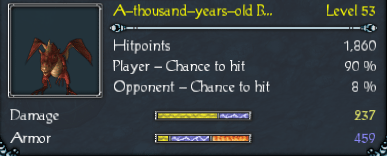
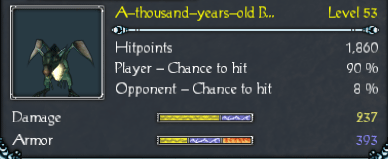
Dragons? Serum?? That does not sound good. You will find 6 A-thousand-years-old Bonsai Dragons farther back in the cave.
|
| ||
After defeating the dragons, you will find Hologram again right outside the cave.
|
| ||
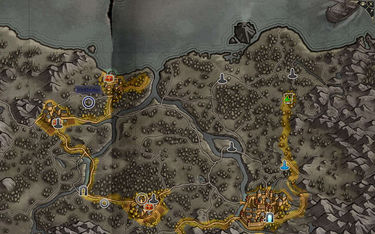
He tells you that he has picked up the signal of another Temple Guardian near Trolloven. You will find this cave about halfway between Orcish Byway and Urthak's Moxie.
|
| ||
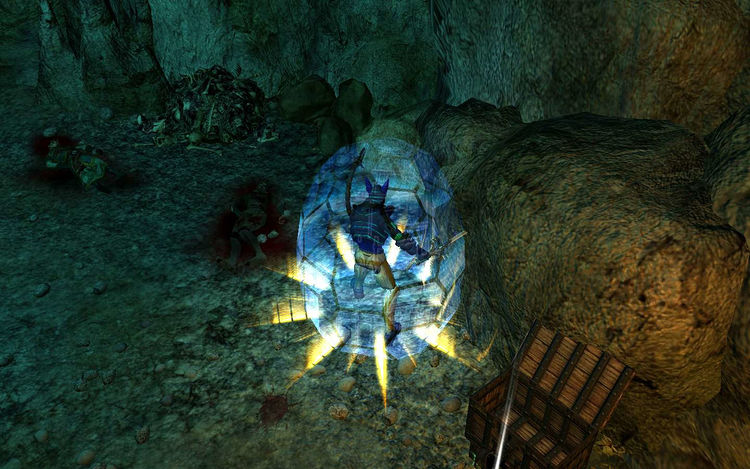
Does not exactly look very friendly, best be on guard.
|
| ||
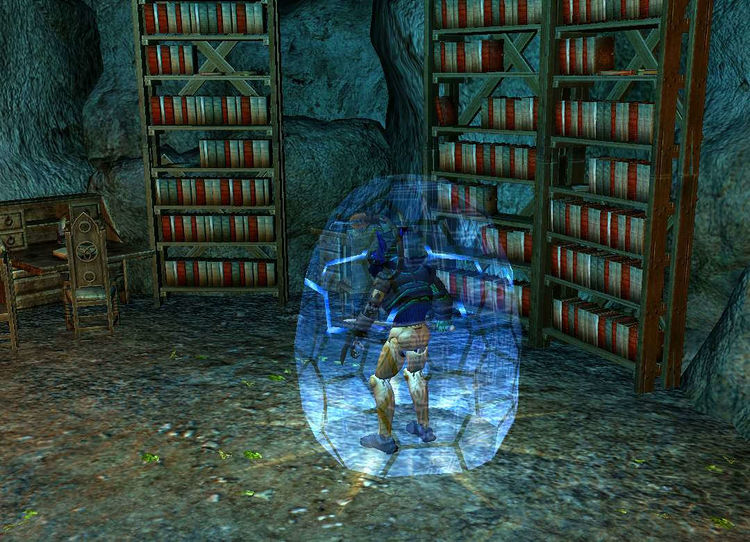
Farther back, you encounter Ancient Giant Spider. Keep going and you will come to a small library.
|
| ||
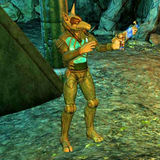
On your way out, you meet the other Temple Guardian, TW-1395 Hunter Deluxe just before the statue of Lumen. He is armed, and seems to pointing the weapon in your general direction.
|
| ||
|
| ||
He attacks...the audacity!!!
This quest is complete.
Quest Enemies
A-thousand-years-old Bonsai Dragon
|
|
Damage Types: Weakest Against: Quest:Verification Quest Location: Whisperwood in Artamark | ||||||||||||||||||
|
|
Damage Types: Weakest Against: Quest:Verification Quest Location: Whisperwood in Artamark | ||||||||||||||||||
Ancient Giant Spider
|
|
Damage Types: Weakest Against: Quest:Verification Quest Location: Orcish Byway in Artamark | ||||||||||||||||||
TW-1395 Hunter Deluxe
|
|
Damage Types: Weakest Against: Equally resistant to all Quest:Verification Quest Location: Orcish Byway in Artamark | ||||||||||||||||||
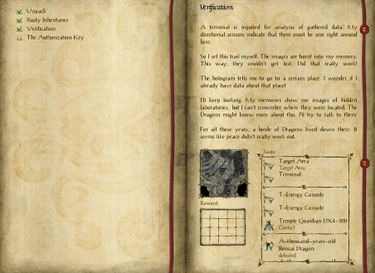
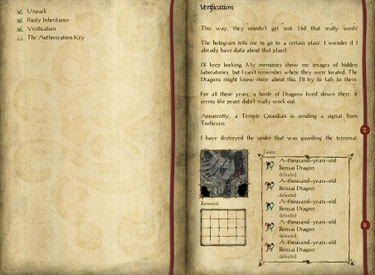
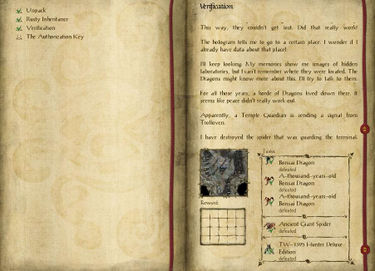
Logbook Entry
|
| ||||||||||||||||||
| |||||||||
